
Cambium cnMaestro - Deploying cnMaestro On-Premises and Disconnecting from the Cloud
This guide covers deploying a new cnMaestro On-Premises 6.0.0 instance from the Cambium OVA image, completing first login, and then disconnecting it from the Cloud Anchor account it must connect to during initial setup — ending with an instance that runs fully standalone, with no cloud link.
Prerequisites
cnMaestro On-Premises deploys as a virtual appliance on VMware ESXi — Cambium's recommended platform for production. These steps assume ESXi 6.0.0 Update 3 (Build 7967664) or later is already installed and running on your hardware; if you still need to install ESXi itself, VMware's site has directions for that.
Before you start, download the cnMaestro On-Premises OVA file from the Cambium Support Center, and size the VM against how many devices you plan to manage:
Devices | Wireless clients | vCPUs | RAM (GB) | Disk (GB) |
|---|---|---|---|---|
1–100 | Up to 1,500 | 3 | 6 | 144 |
101–1,000 | Up to 15,000 | 5 | 10 | 144 |
1,001–5,000 | Up to 60,000 | 6 | 12 | 200 |
5,001–10,000 | Up to 150,000 | 12 | 24 | 350 |
10,001–20,000 | Up to 300,000 | 18 | 36 | 500 |
20,001–25,000 | Up to 375,000 | 24 | 48 | 650 |
Double these figures if you'll enable the RADIUS proxy, and use 1.5× if NBI APIs with heavy reporting, or cnMaestro X with enterprise devices (cnMatrix, Enterprise Wi-Fi), are in play.
Deploying cnMaestro On-Premises
Step 1: Deploy the cnMaestro OVA
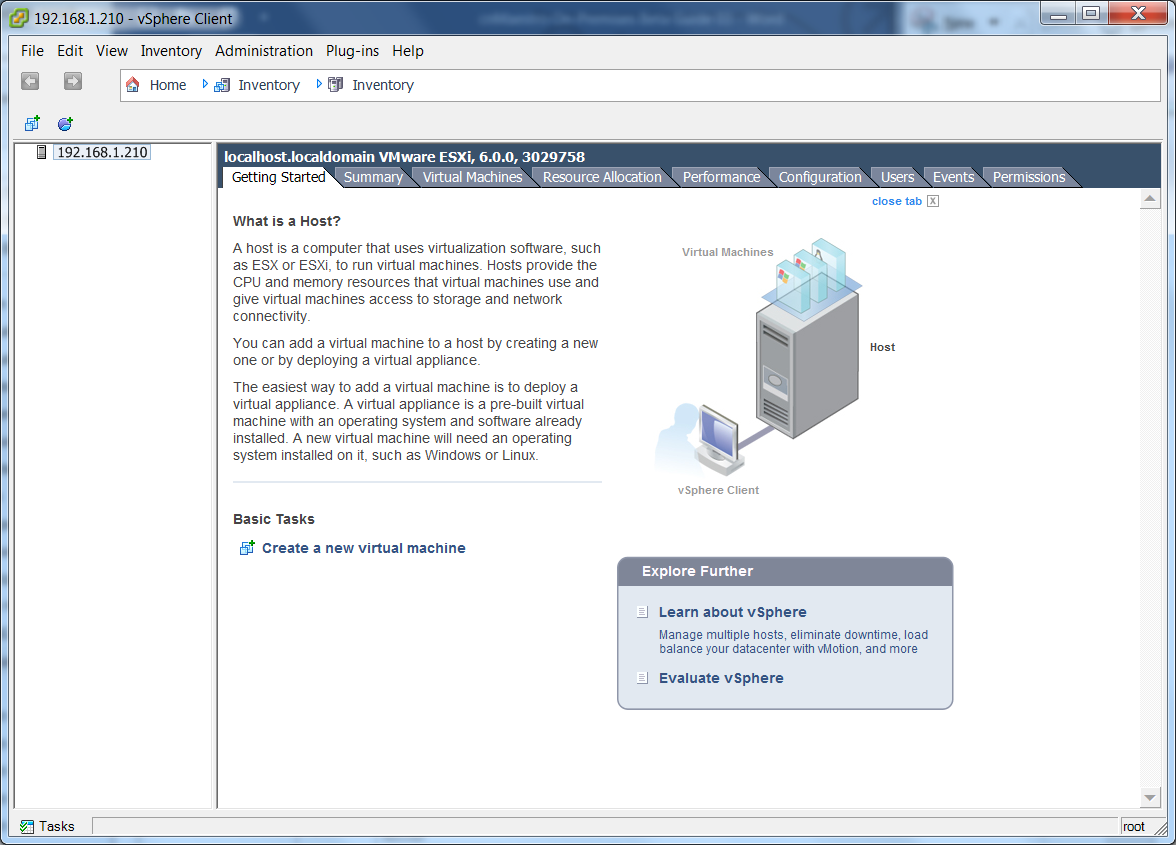
Log in to your ESXi host and go to Virtual Machines.
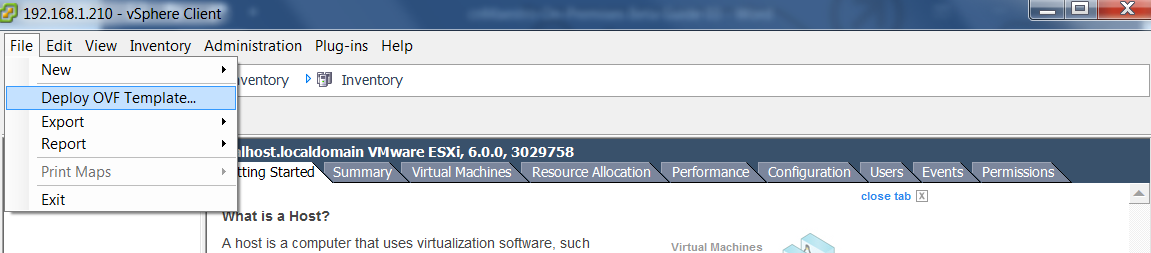
Click File > Deploy OVF Template (this is Create/Register VM on newer ESXi Host Client builds) and select the cnMaestro OVA file.
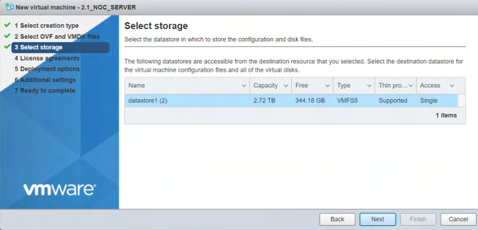
Choose the datastore with the most free space and click Next.
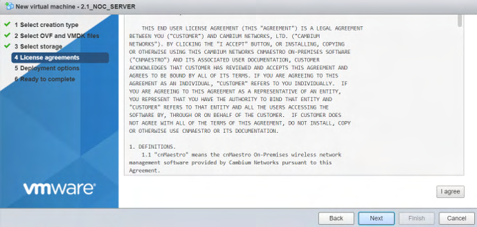
Accept the cnMaestro End User License Agreement.
Select the network for the VM and click Next.
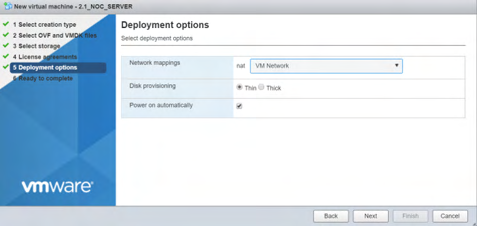
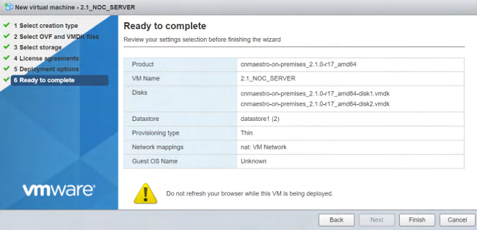
Review the summary and click Finish to deploy.
Once deployment finishes, select the new VM in the inventory, click the power-on button, and open its console.
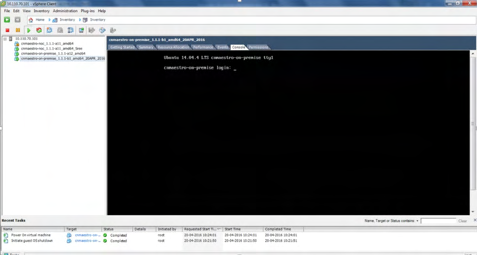
Enter the default credentials, cambium / cnmaestro, at the console login prompt.
Step 2: Log in to the cnMaestro console
Log in to the cnMaestro Console — the primary way to reach the cnMaestro CLI — using the default virtual machine credentials, cambium / cnmaestro.
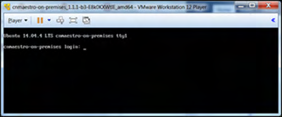
The Information page shows the VM's current network settings.
Click Next and go to the Password page to change the default password.
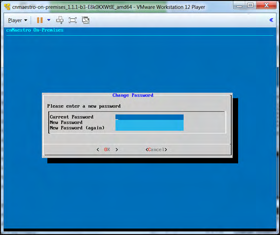
Component | Default credentials |
|---|---|
cnMaestro web UI | admin / admin |
Virtual machine console | cambium / cnmaestro |
Change both default passwords the first time you log in.
Step 3: Configure networking (optional)
By default cnMaestro acquires its address via DHCP on the network you selected during deployment (Step 1). If that works for you, skip to Step 4 — otherwise, set a static IP from the console:
From the Information page, click Next, then go to Operations > Network.
In the Management Interface (eth0) window, select IPv4, then Static.
Enter the static IPv4 configuration — IP address, netmask, default gateway, and DNS servers.
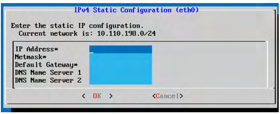
Confirm the change on the Information page.
Step 4: Log in to the cnMaestro web UI
Open the Management URL shown on the Information page in a browser.
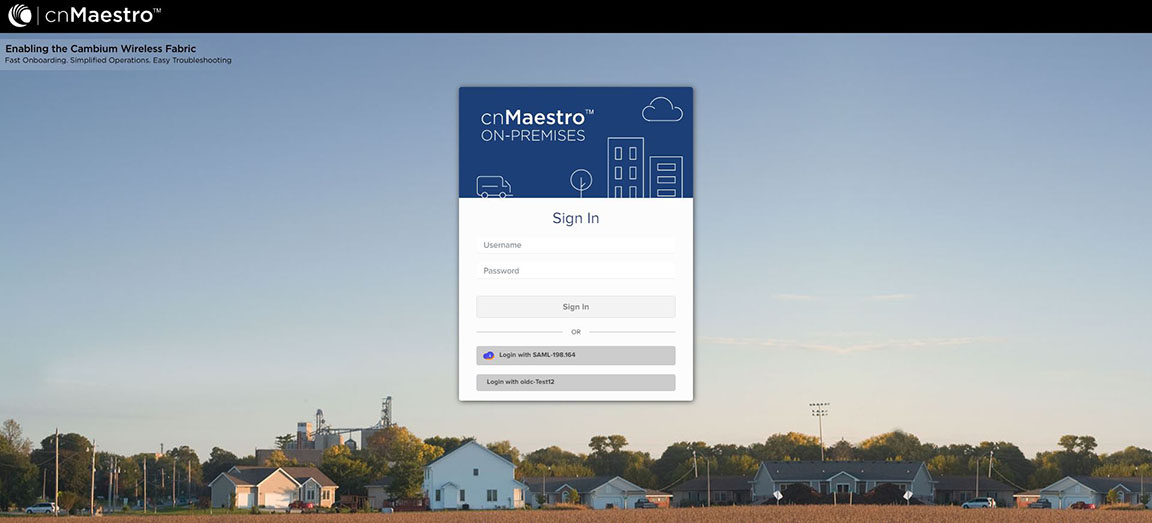
Log in with the default web UI credentials, admin / admin.
Your browser will flag an untrusted-certificate warning — this is expected, since cnMaestro ships with a self-signed certificate. You can upload your own Root CA and signed certificate later to remove it.
On first login, cnMaestro prompts you to complete initial configuration and change the default password.
Step 5: Create a Cloud Anchor account and Onboarding Key
You must create a Cloud Anchor account before you can connect the instance — this is where the Cambium ID and Onboarding Key used in the next step come from.
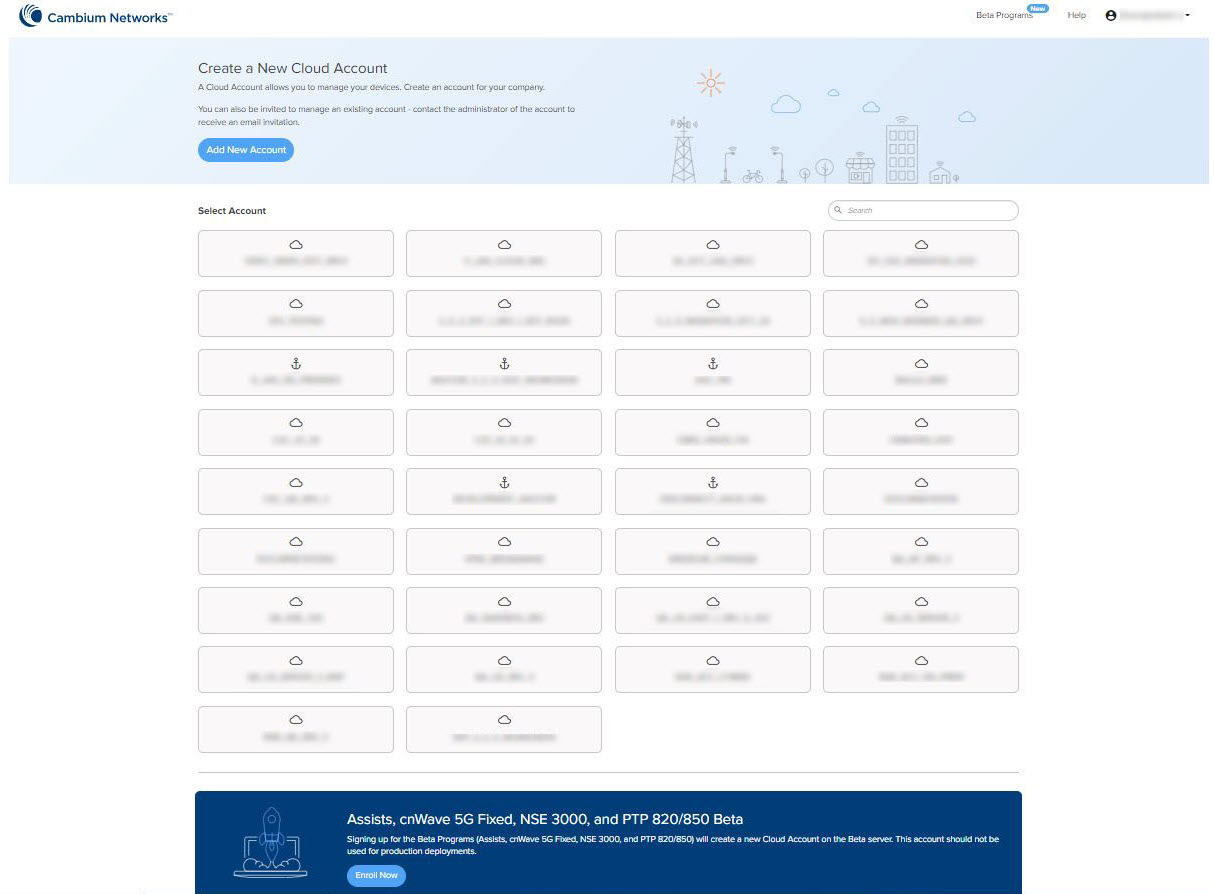
Go to cloud.cambiumnetworks.com and click Sign In (or Register if you don't already have a Cambium account).
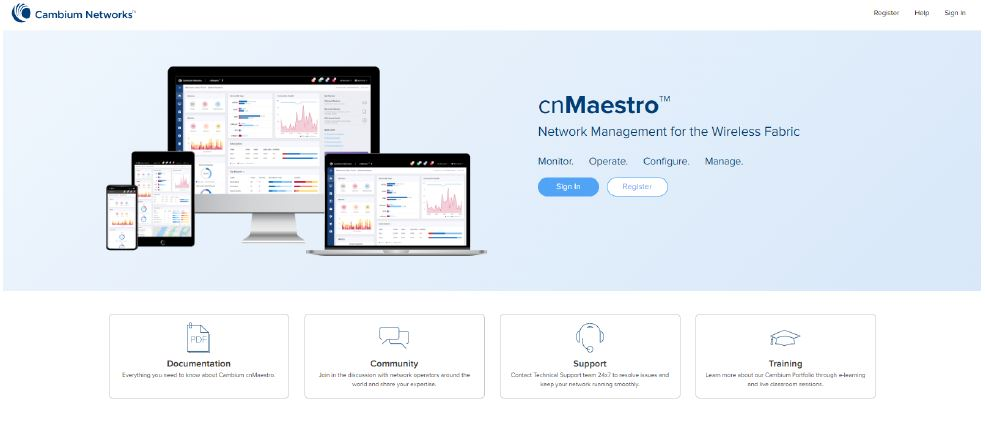
Click Add New Account.
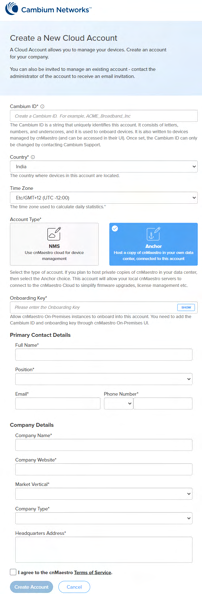
On the Create a New Cloud Account page, fill in the Cambium ID, Country, and Time Zone, then set Account Type to Anchor.
Enter an Onboarding Key — the key your On-Premises instance will use to onboard to this account — along with your contact and company details.
Agree to the cnMaestro Terms of Service and click Create Account.
The account is created with Essentials by default. You can view or change the Onboarding Key at any time from Manage Instances > Onboarding in the Cloud Anchor account.
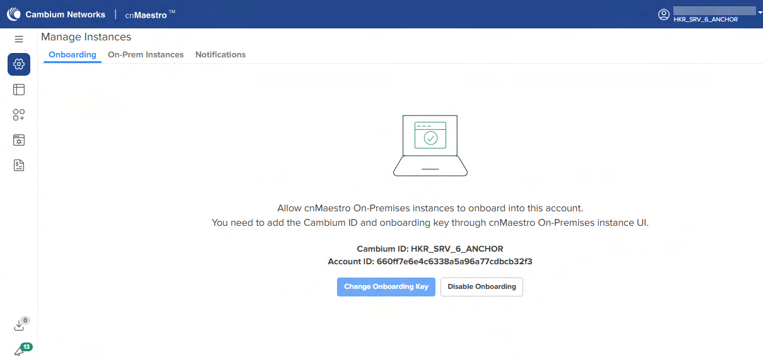
With the Cambium ID and Onboarding Key in hand, continue to the next step to connect your On-Premises instance.
Step 6: Complete the initial Cloud Anchor connection
New On-Premises instances must connect to a Cloud Anchor account once during initial setup — this activates the instance and is required before you can disconnect it later. You'll need a Cambium ID and Onboarding Key from a Cloud Anchor account (create one at cloud.cambiumnetworks.com if you don't already have one).
Enter the Cambium ID and Onboarding Key.
If your network reaches the internet through a proxy, enable HTTP Proxy and enter the proxy's IP address or hostname and port.
Click Connect.
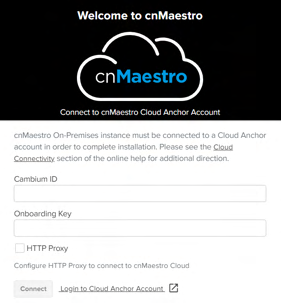
It can take up to 15 minutes for the connection to complete. Once connected, cnMaestro displays its home page, and the instance appears on the Manage Subscriptions page of the Cloud Anchor account.
Step 7: Sever the connection to the cloud
Go to Administration > Settings > Cloud Connectivity.
Clear the Connect to cloud anchor account checkbox.
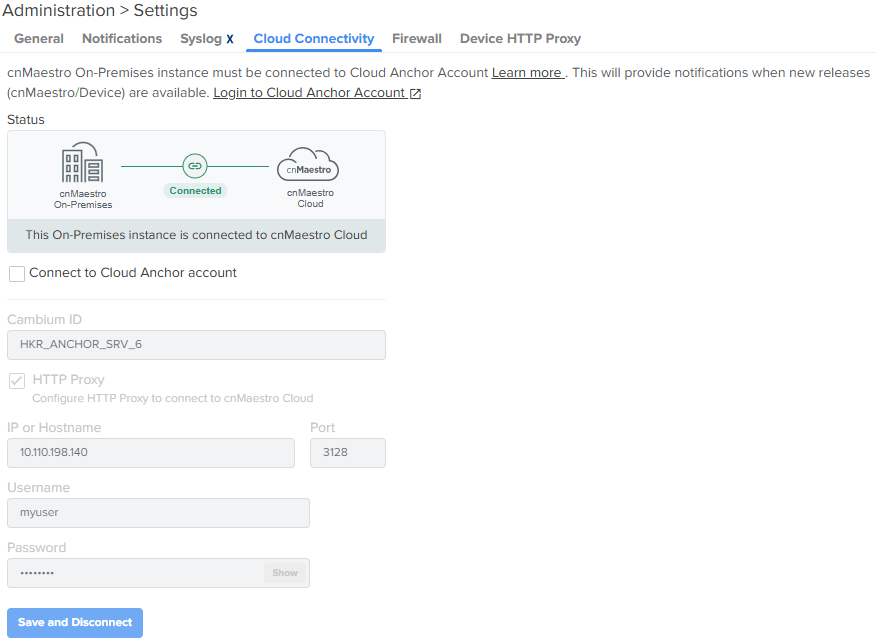
Click Save and Disconnect.
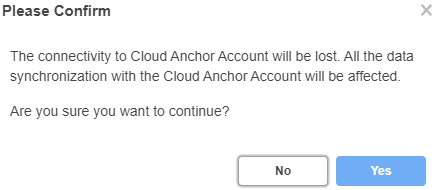
A confirmation window appears — click Yes to continue.
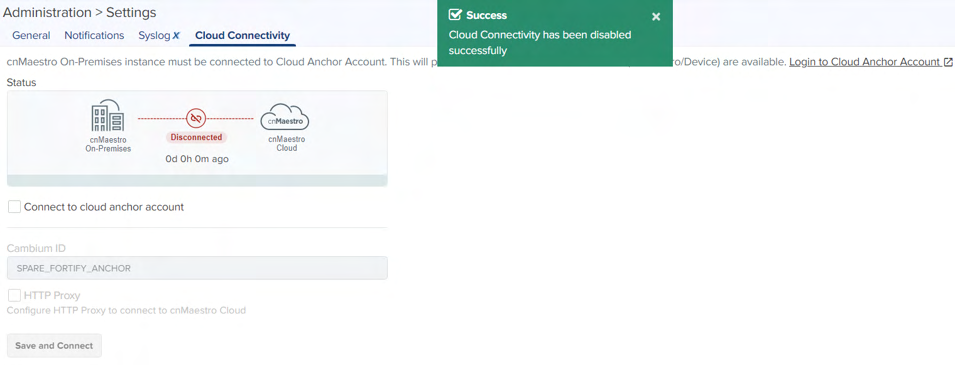
A success message confirms the instance is disconnected.
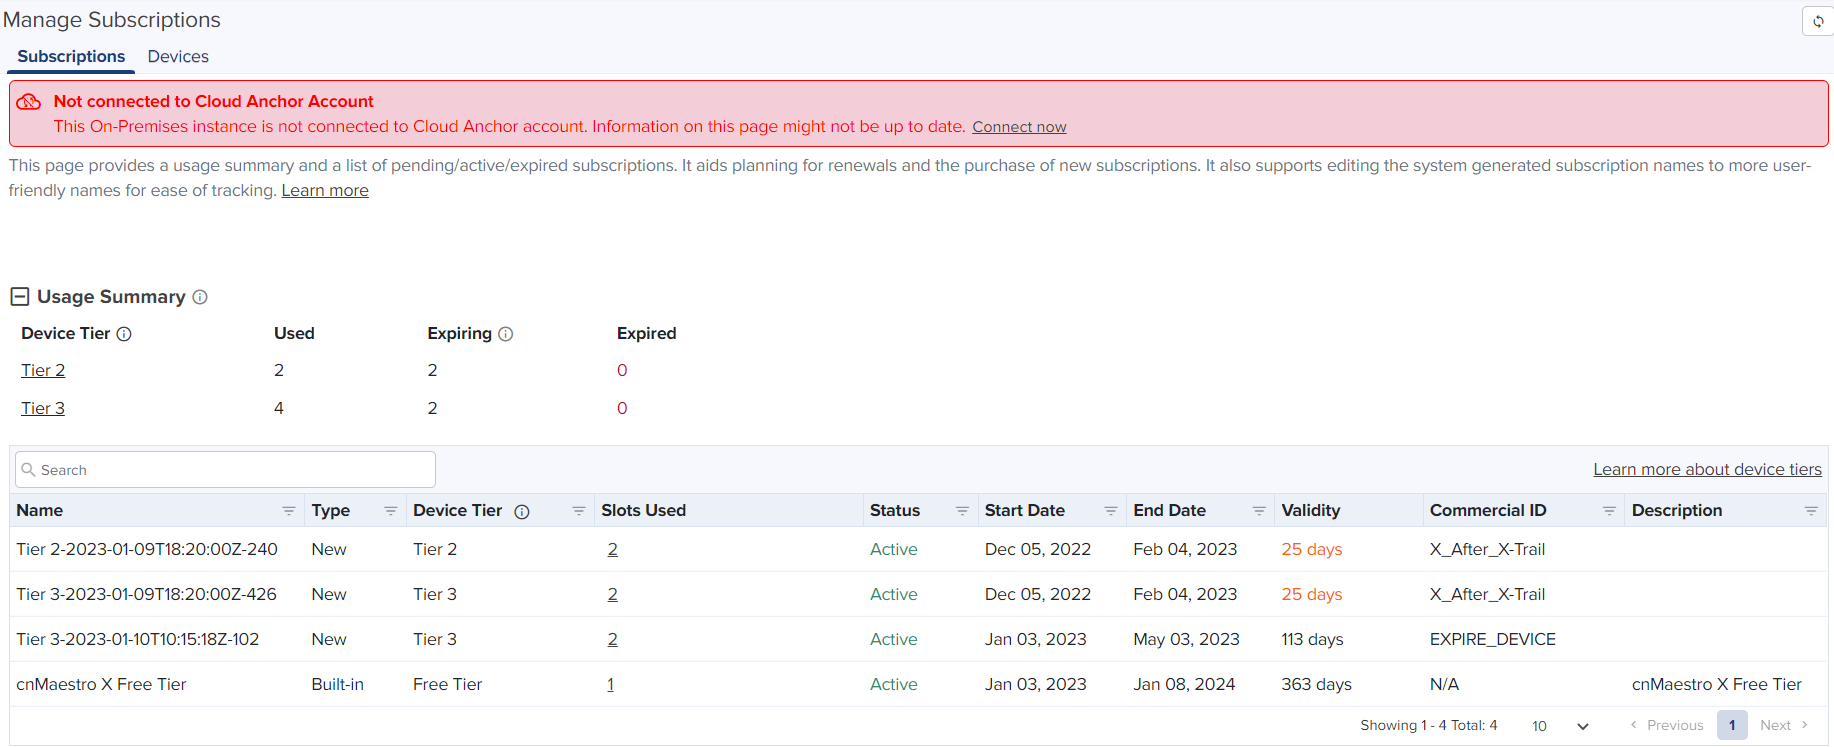
A "Not connected to Cloud Anchor account" banner also appears on the Subscription page.
The instance now shows as offline to the Cloud Anchor account and runs fully on-premises, with no cloud link.
What changes after disconnecting
While disconnected, the instance can't:
Onboard or delete devices (any pending deletions complete once connectivity is restored)
Be deleted itself
Restore device data
Manage subscriptions
Everything else — monitoring, configuration, and day-to-day device management — keeps working normally. To reconnect later, go back to Administration > Settings > Cloud Connectivity, re-enter the Cambium ID and Onboarding Key, and click Save and Connect