
cnMaestro On-Prem - Hyper-V - How to resolve the Black screen issue
This guide is to help you resolve the Black screen issue with the Hyper-V Console if you come across it after the VM has been build.
In some cases after the cnMaestro VM has been deployed on Hyper-V, after a while the console screen to the VM will go Black and you are unable to see anything or get into the Linux menu to change the IP address or manage the settings.
Prerequisites
Have a cnMaestro on-Prem VM built in Hyper-V
Download the ISO file for a flavour of Linux that supports Linux Live. - For this guide we will be using the latest version of Ubuntu (26.04.1).
Step 1 - Booting the VM from a Ubuntu ISO
At the top of your cnMaestro VM console, go to Media, DVD Drive and then Insert Disk. Select your Ubuntu ISO from which ever folder you have it stored in on the Windows Machine.
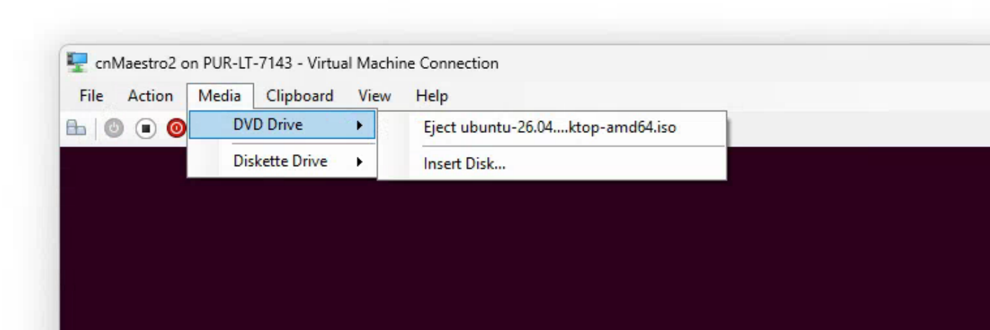
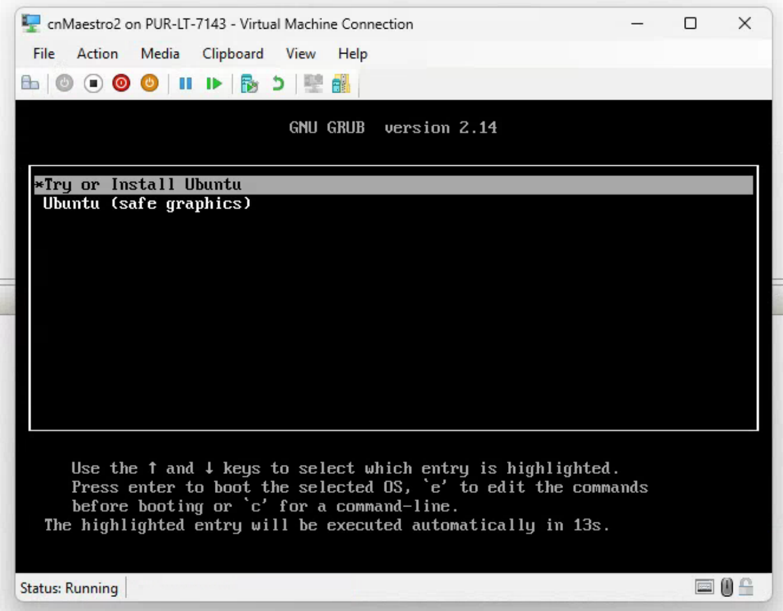
Once you have done this, turn the VM off and then Start it again. The VM should then boot from the ISO file and you should see a Black GRUB bootloader screen as shown below. You will want to select Try or Install Ubuntu and hit enter.
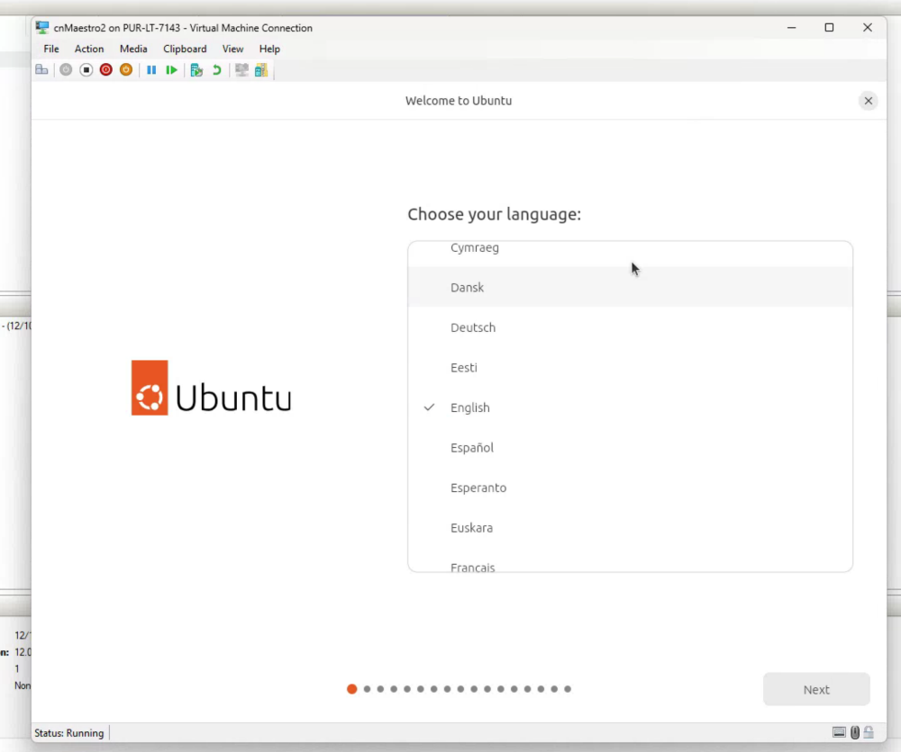
Wait for Ubuntu to boot. Once Ubuntu has booted you will see a white screen with a list of languages to choose from, as shown below.
Select your Language and click next.
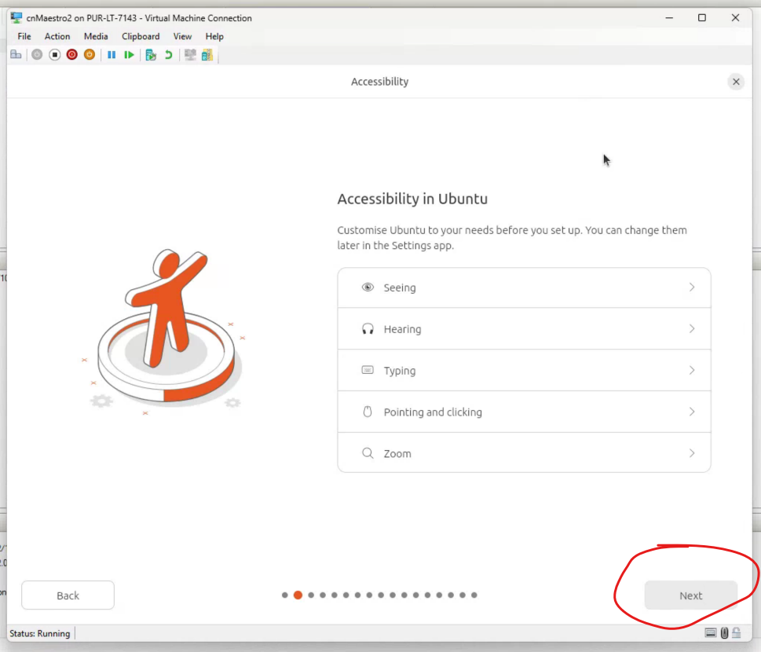
On the next Accessibility screen, click Next
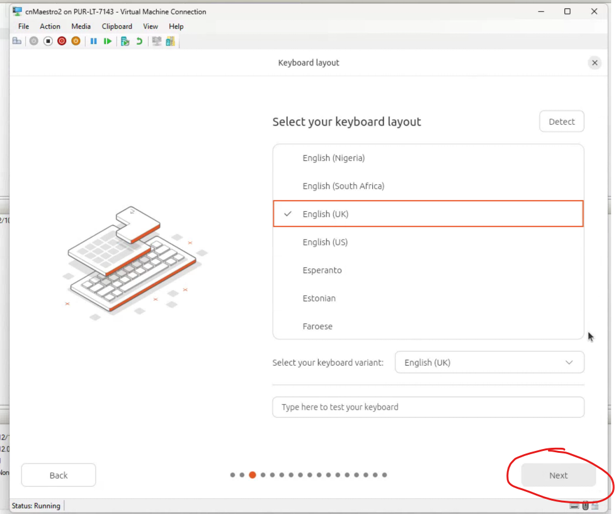
Next will be the keyboard layout. The default is English US, either keep this or change to your prefered keyboard layout and click next.
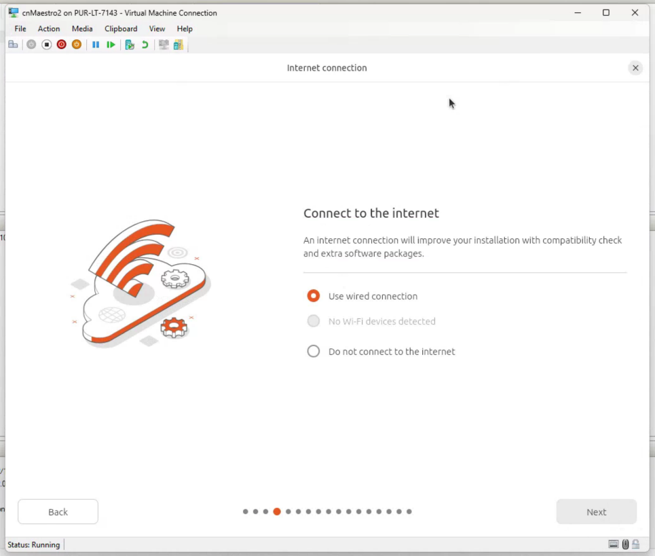
Next is the Connect to internet page. Leave as default and click next.
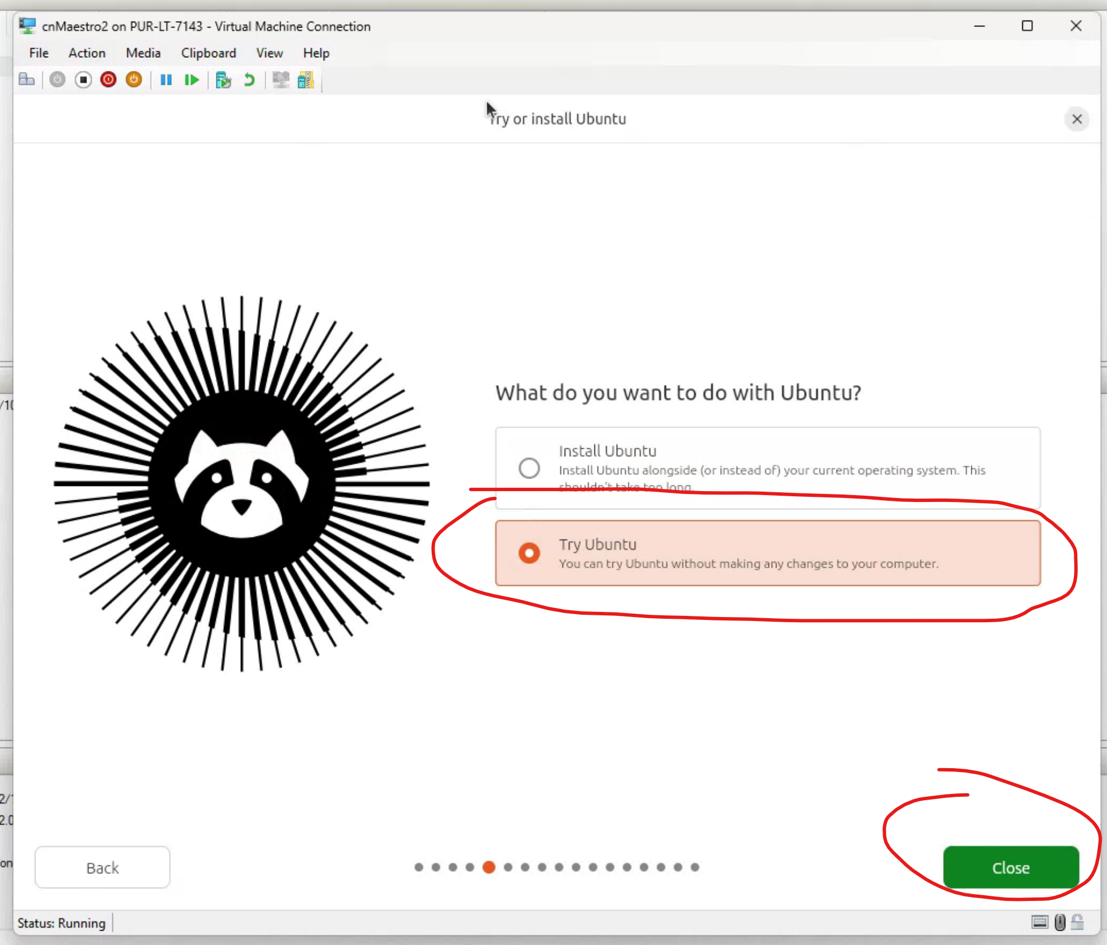
You will then be greeted with the screen to either install Ubuntu or Try Ubuntu. For this you will need to select Try Ubuntu and click Close. You will then be taken to the Ubuntu desktop.
Step 2 - Making changes to the GRUB
Once you get to the Ubuntu Desktop, open the files window.
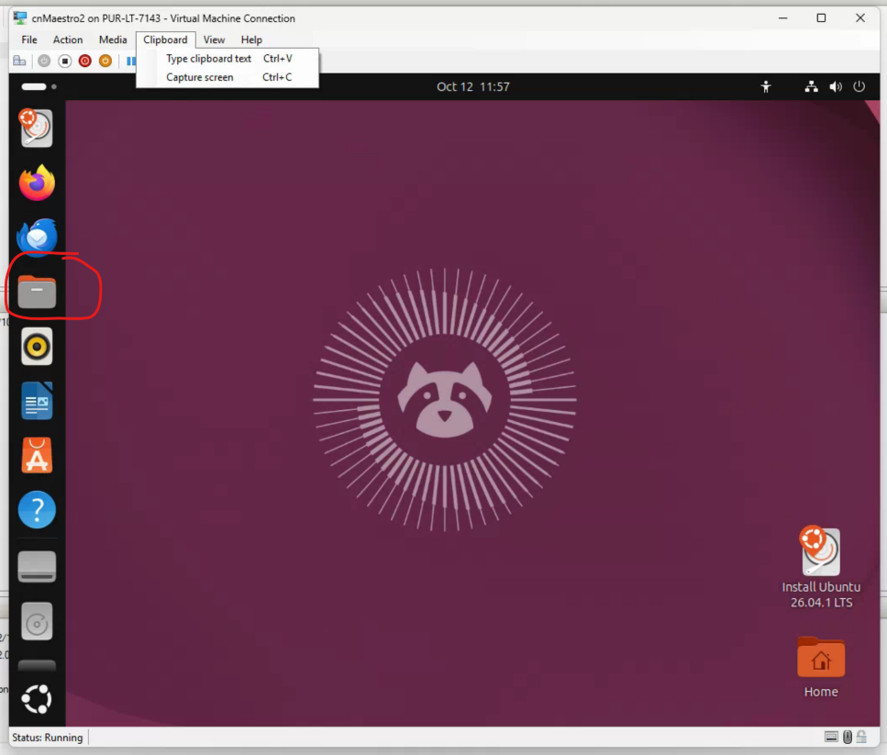
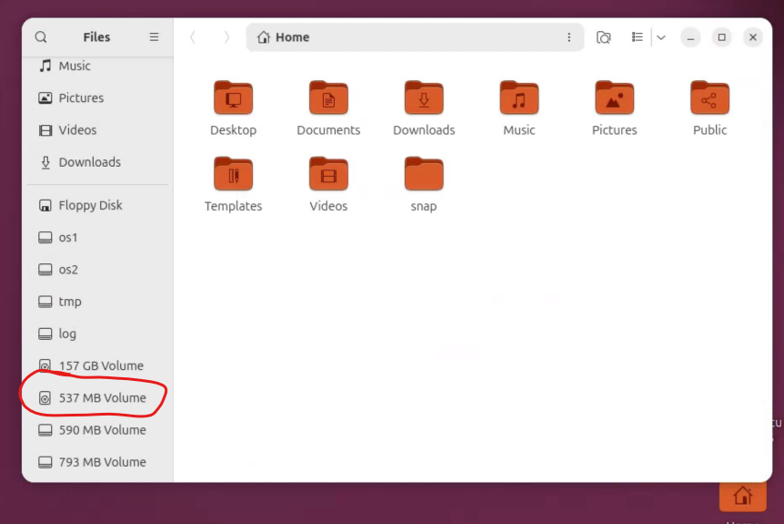
In the files window, find the 537MB Volume down on the left hand side and click it.
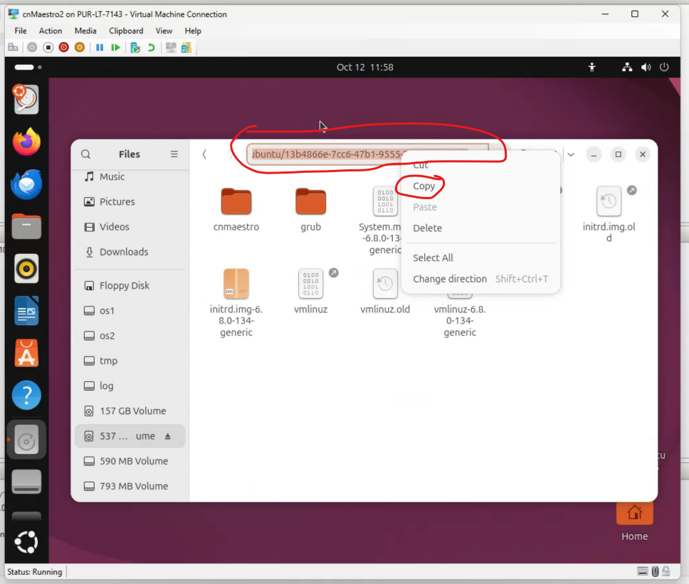
In the navigation bar at the top of the window copy the address of this folder.
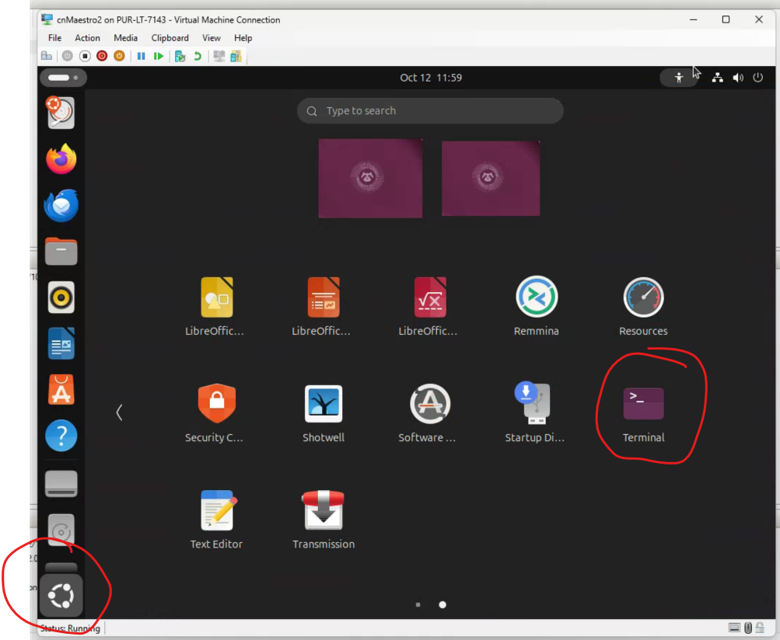
Once Copied, click on show Apps in the bottom left corner, find the Terminal and open it.
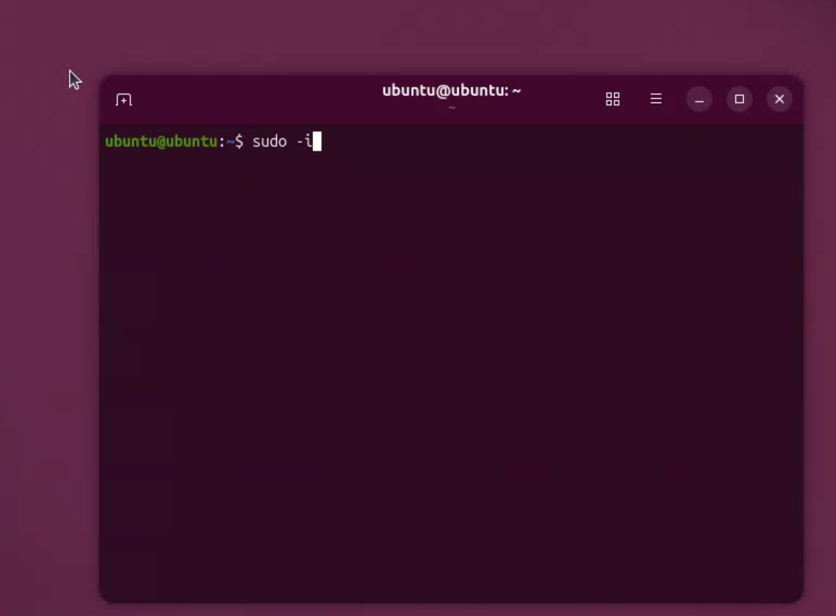
In the terminal, type the following command:
sudo -iThis will run the Terminal in administrator mode, which you will need for the next part.
Navigate to the directory you just copied by using the cd command and pasting the URL you copied in point 3.
cd "COPIED DIRECTORY"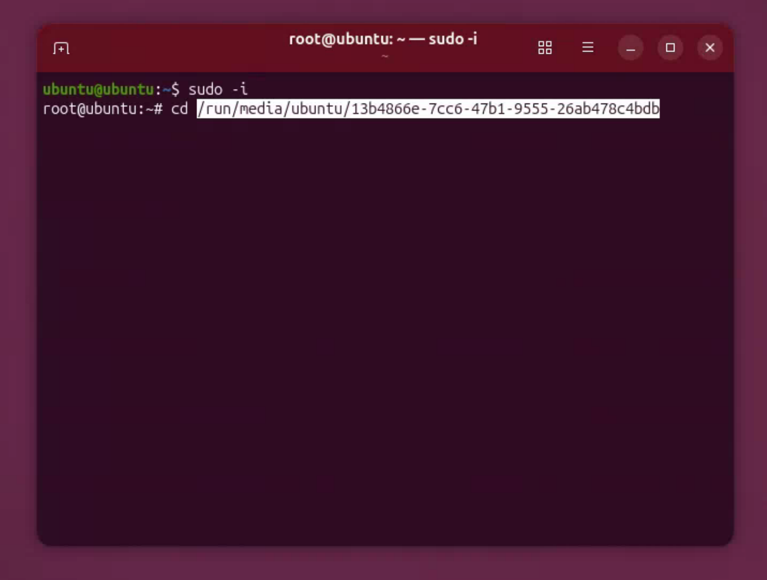
Once in the directory you will need to type the following command in:
nano grub/grub.cfgThis will open the file to edit the GRUB settings.
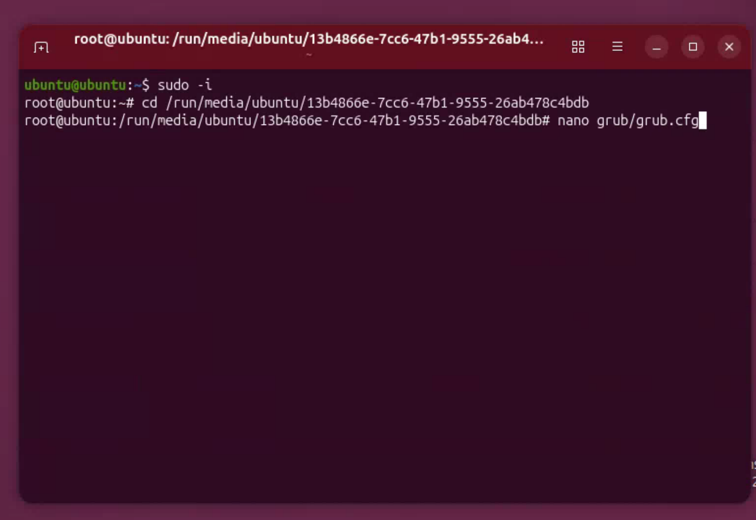
It will look like the following:
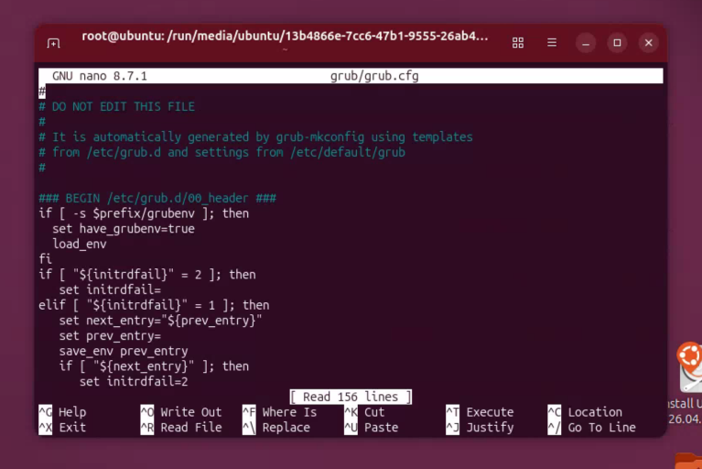
You will now need to find the line that contains "quiet splash". The best way to find this is to press CTRL+F on the keyboard and type it in.

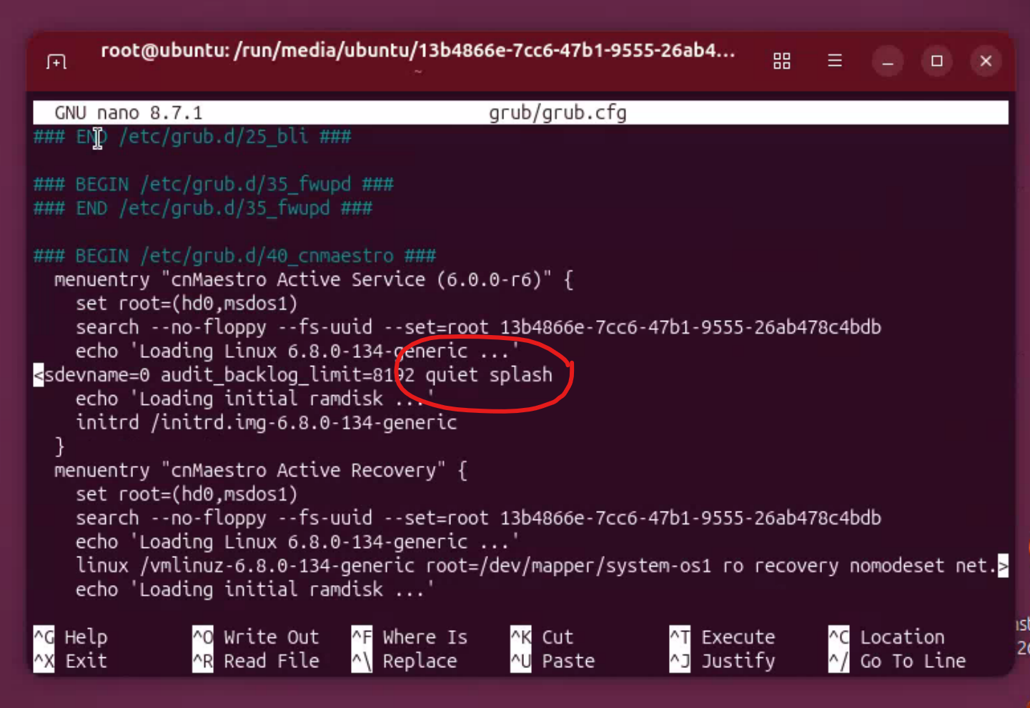
Now remove the text "quiet splash"
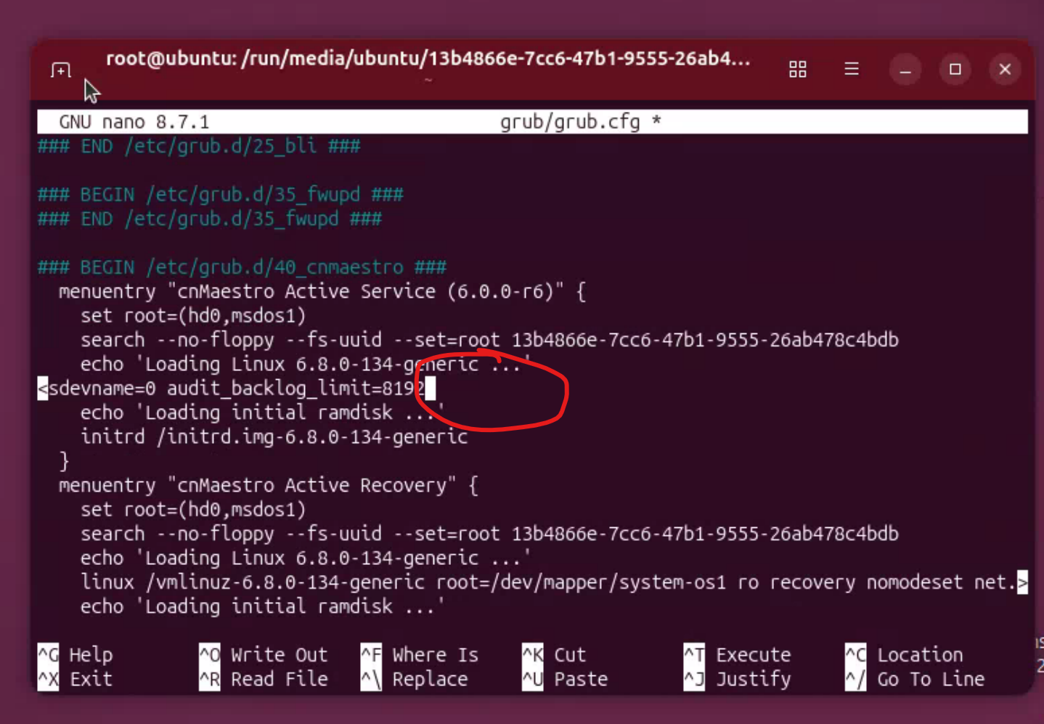
Once removed, press CTRL+O and hit enter. This will save the file and write any changes.
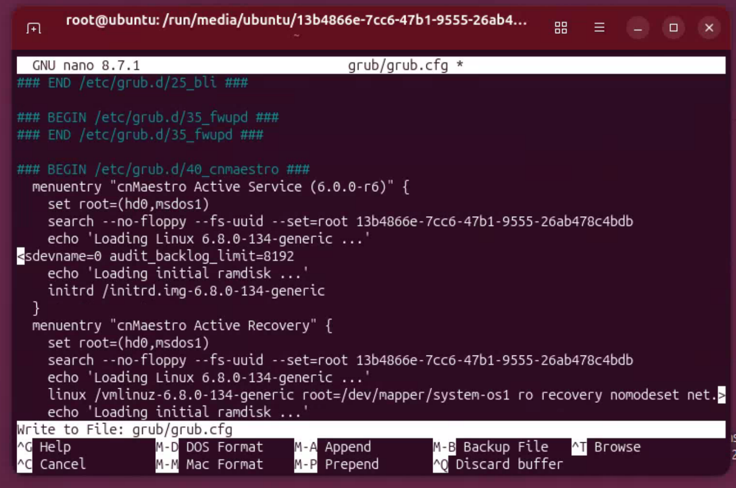
After the file has been saved you can close the terminal.
STEP 3 - Reboot the VM
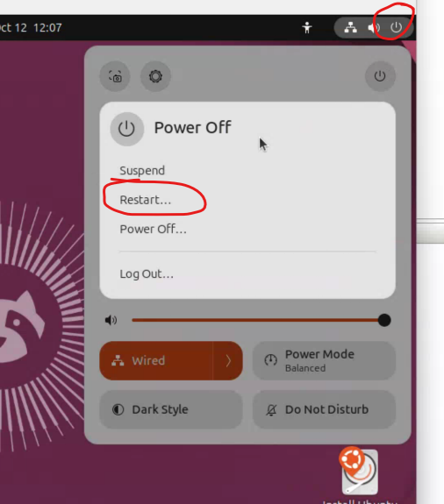
Go to the top right corner of the screen and click on the power button and Click Restart.
When prompted, click Restart.
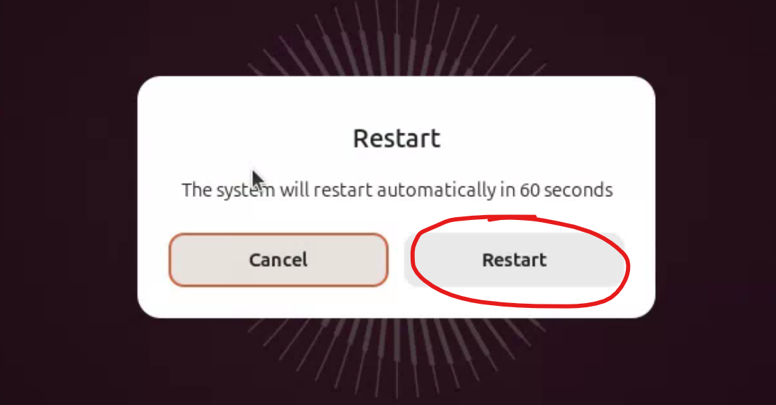
Ubuntu will now reboot the Virtual Machine.
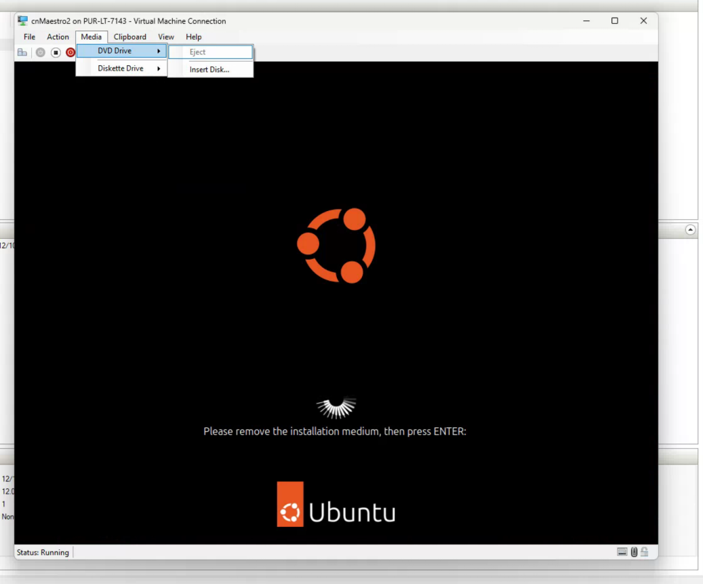
3. You will then need to go to Media, DVD Drive and Eject the Ubuntu ISO at the top of the VM window. Once you have done this press enter and the VM will reboot and boot into the cnMaestro on-prem.
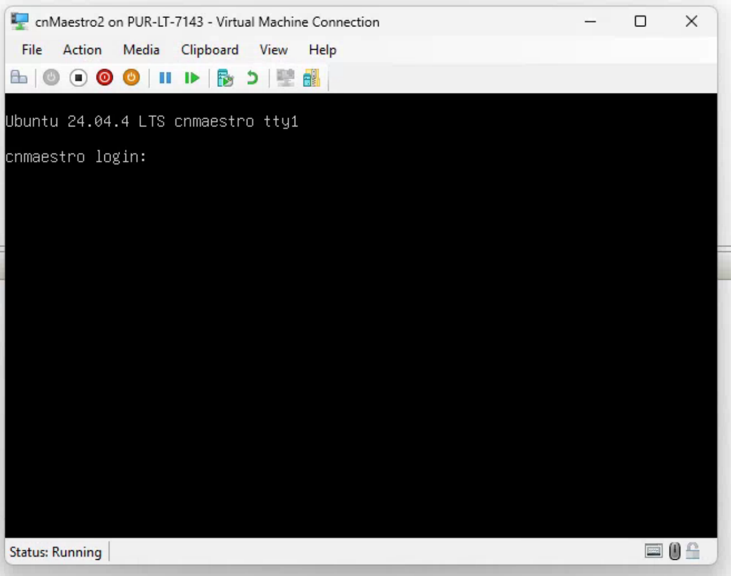
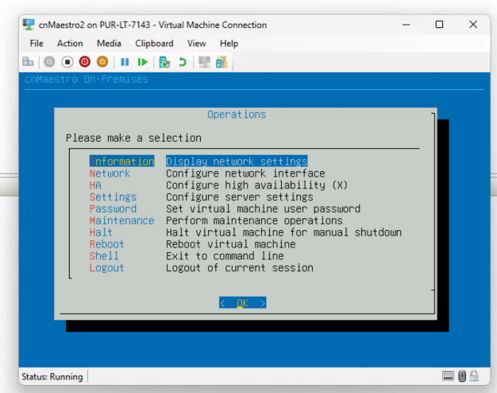
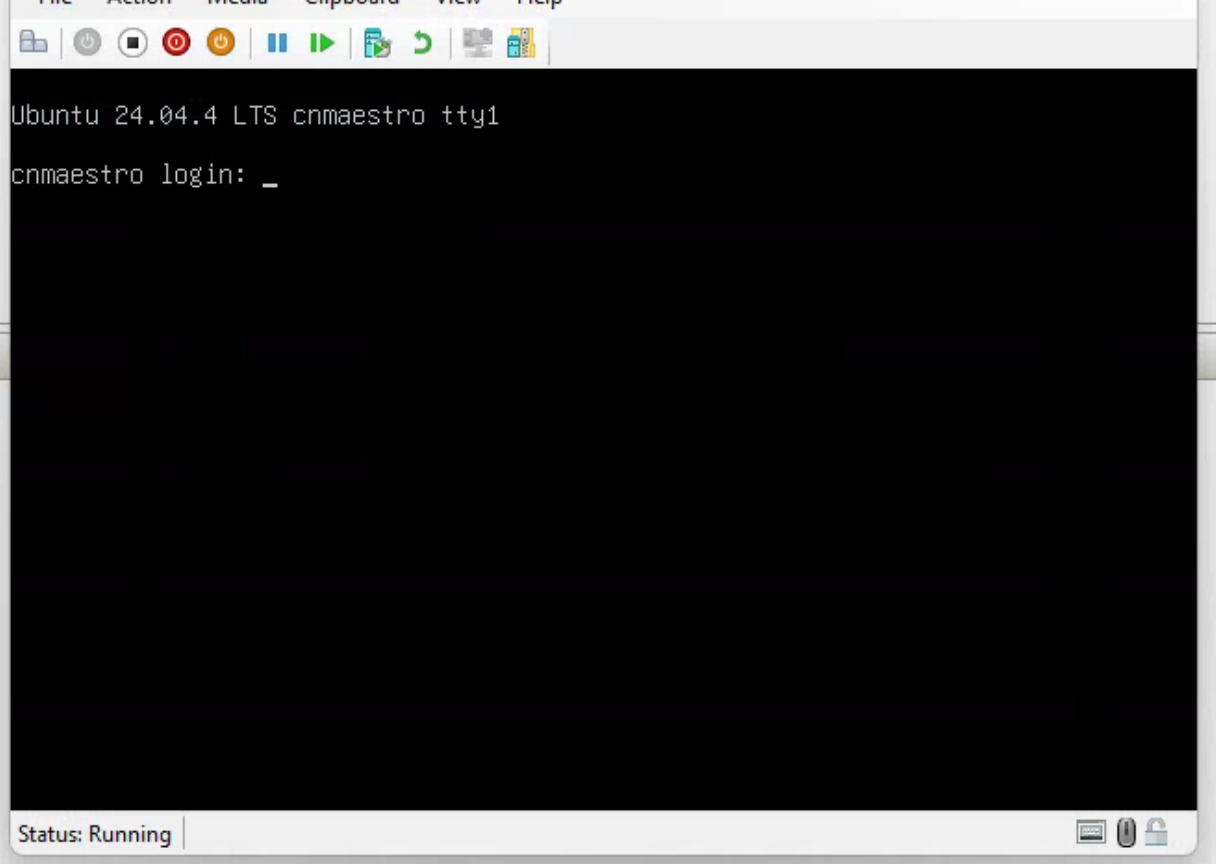
After a successful reboot you will get the black screen with white text to log into the backend of cnMaestro. Once logged in with the credentials you will see the menu screen with a blue background.
Step 4 - Edit the GRUB Settings for the cnMaestro
On the main operations menu, go down to Shell and hit enter.
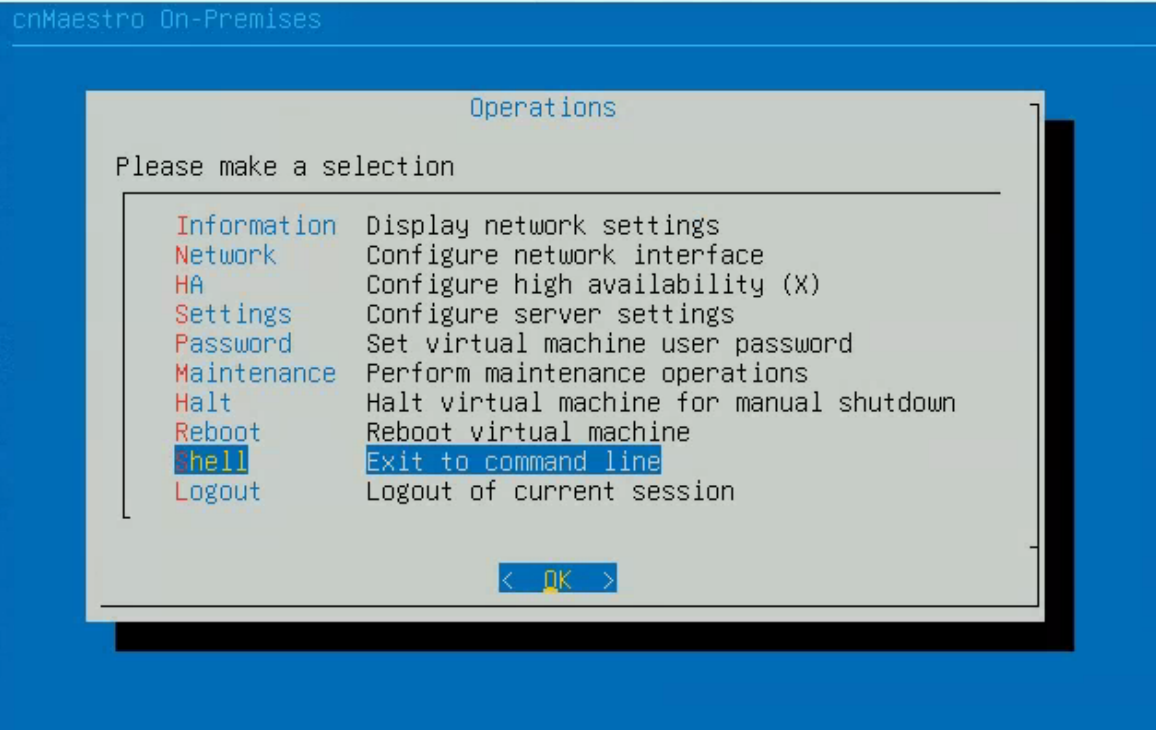
This will then show a black screen and will give you access to the Linux Terminal.
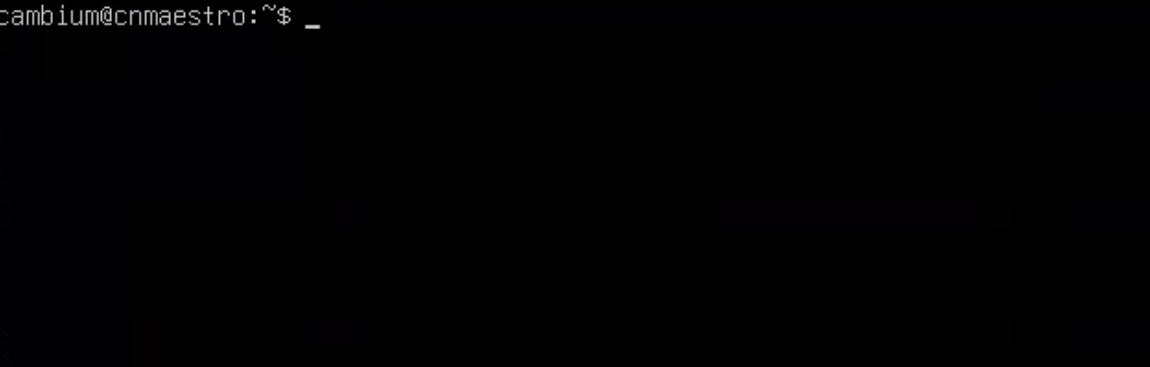
Type the following command and hit enter
this will give you admin access to edit the file with the settings for the GRUB.
sudo nano /etc/default/grubThe screen should then look like the following:
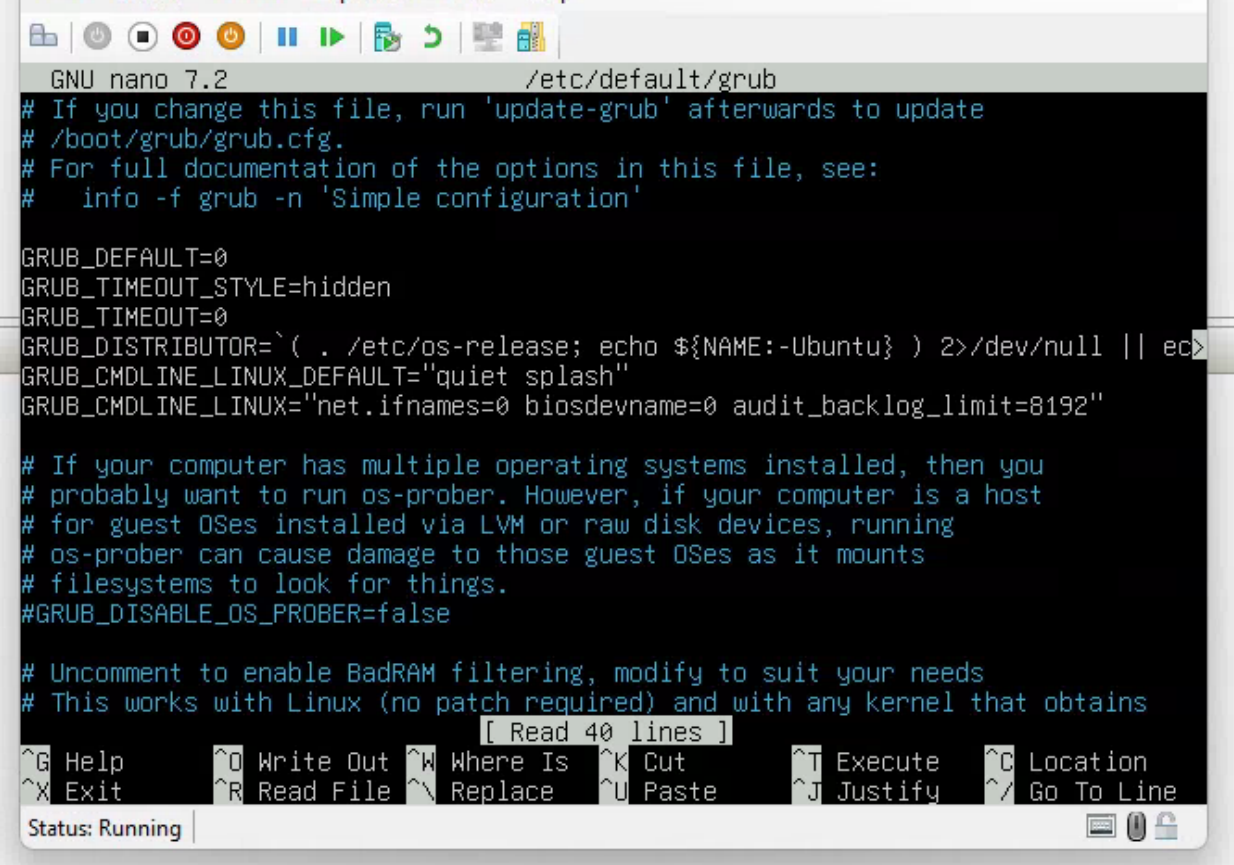
You will then need to find the following line:
GRUB_CMDLINE_LINUX_DEFAULT="Quiet Splash"Remove the Quiet Splash from between the quotation marks. It should then look like the following:
GRUB_CMDLINE_LINUX_DEFAULT=""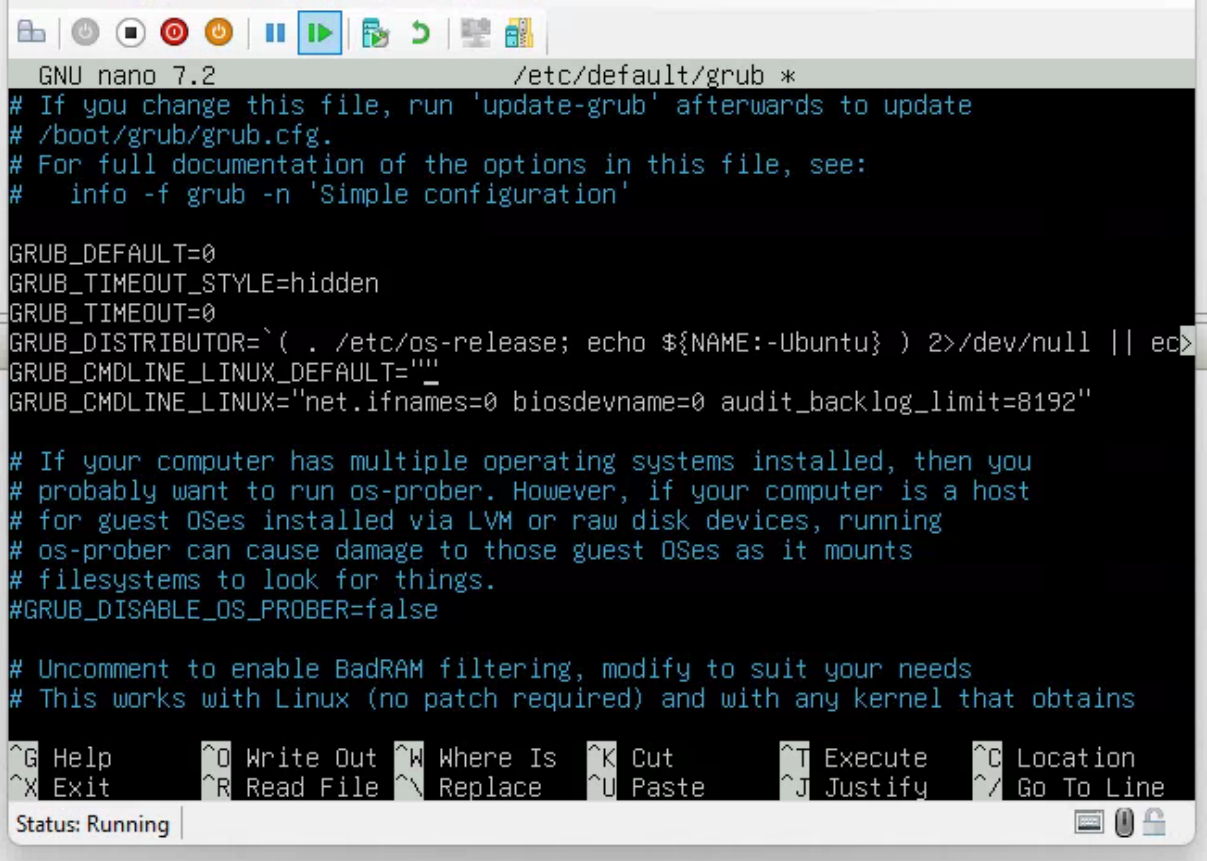
Once this is done, press Ctrl and O on the keyboard to save the file.
Then press Ctrl and X on the keyboard to exit the file. This will take you back to the CLI terminal.
Type exit and hit enter and you will go back to the black screen where you first logged in. If you log in again then you will be taken back to the Blue Graphical interface as seen before.
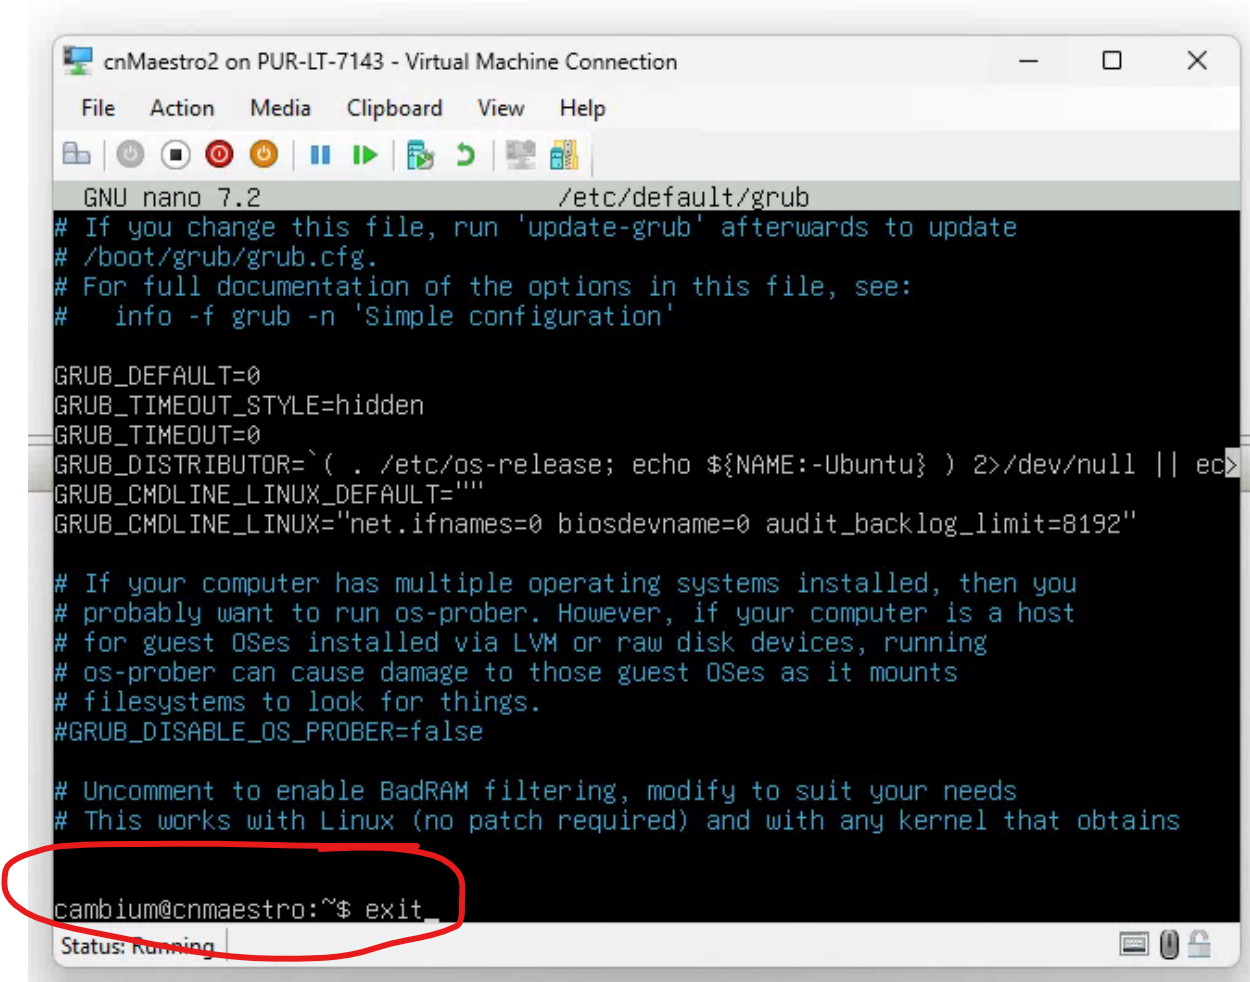
This will now stop the Hyper-V console from going Black with no ability to see the graphical interface again.