Cambium ePMP PTP Guide
Purpose
The purpose of this guide is to give a guidance on how to set up an ePMP radio to form a Point to Point Link.
Prerequisites:
-Ensure kit is unboxed, plugged in and powered up.
-Give your laptop an IP address in the range of the ePMP default IP range which is 169.254.1.1/24.
Configure Master Unit (Access Point)
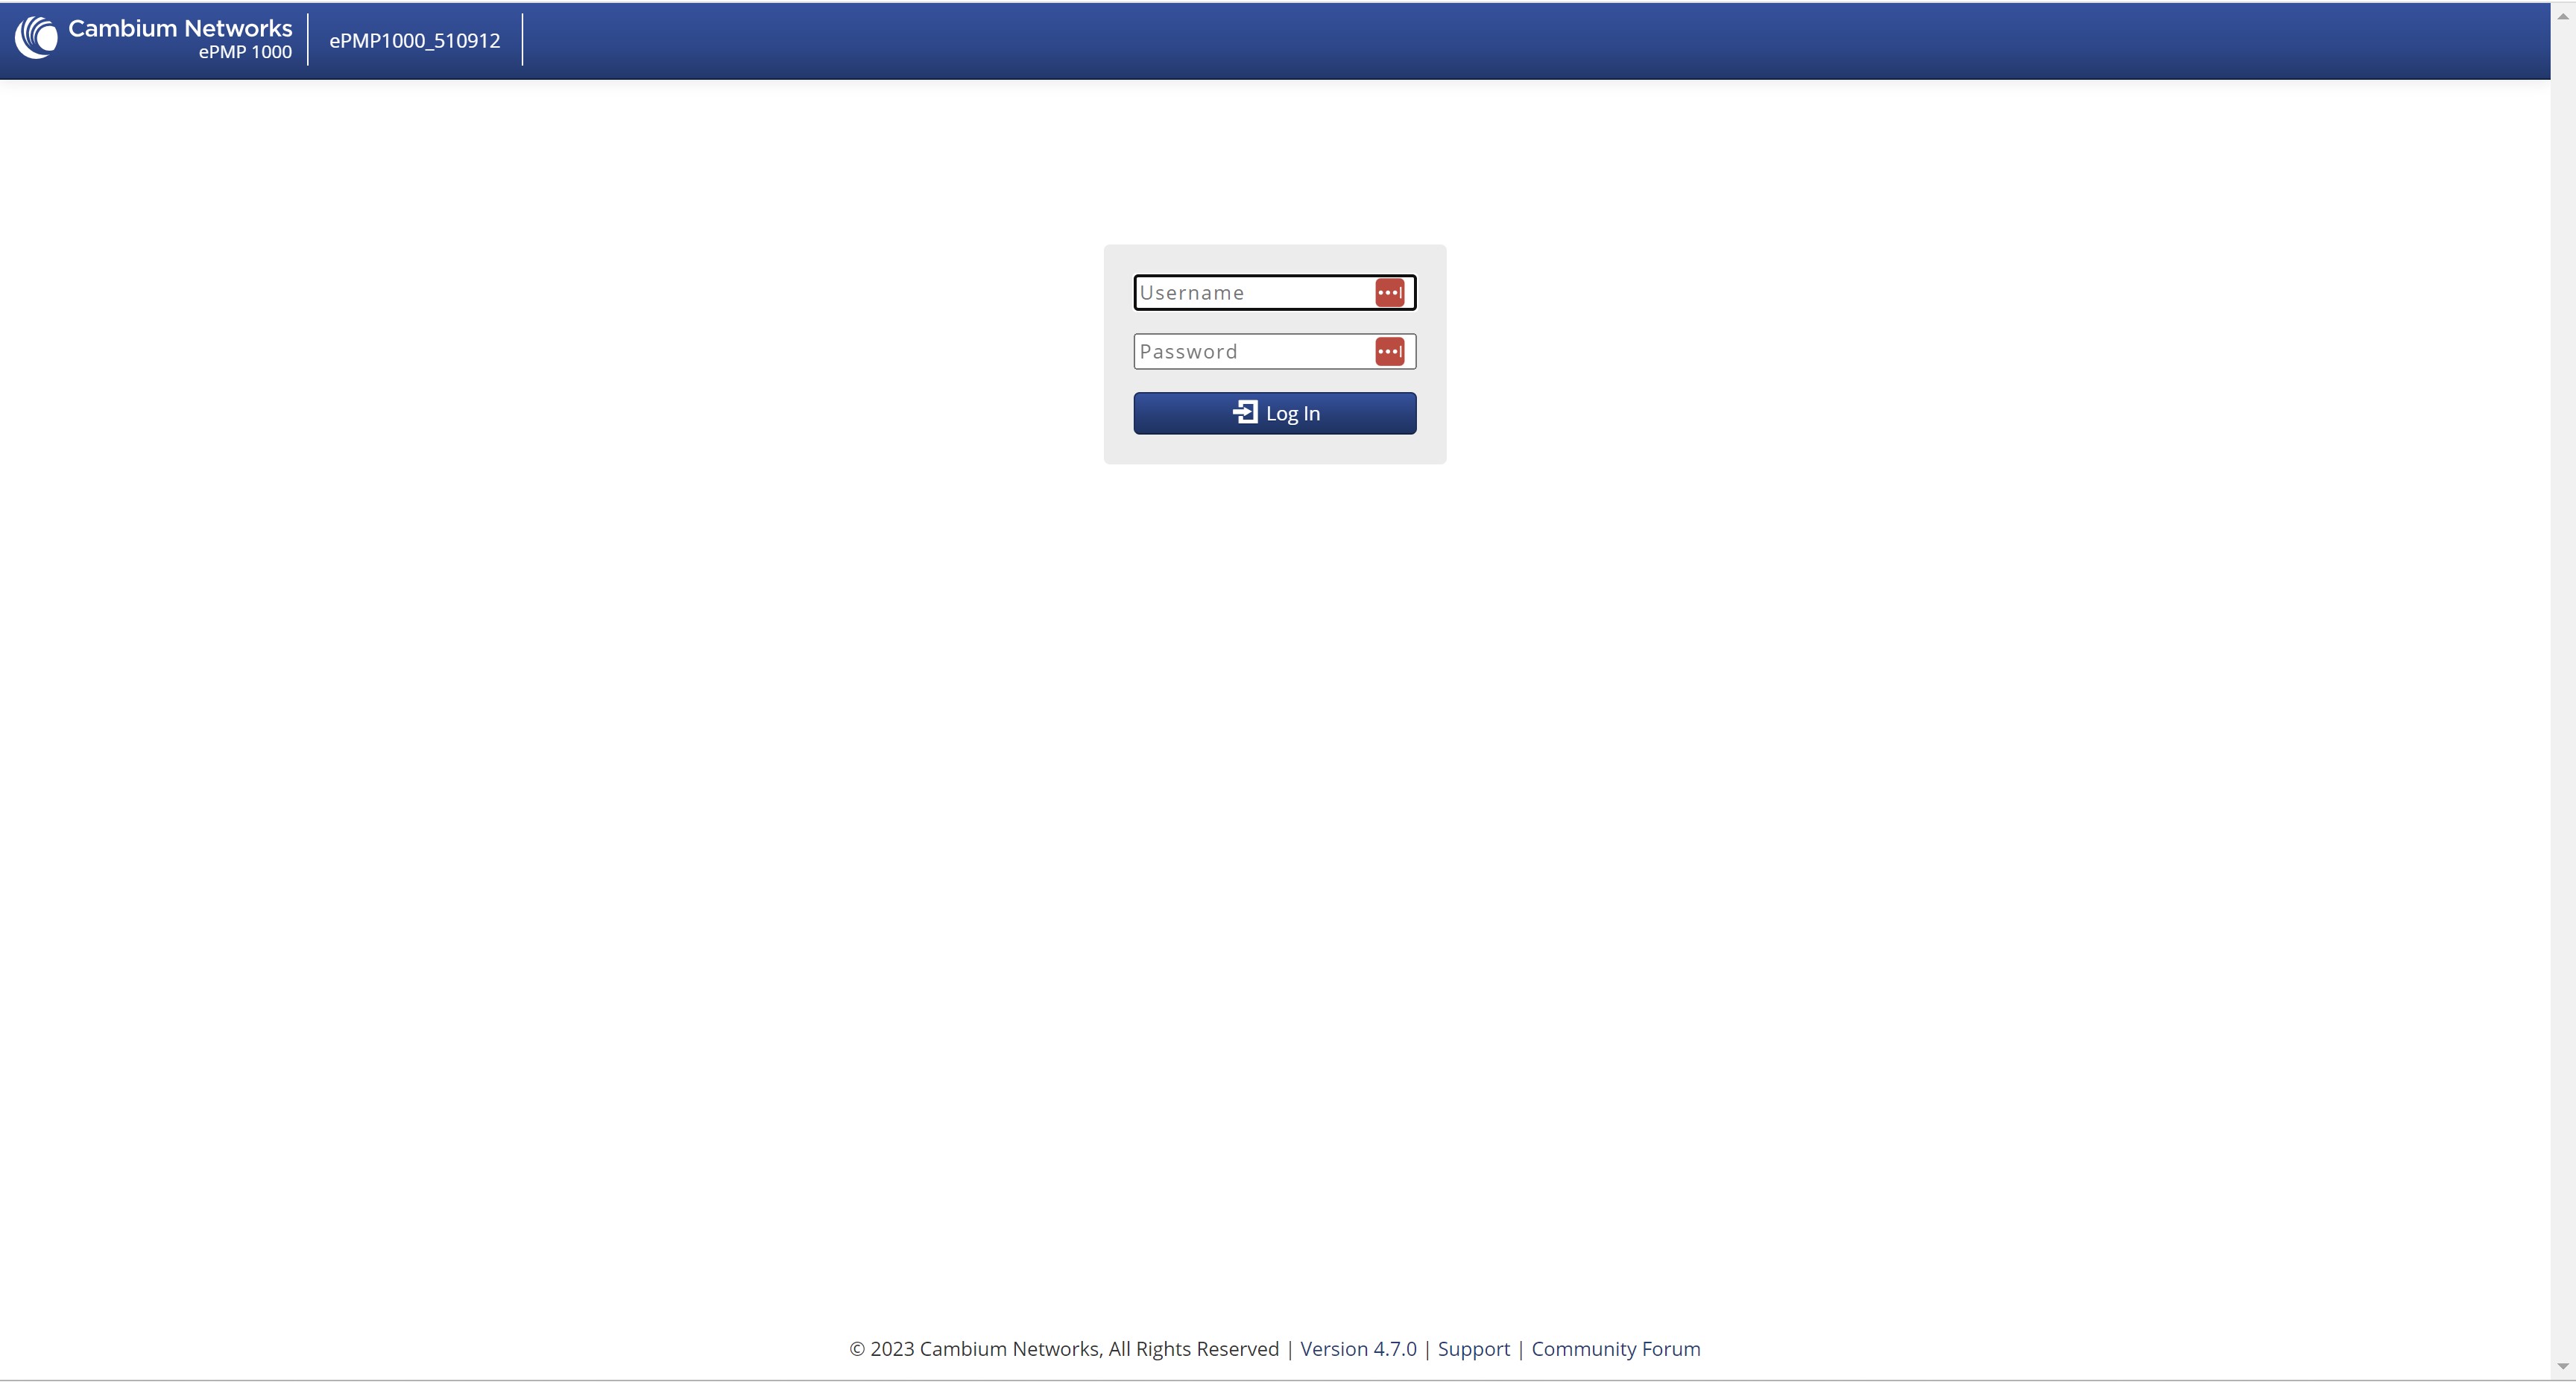
Step 1: Open a web browser and navigate to the IP address of 169.254.1.1. The log in screen will be displayed. Log into the radio using the default username and password. (User: admin, Password: admin)
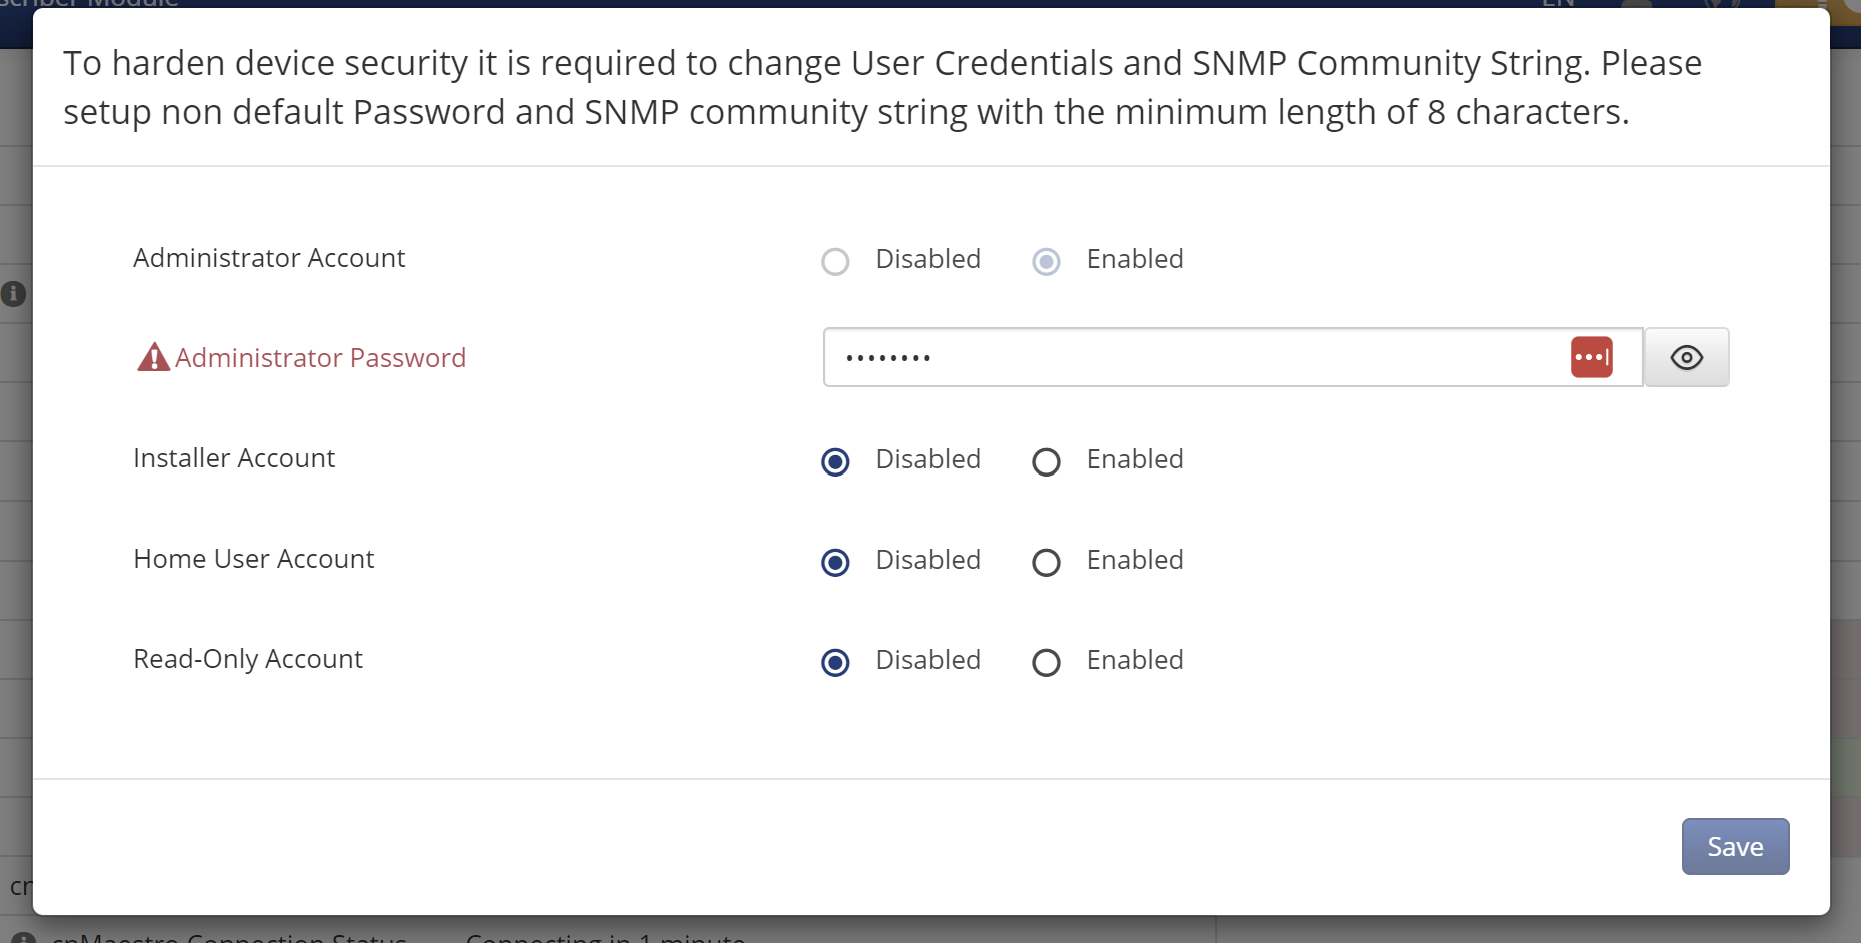
From firmware version 4.7 you will then be required to change the password to something more complex.
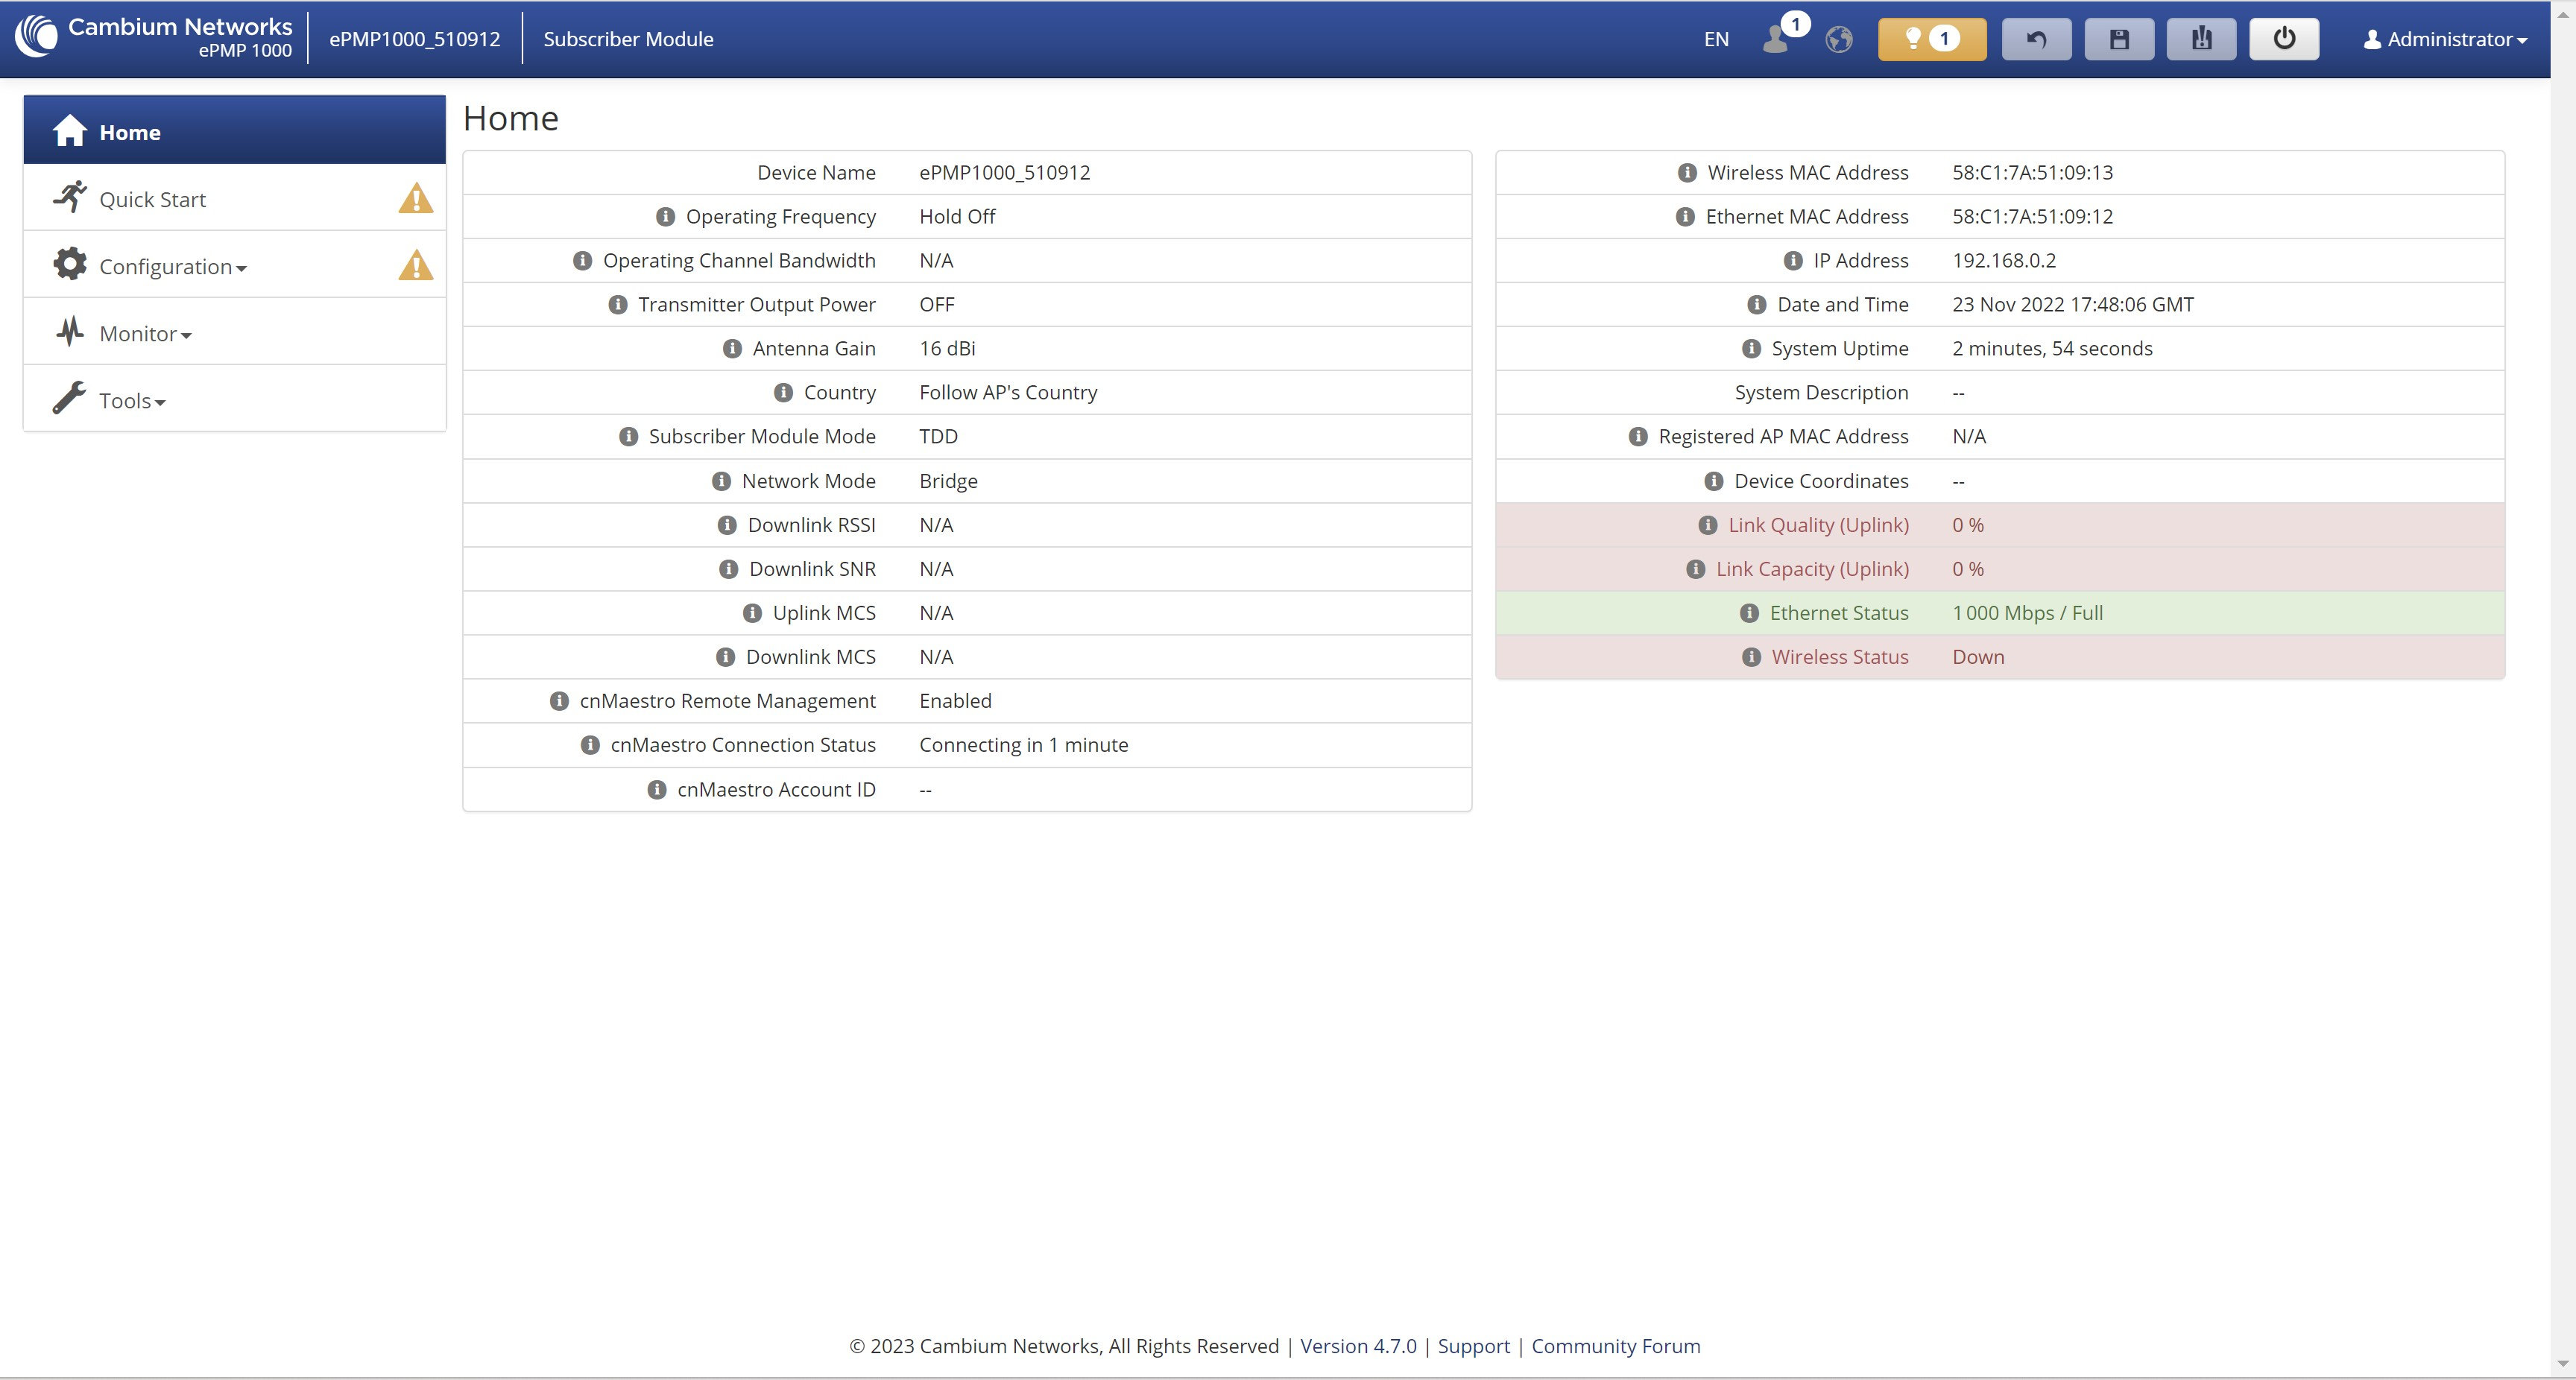
You will then be presented with the home screen.
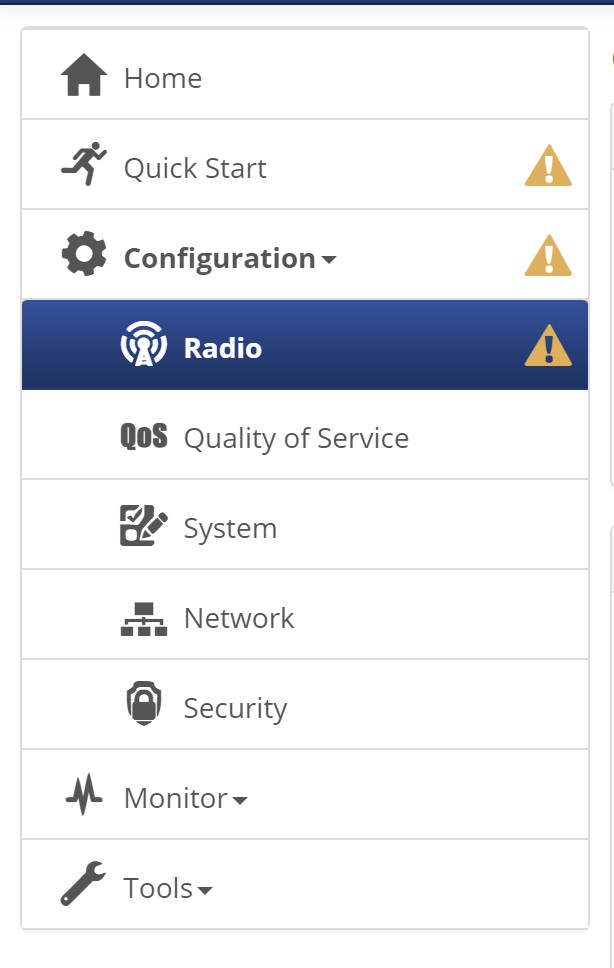
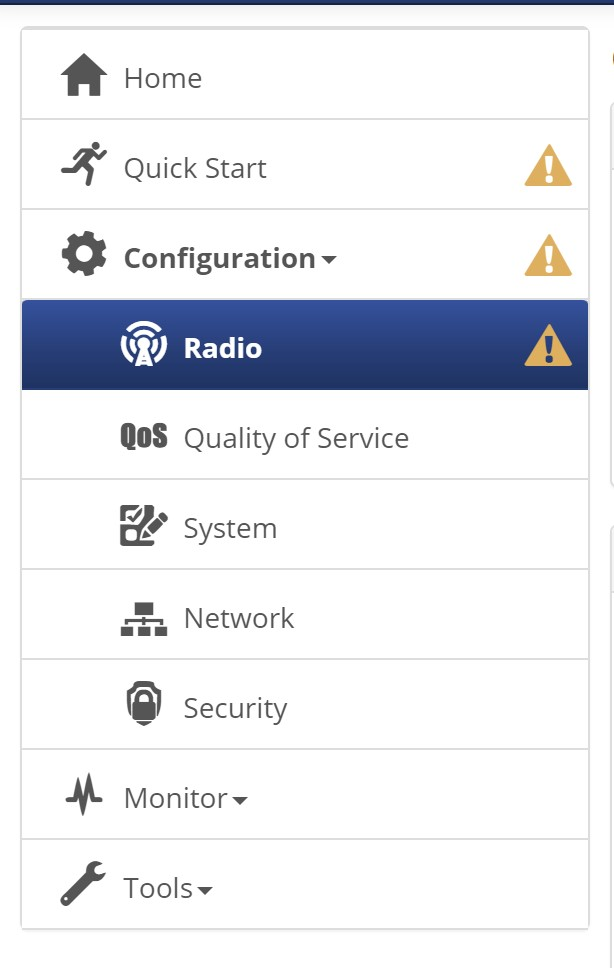
Step 2: On the left hand side of the page go to Configuration and then click on Radio.
Step 3: On the radio setting in the general section, change the Radio Mode to Access Point and change the Driver Mode to ePTP Master.
Step 4: There are 2 options when it comes to connecting a Subscriber Module.
1) First Subscriber Module - When this is selected the first SM to register with the AP will be used to form the ePTP link.
2) MAC Filtering - When this is selected a box will appear underneath . Here you enter the Wireless MAC address of the Subscriber Module you wish to form the link with.
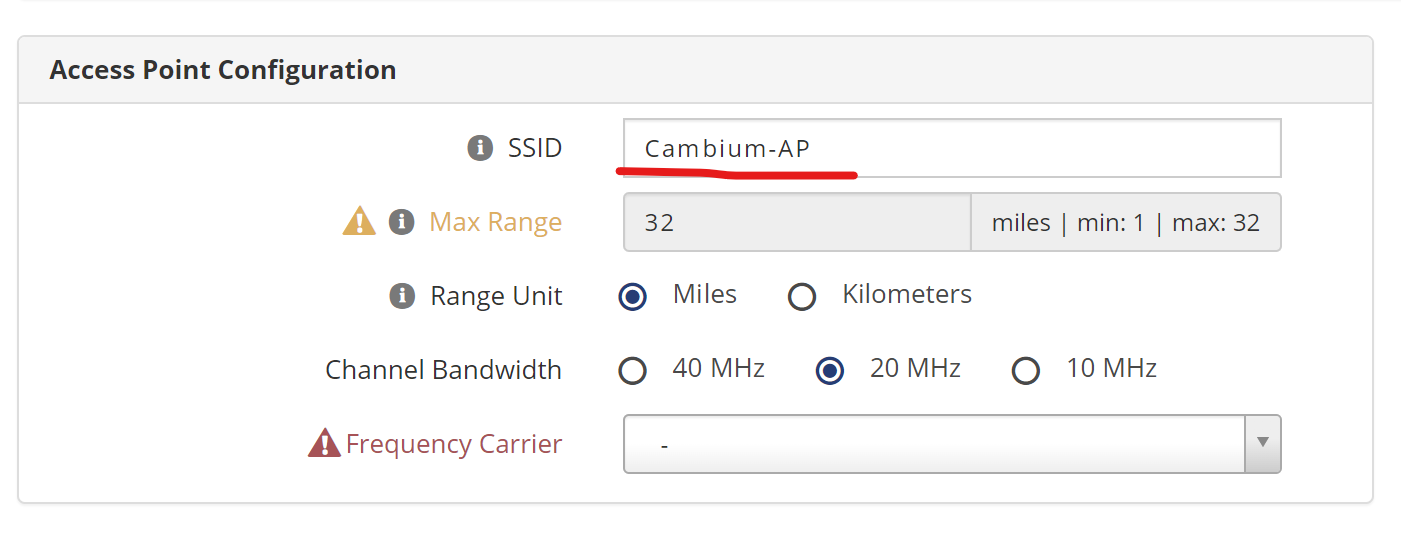
Step 5: Access Point Configuration - In this section you will need to set an SSID name. For this example we have Cambium-AP.
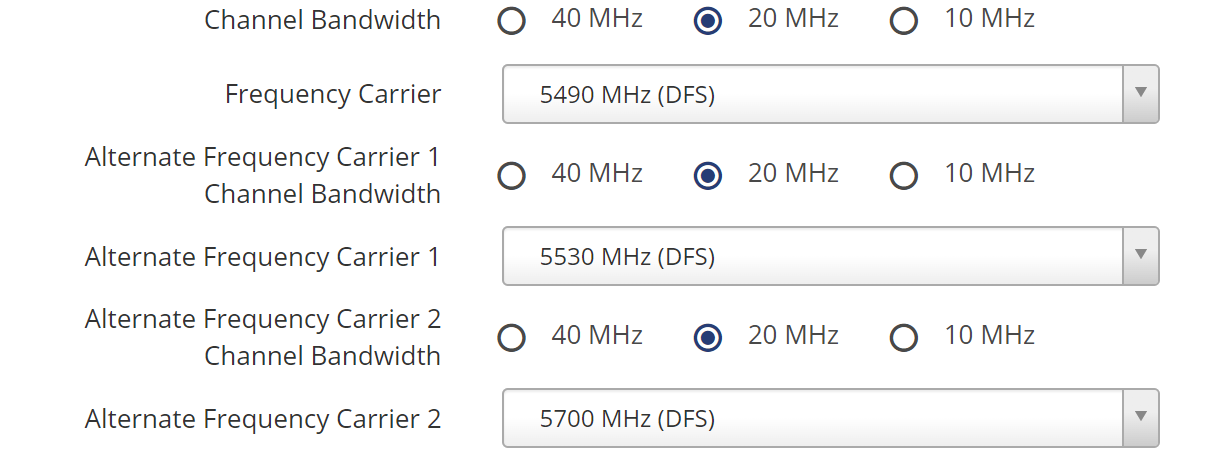
Step 6: Next you will need to select the Channel Bandwidth you want to use. Either 10MHz, 20MHz or 40MHz and then select a Frequency Carrier.
Step 7: More items will then appear to configure two alternative Frequency Carriers. These need to have at least the channel bandwidth plus 10MHz separation between the carrier frequencies to avoid overlap.
In this case 20MHz+ 10MHz separation = 30MHz between selected channels.
Step 8: At the top of the page click on the save button and then click on the reboot button to allow changes to take affect.
Configuring the Subscriber Module
Step 1: Connect to the Subscriber Module unit and navigate to the default IP in a web browser as you did with the AP. (User: admin, Password: admin)
Step 2: On the left hand side of the page go to configuration and then click on Radio.
Step 3: Set the Radio mode to Subscriber Module and the Driver Mode to ePTP Slave.
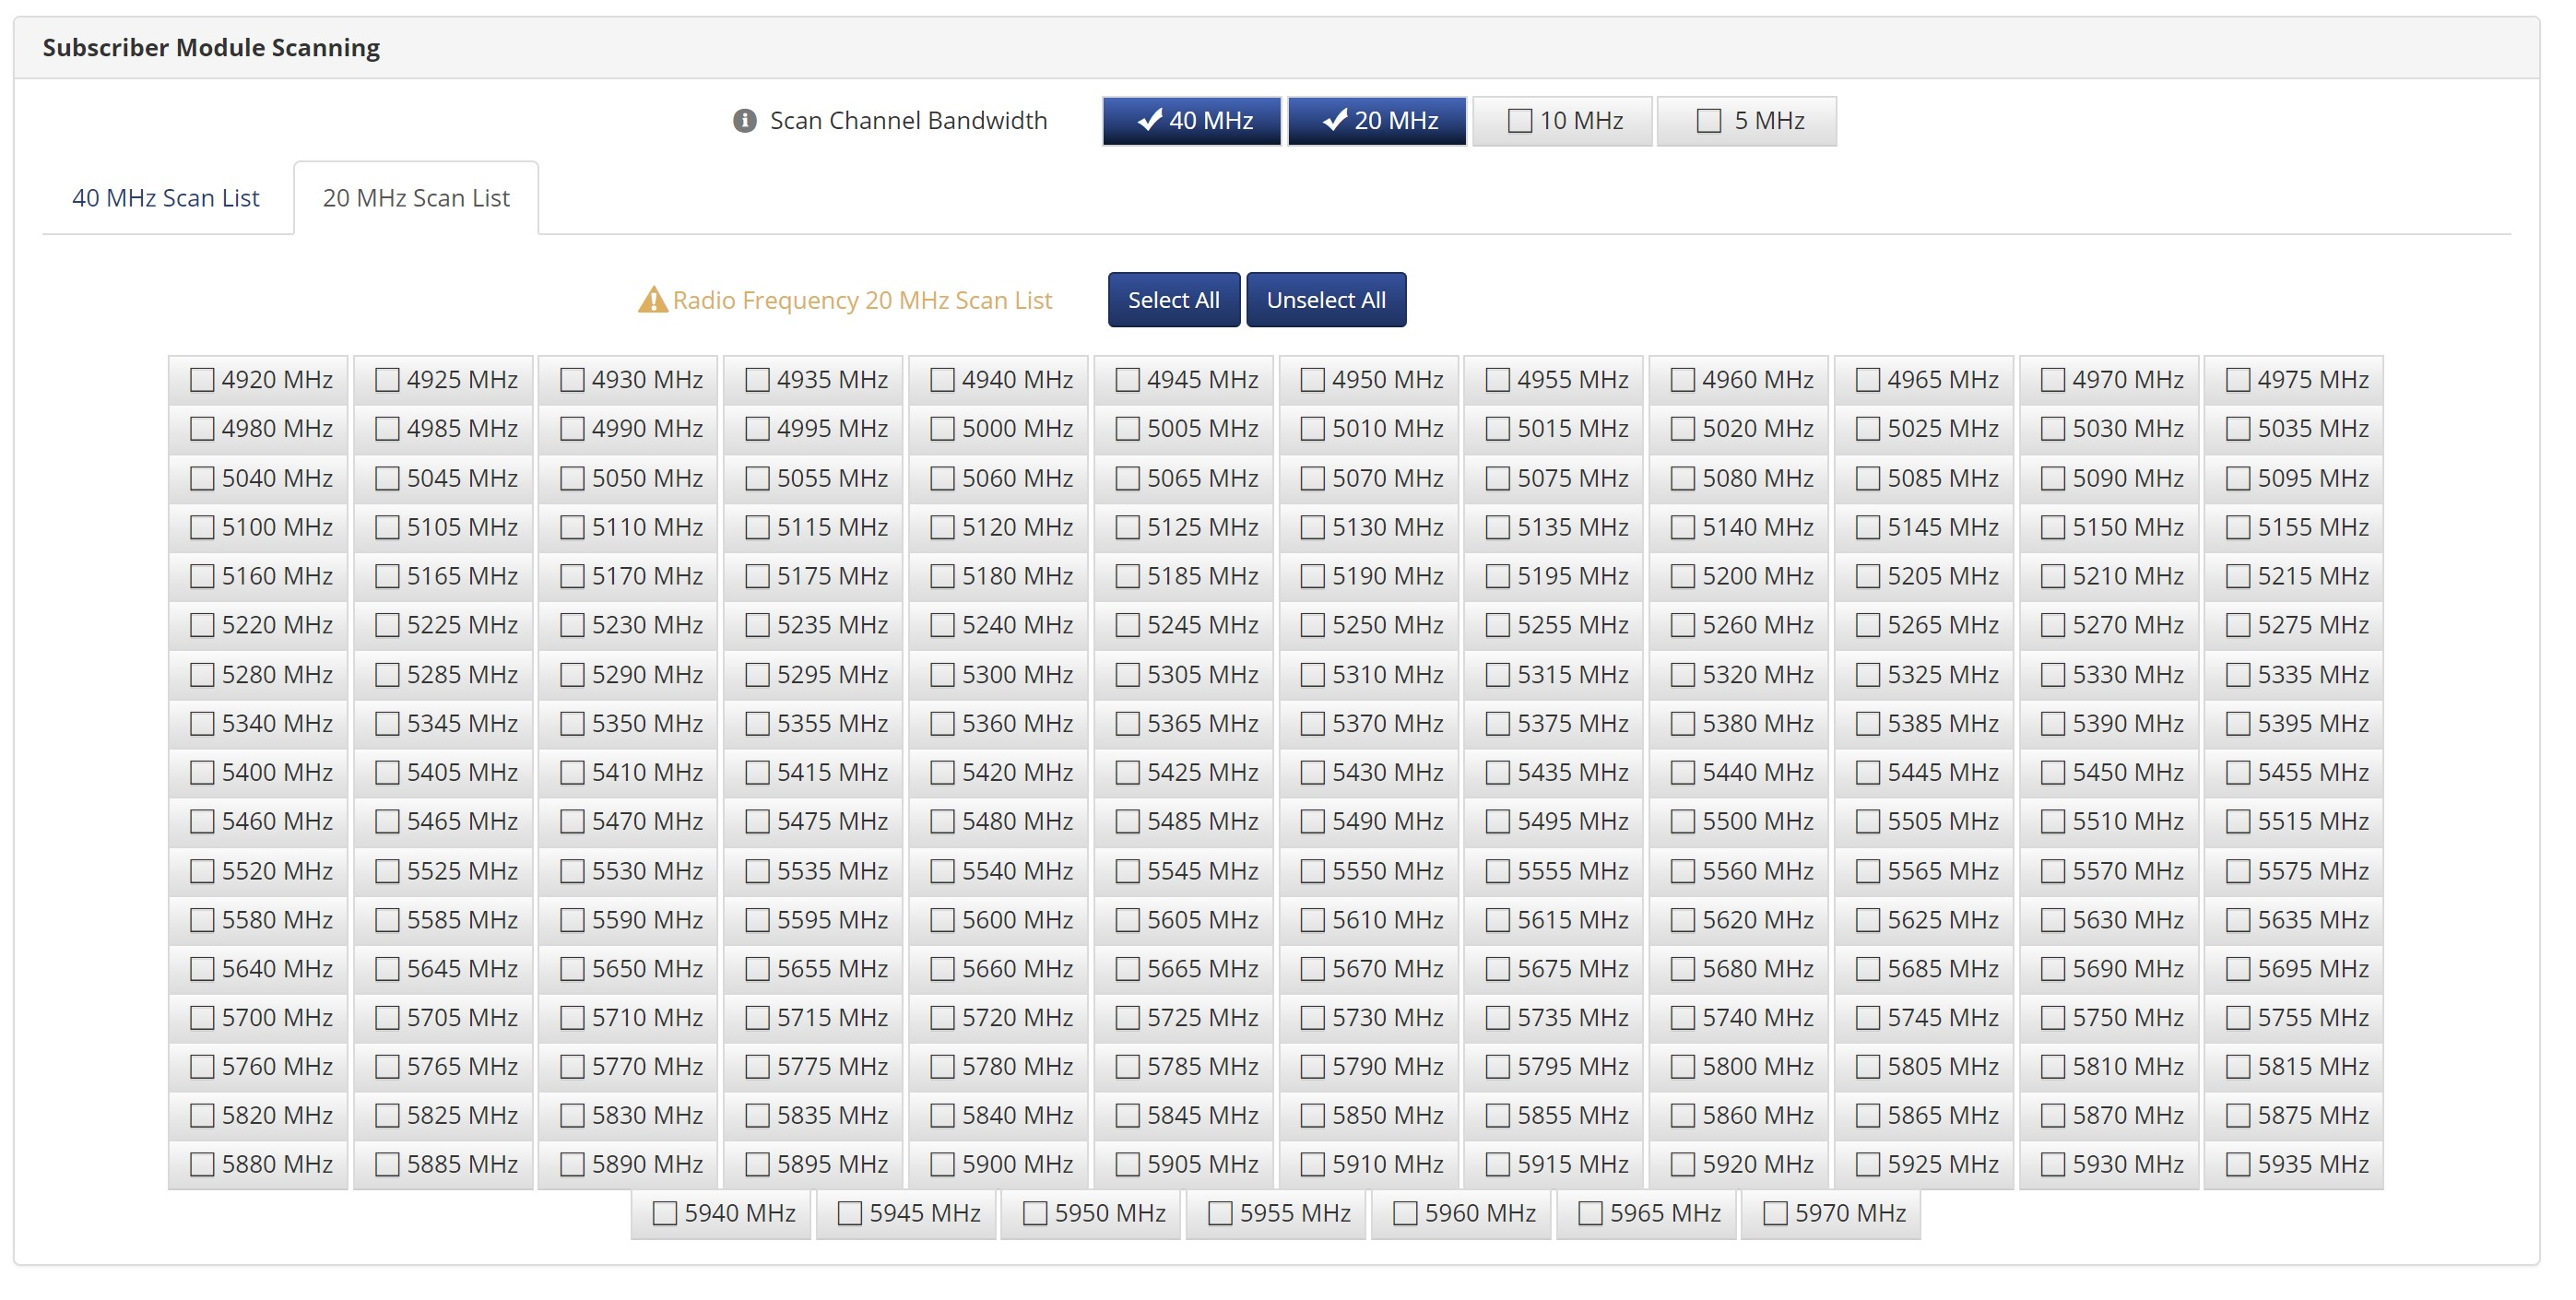
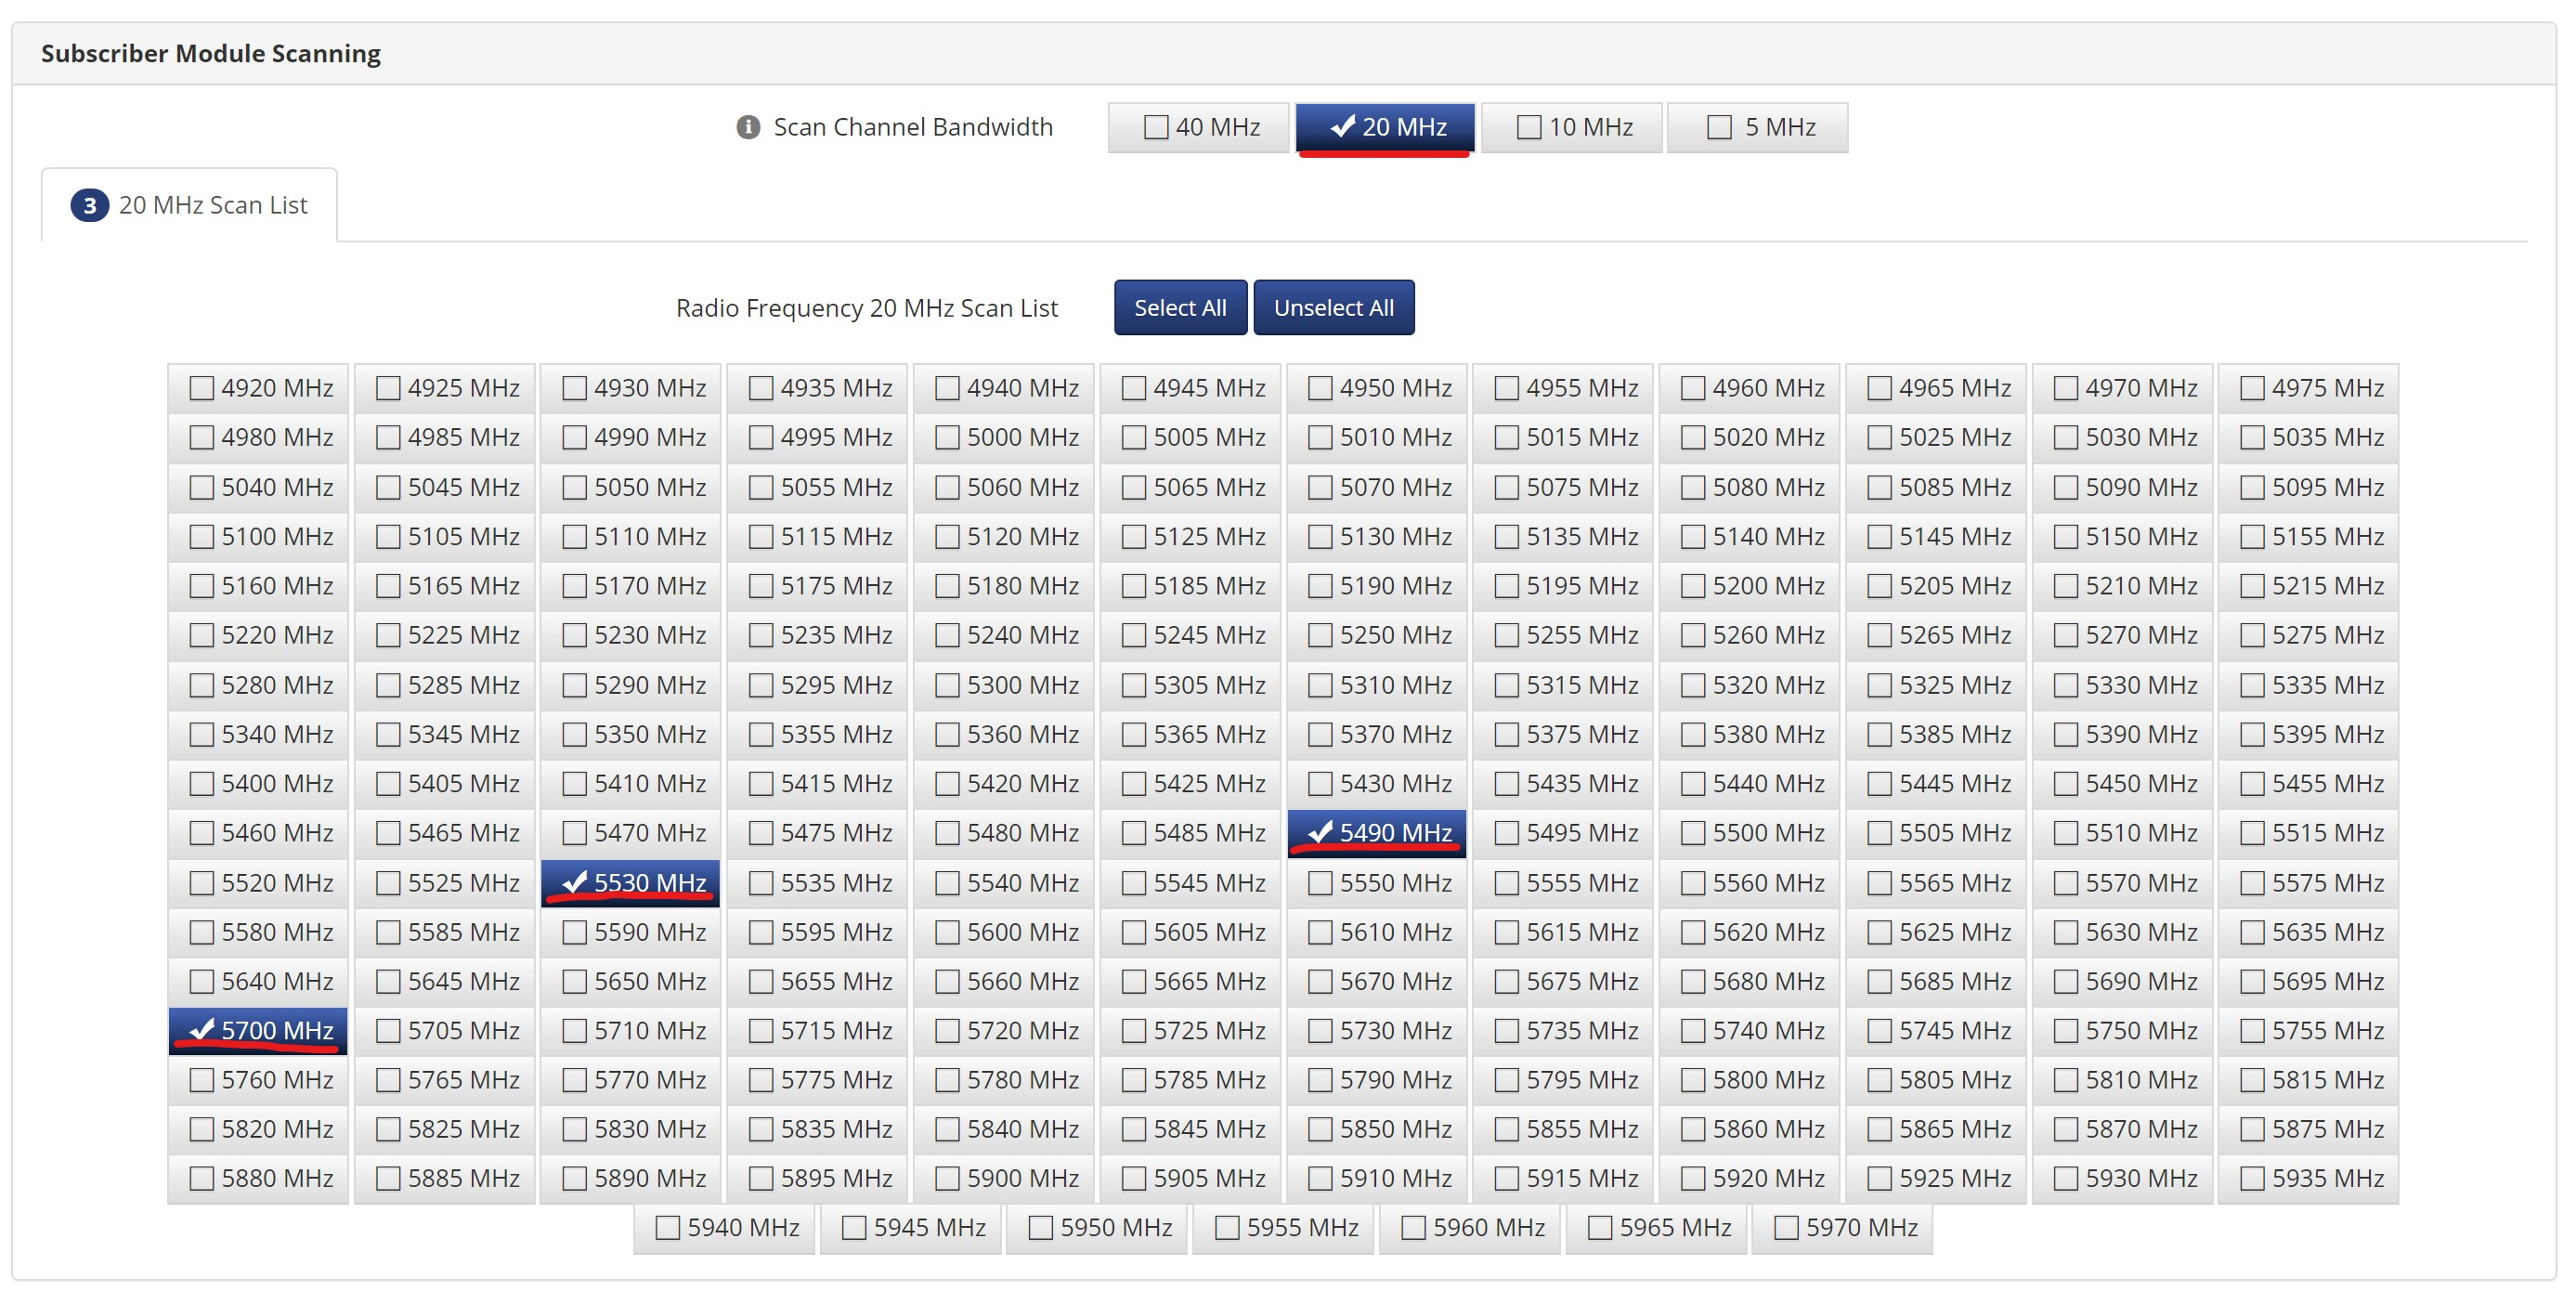
Step 4: In the Subscriber Module Scanning section select the channel bandwidth and the channels that were set on the master unit (Access Point). In this example we used 20Mhz channel bandwidth and channels 5490MHz, 5530MHz and 5700MHz.
Selecting only the channels that were set on the master radio will mean the subscriber will only scan these channels allowing the link to form quicker.
(Once the link is formed the channel that is currently in use will show as Green)
Step 5: Save the configuration on the subscriber module. The subscriber will then scan these channels and attempt to form a link.
Checking the link Status
Step 1: Return to the master radio (Access Point) and log back in. On the home page you will be able to see if the Subscriber Module is registered.
On the subscriber module it will also tell you if the link is up, by displaying figures in the Link Quality and Link Capacity boxes.
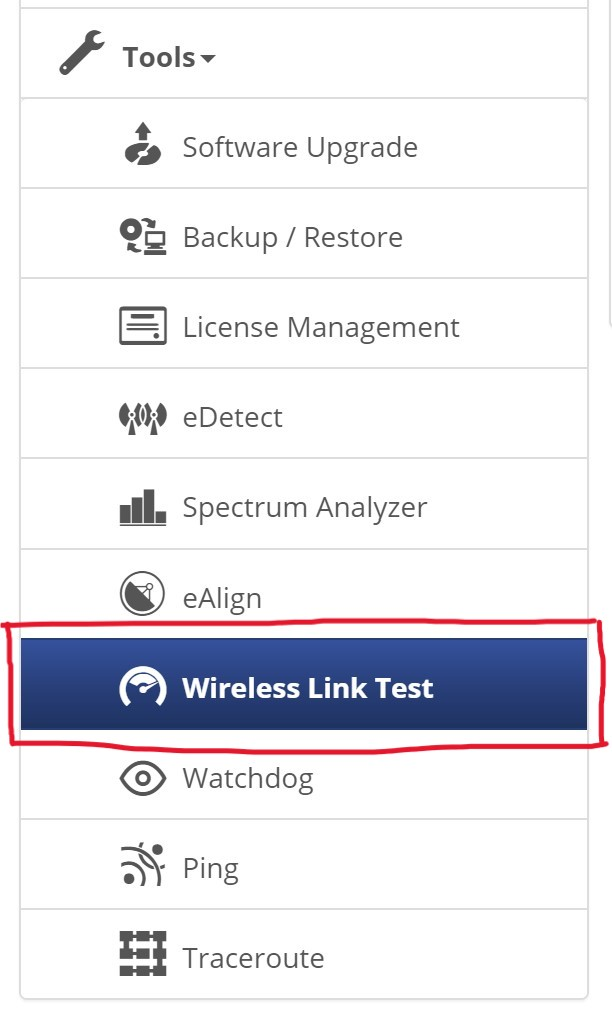
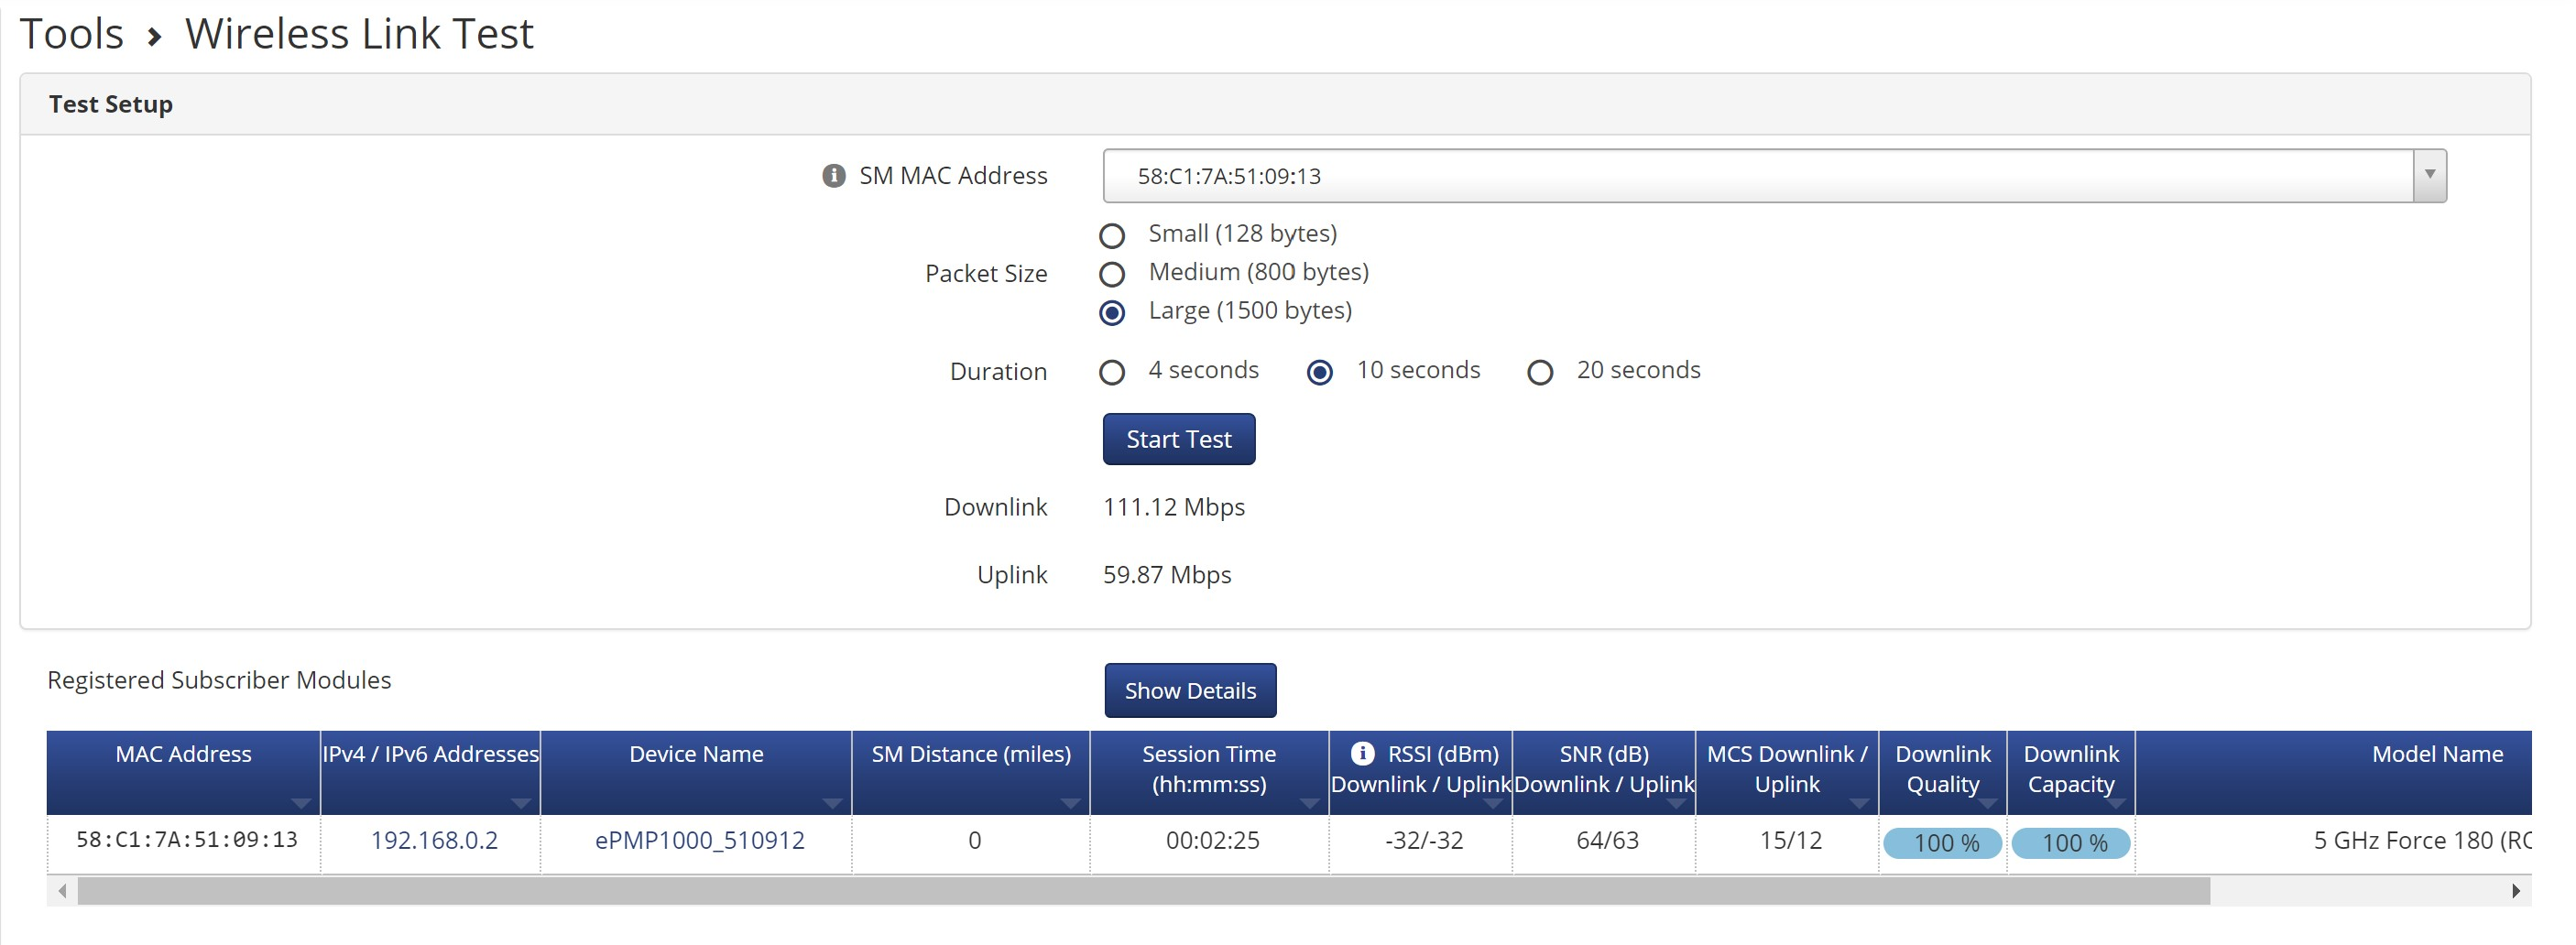
Step 2: On the master radio navigate to Tools --> Wireless Link Test
Step 3: Run a link test to verify the link performance.

