
Setting up a basic Stand Alone AP
This guide shows you how to set up a TP-Link Omada EAP as a basic standalone AP.
Pre-Requisites:
An EAP with no Configuration on it.
Connect EAP to power and allow AP to power up.
Step 1:
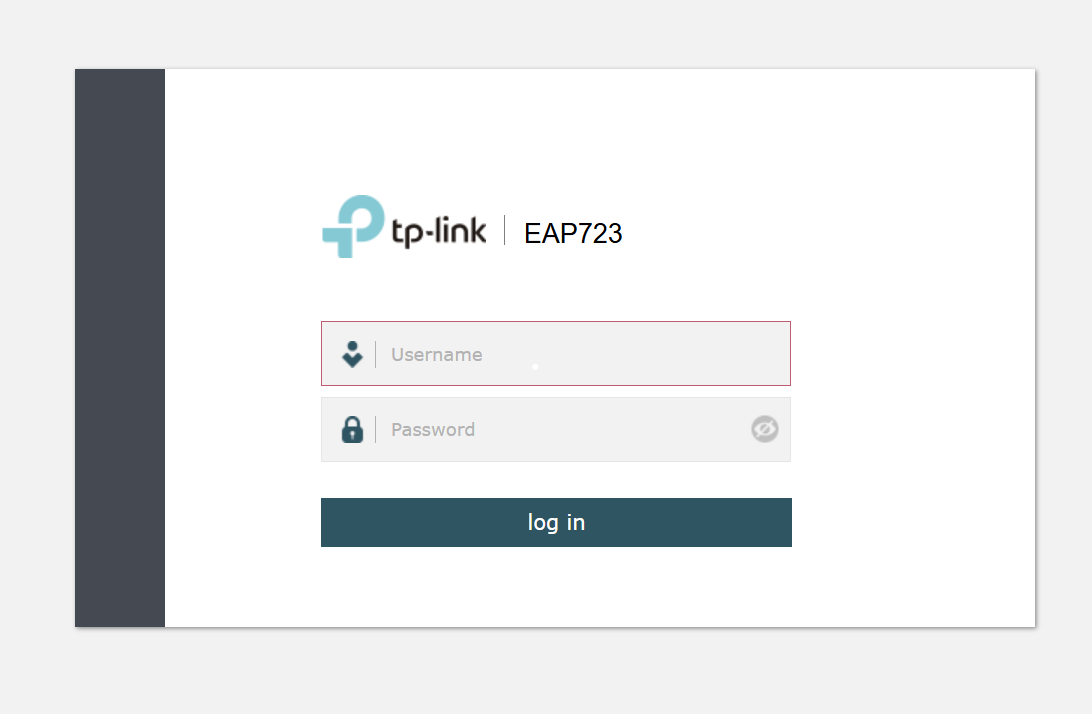
Power up EAP and connect laptop to PoE Injector or same switch AP is connected to. Given your Laptop an IP in the 192.168.0.1/24 range. Open a web browser and navigate to either https://tplinkeap.net/ or the IP address of 192.168.0.254. You should then see a log in screen.
Step 2:
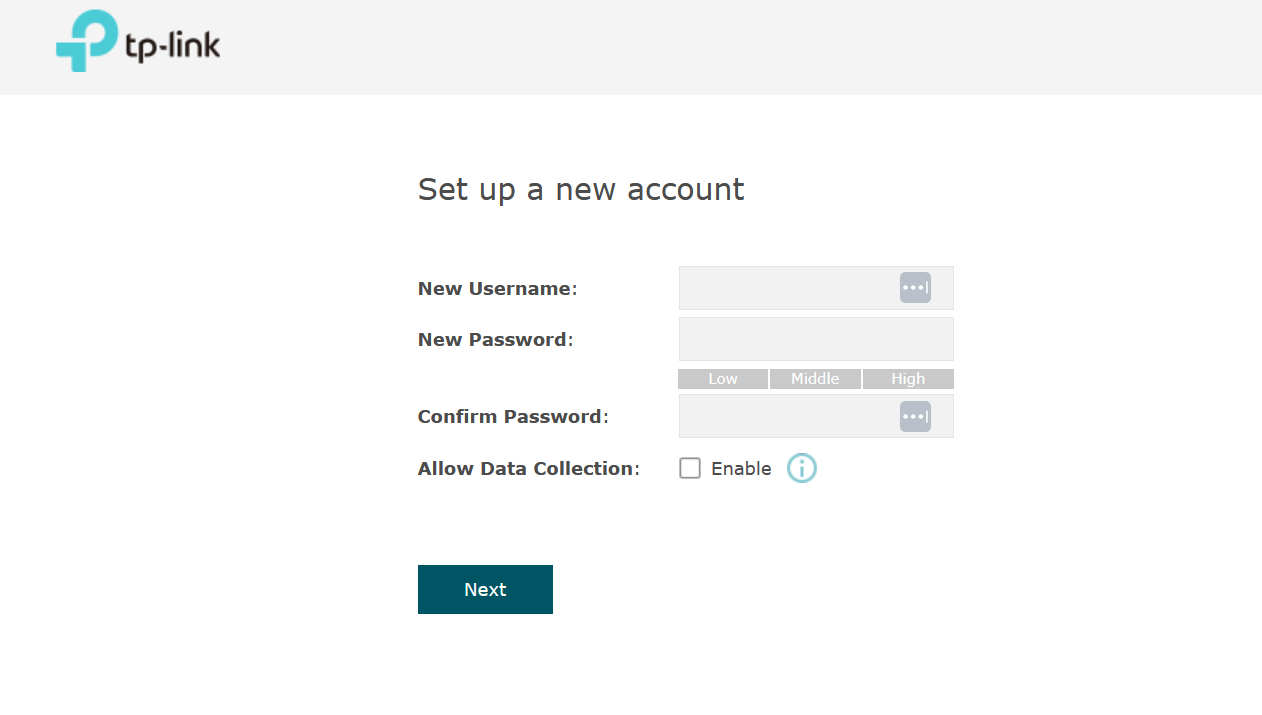
Log into the web interface using admin for the user name and admin for the password. You will then be prompted to set a new user name and password.
Step 3:
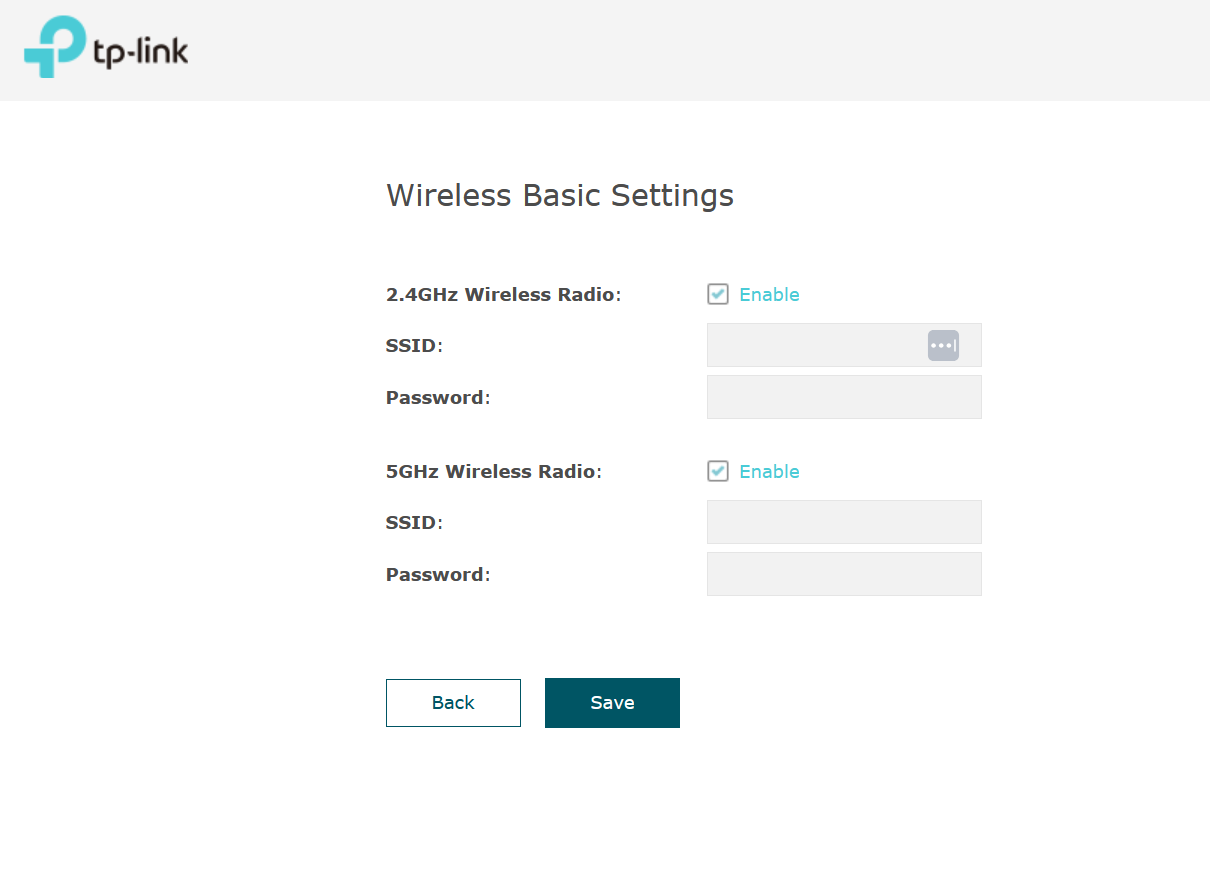
Once the password has been changed you will then be prompted to set up Basic wireless settings.
Step 4:
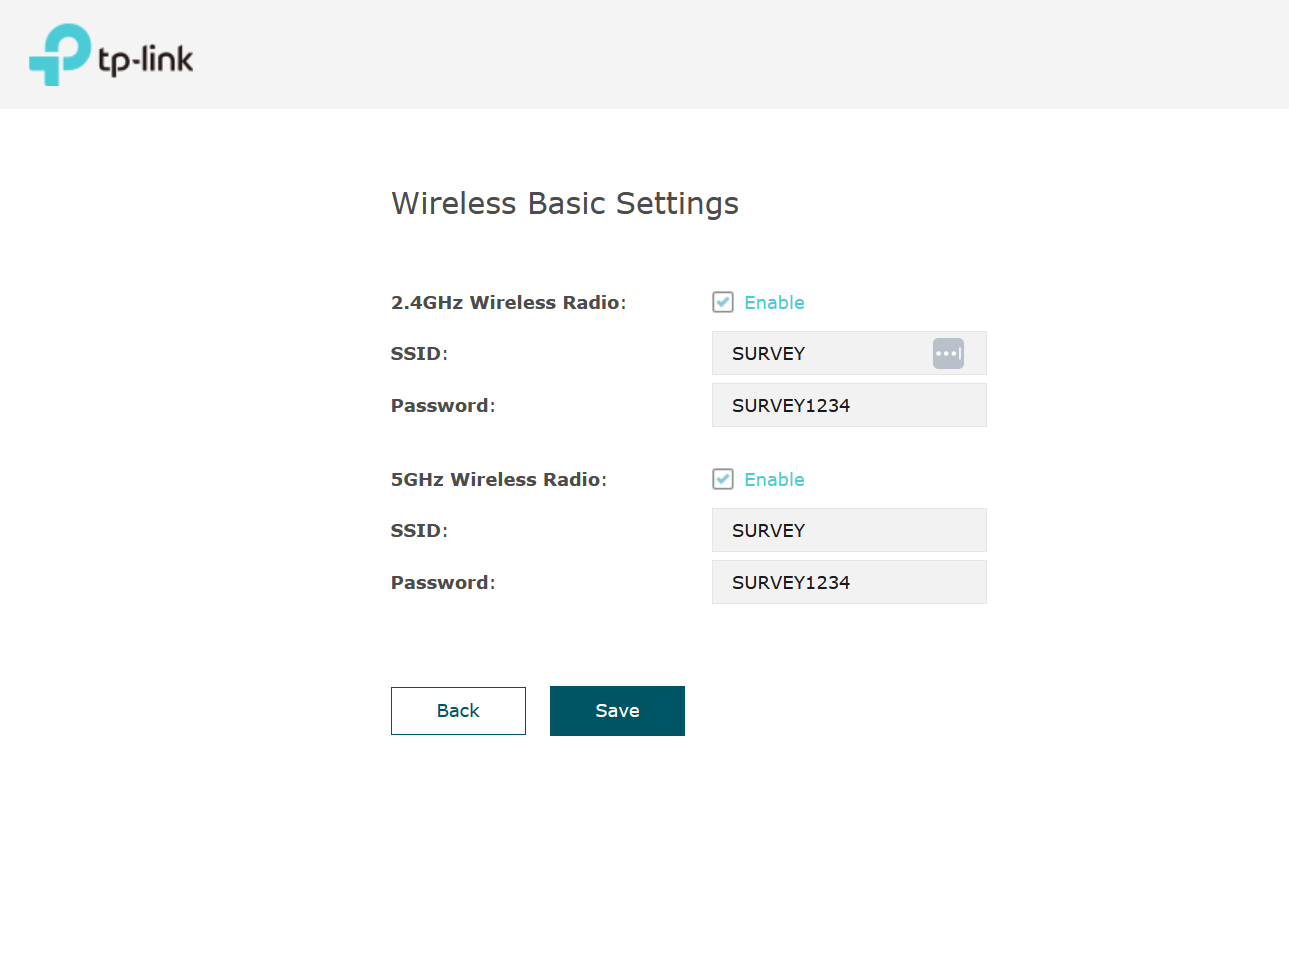
To enable both the 2.4GHz and 5GHz bands make sure both the tick boxes are checked. You can use the same SSID name for both bands or have a different name for each. For Example SURVEY_2.4GHz & SURVEY_5GHz. For this example we are going to use the same name for both bands.
Step 5:
Hit the save button and the settings will be applied.

The AP is now set up with a basic SSID. Check the Wi-Fi networks list on any wireless enabled device to see the SSID being broadcast. The web interface will then bring up more advanced settings which can be applied to a stand alone AP.