
Setting up a Omada Central Standard Controller
Purpose:
To show how to set up a Omada Central Standard Controller (Licensed Controller).
Pre-requisites:
Have a TP-Link Omada account set up
How to set the Controller up:
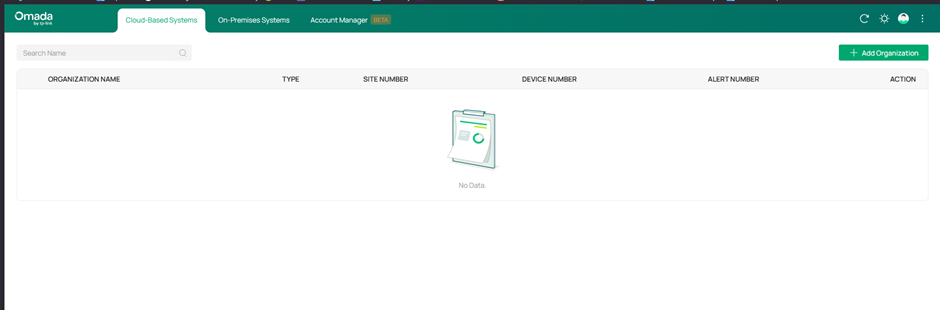
Step 1: Log in
Log into your Omada Account and make sure you are on the tab that says Cloud-Based Systems.
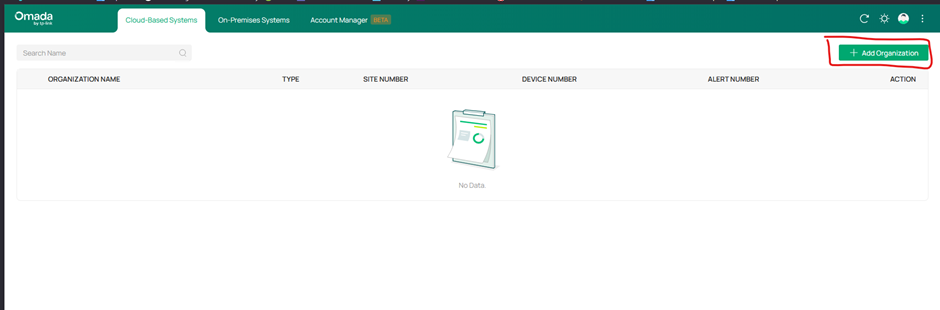
Step 2: Add Organization
Click on the + Add Organization Button on the right hand side.
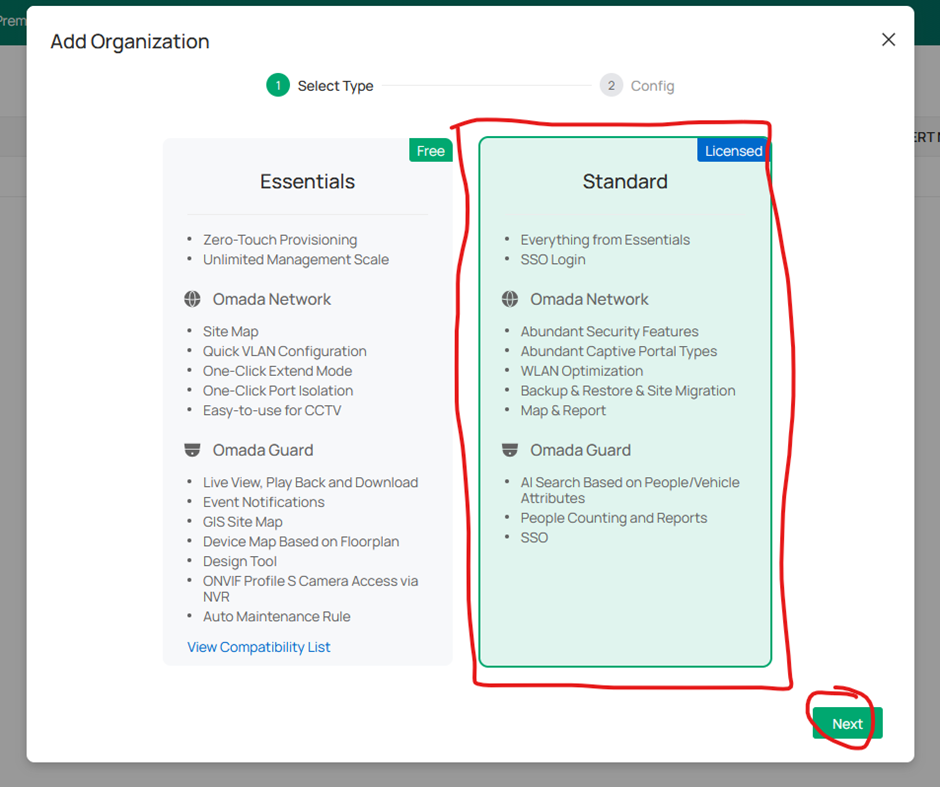
Step 3: Select Controller Type
A menu will then pop up with the 2 versions of cloud controller you can choose from. For this Guide we will select Standard. This is the version of the Cloud controller which requires licenses to be able to add devices to the controller. Make sure standard is highlighted in green and click the next button.
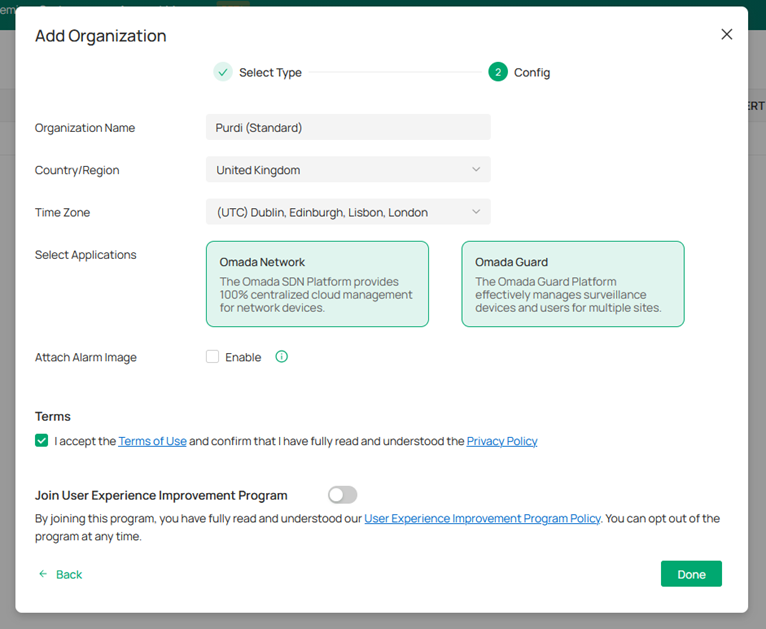
Step 4: Add Organization Details & Select Applications
Fill out the boxes on the next page. You will need to input your Organization Name, the Country/Region the Organization is in. Select the appropriate time Zone. You will then need to select which Applications you require as part of your Omada Controller.
There are 2 options here: Omada Network (For Managing Omada APs, Switches and Gateways) and Omada Guard (For Managing VIGI Devices – NVRs and CCTV Cameras).
If you want both make sure both are highlighted green. If you only require one, then click to deselect. Any Application highlighted in green is what will be set up.
Tick to accept the Terms of use and then click the Done Button.
You can also have the option to join the User Experience Program.
Step 5: Organization Created
Your Organization will then be created, and you will be presented with the Global view, Omada Central Plane. Here you can globally view Sites, Devices and Logs and manage licenses for both Network & Guard.
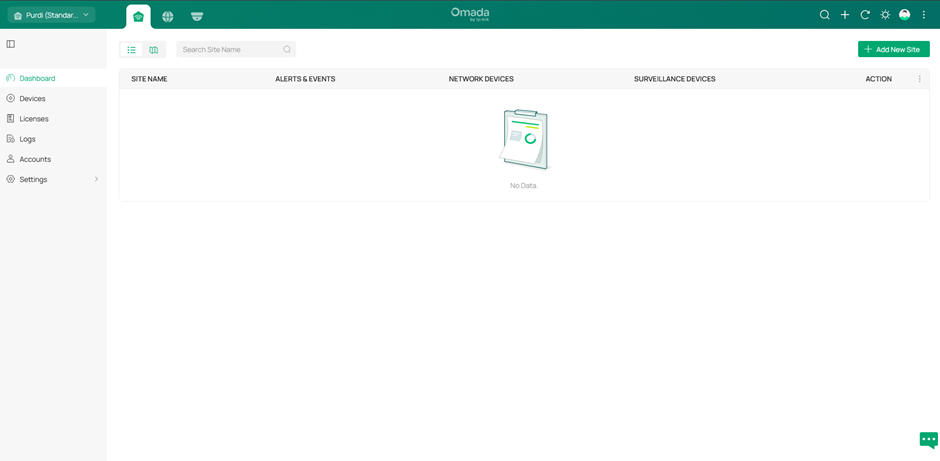
Step 6: Dashboard Icons
Along the top you will find 3 icons. The First is for the Global View (Omada Central Plane). The Second is the icon for the Network Controller and the third is for Omada Guard for managing CCTV. Click into the one you need to manage Sites, Devices and Licenses Globally or for either Network or Guard.

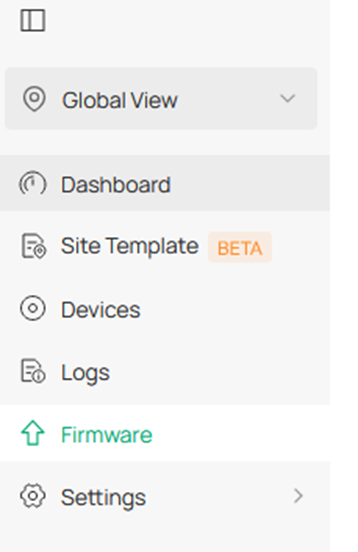
Step 7: Network Features
In Omada Central Standard under Network you also have the options for Site Templates (Currently a BETA feature) and to manage firmware for the Network Devices.
You have now setup your Omada Central Standard Controller.
To be able to add any devices to this controller you will need to add licenses and apply them to the correct sites once purchased.
Guide Created: January 2026