Creating a Site - Omada Cloud
Purpose:
The Purpose of this guide it to show how to set up a site after setting up an organization in Omada Central (Essentials and Standard).
Pre-requisites:
Have an Omada Account.
Have already set up an organization.
Setting up a Site:
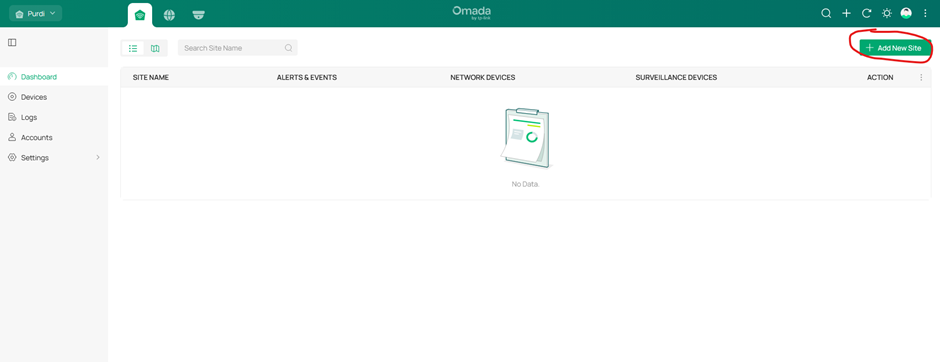
Step 1: Add a New Site
Click the + Add New Site Button on the right had side of the screen.
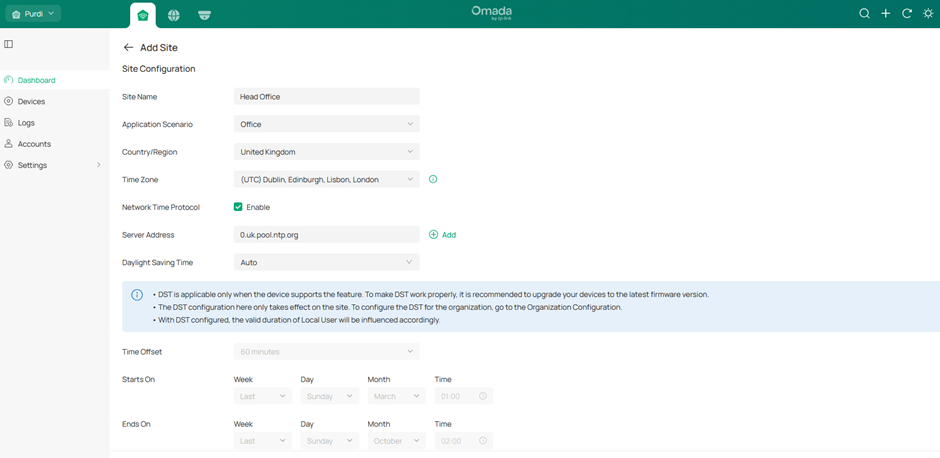
Step 2: Site Settings
Enter the information and settings required for your site.
Site Name
Application Scenario
Country/Region if not correct.
Time Zone
NTP if required
Daylight saving Settings
Device Account User name & Password (This is the User name and password the device will use to be managed).
Switch Series (Select whether you will be using Easy managed (Agile) switches or Access/Aggregation (Smart/L2+) switches.
Site Address (Optional)
Then click Apply.

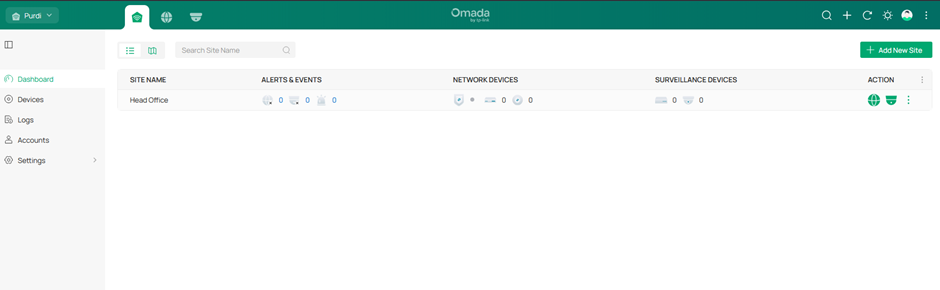
Step 3: Confirmation
You will then see the Site show up in your site list. To add another site Click on the + Add New Site button and repeat the process.
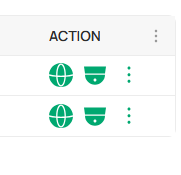
Step 4: Access the New Site
To get into the site you have just created you will see 2 icons next to the site. One is for Network Settings, and the other is for CCTV settings. Click on the one you wish to enter. This will take you to the Dashboard for either the Network or for Omada Guard (CCTV).

You have successfully set up a new site.
More Useful information
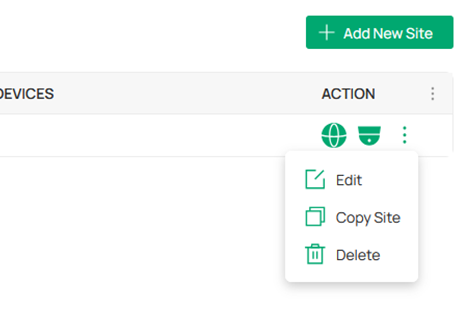
Edit the site Settings:
If you ever need to edit the site settings. Click on the 3 dots under action next to the site you want to edit. You will then get a list of options, click edit to edit the site settings. Click Copy site to replicate the site again or Click Delete to remove the site.

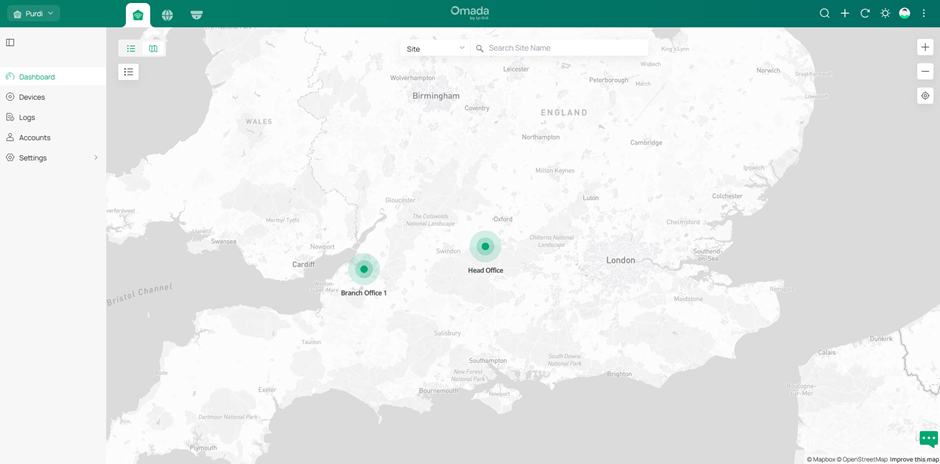
View Map of Sites
To see the map view of all your sites, click the Site Map button next to the search box at the top of the page.
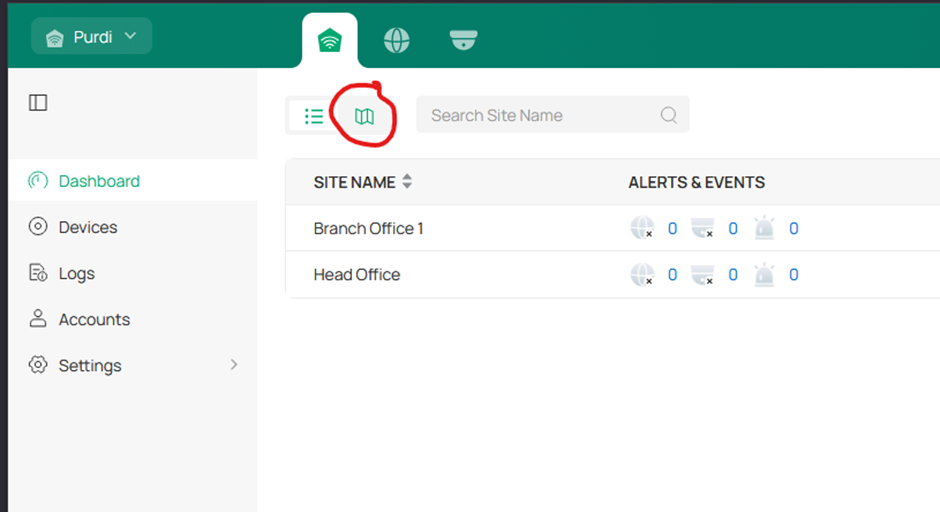
This will then show you a map of where your sites are located, if you set this up in the site settings.
Site List View
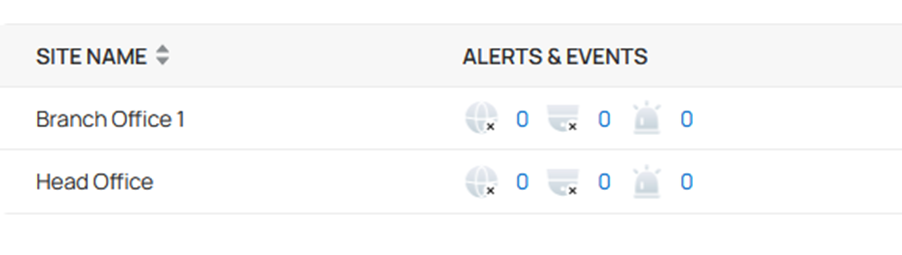
The Site list view is the default view in the dashboard under Omada Central Plane. It shows a list of your site and has a number of icons in the line next to the site name.
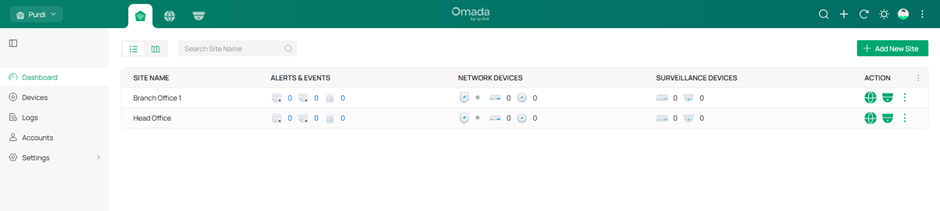
The first set of Icons shows you any alerts that are present on the site. The first icon shows any alters related to your network. The second Icon shows any alerts for Omada Guard and the Third icon shows any Video Events (Motion detection on CCTV).
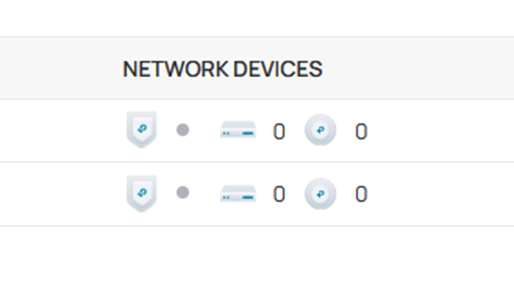
The second set of icons is for Network Devices. This shows the number of Gateways installed, the number of switches and the number of APs for each site.
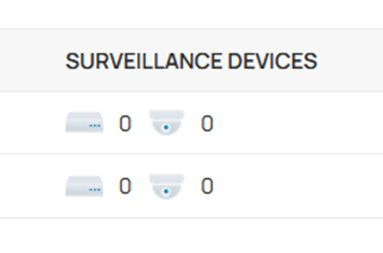
The third set of Icons is for Surveillance Devices. Showing the number of NVRs and IP Cameras connected at the site.
Lastly the icons under action are how to access your sites. The left icon is to go into the settings for your network and the middle button is to access the Omada Guard settings for the site. The 3 icon on the 3 dots gives you options to edit the site settings or delete the site.