Flashing Ruckus Access Points Using Crossbreeder
Introduction
In this guide will be the steps to download firmware onto Ruckus AP's which will save time and eliminate the manual process.
It is advisable that the firmware image you wish to download is located in the root directory of your TFTP server.
Step 1
When you have downloaded the Crossbreeder file from http://dogtag.tacoppini.com and download it onto your desktop and extracted the files there will be an executable called "CrossBreeder.exe"
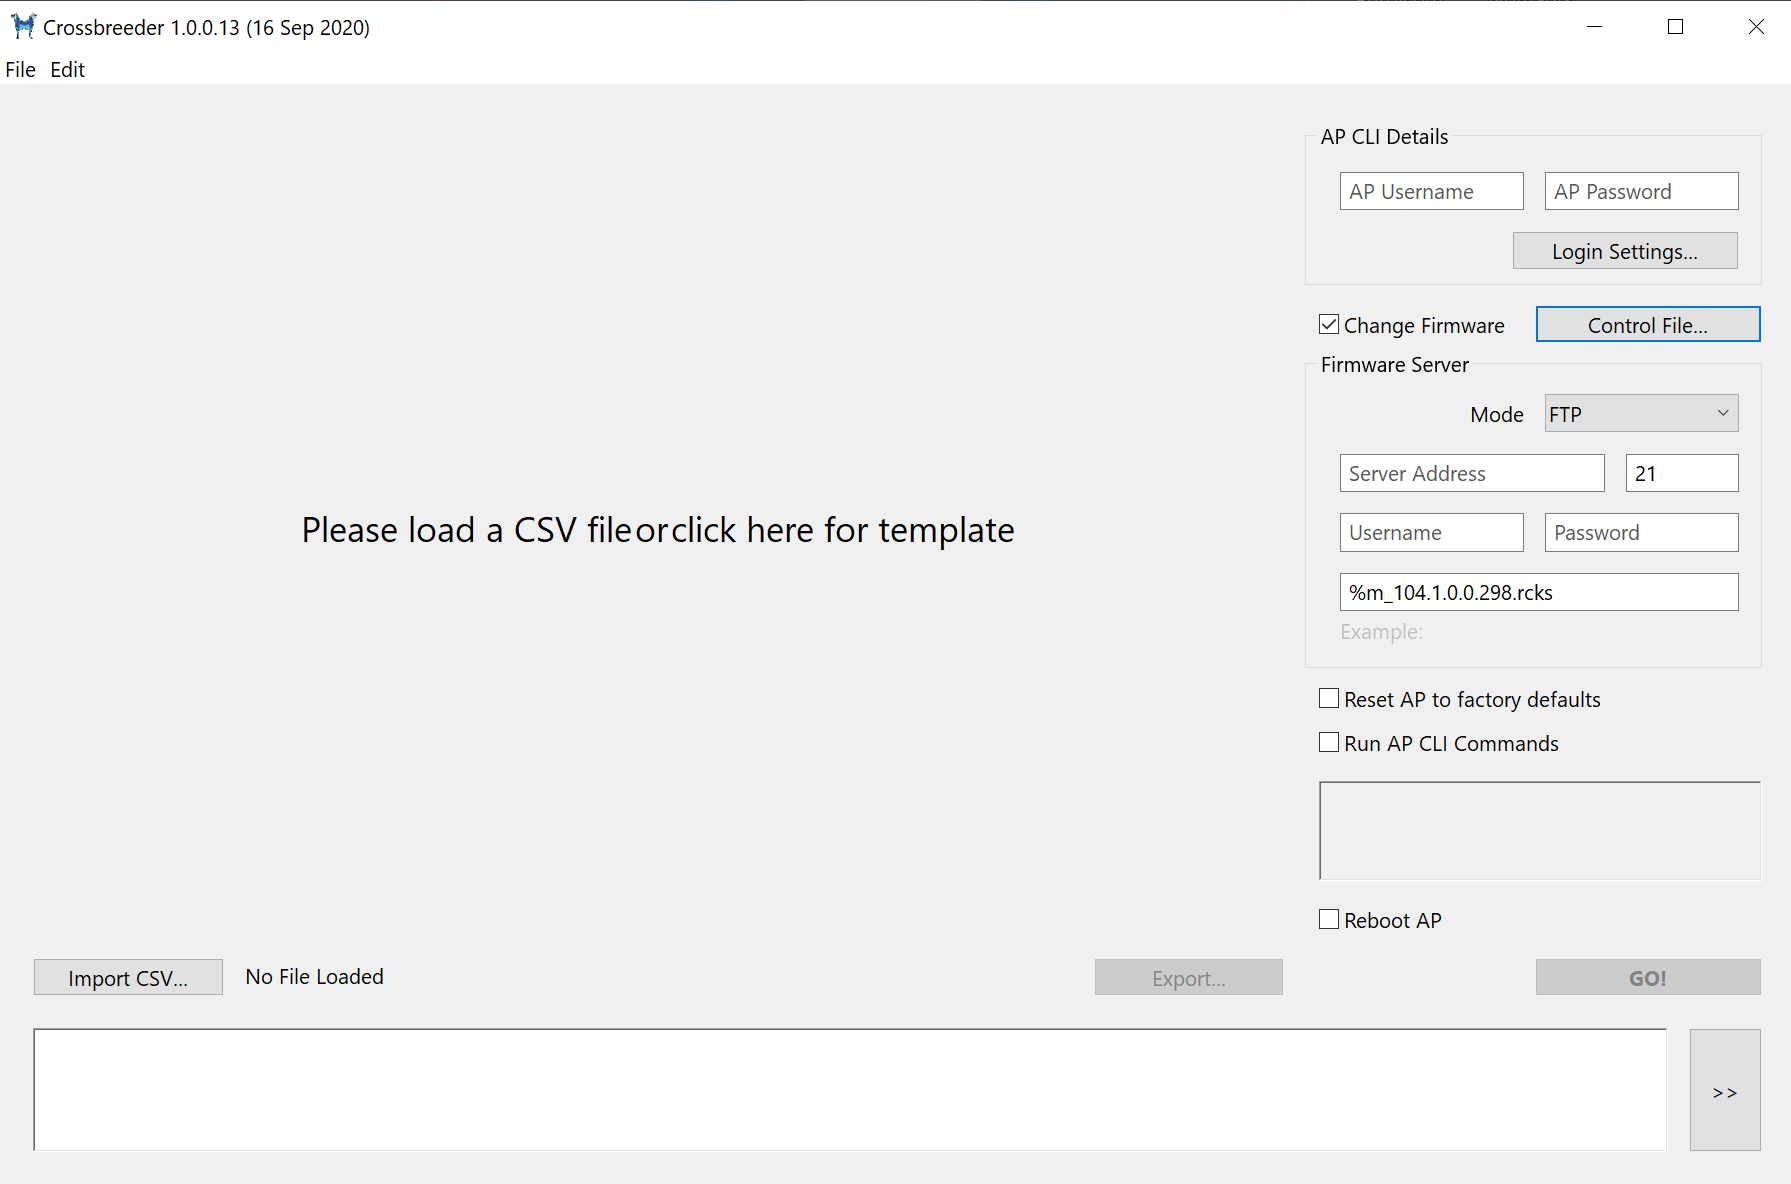
Once opened you will be presented with the below.
Step 2
The first thing you will need to do is download the CSV template file by clicking on where it says 'Please Load a CSV file or Click here for Template' in the middle of the window.
In this CSV file you need to enter all the IP Address of the Access Points you wish to flash.
Please note to only attempt to flash one model at a time.
Step 3
The next thing we need to do is select import CSV within Crossbreeder and then select the CSV file with the IP Addresses of the Access Points to flash
Step 4
After the CSV file has been imported you will need to select change firmware on the right side of the window.
Step 5
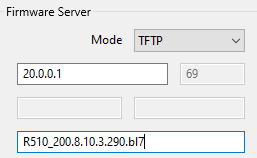
You will need to fill out the TFTP server address and the firmware version you want the access points to upgrade to.
Step 6
Once these details have been filled in you will need to create a control file by clicking on "Control File"
Step 7
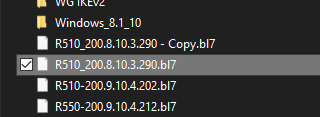
Once in the upgrade control file window, you will need to click the option Select Firmware Files
Step 8
Select the relevant file.
Step 9
You can then press "Create Control Files"
The control file will tell the Access Point where to download the firmware and also the file size.
Step 10
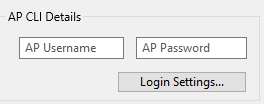
If the AP's have previously been managed by another controller we need to tell the software the username and password.
At the top of CrossBreeder, there is the option to enter those details.
Step 11
Close the window and then press "GO!"
This will then tell the Access Points to download the firmware you have selected and reboot them automatically.


