IO - NAT Per SSID
Introduction:
This guide will help assist in making the access point NAT an SSID directly which is ideal for guest networks and removes the requirement for a separate DHCP scope on your firewall or network.
Process:
Step one:
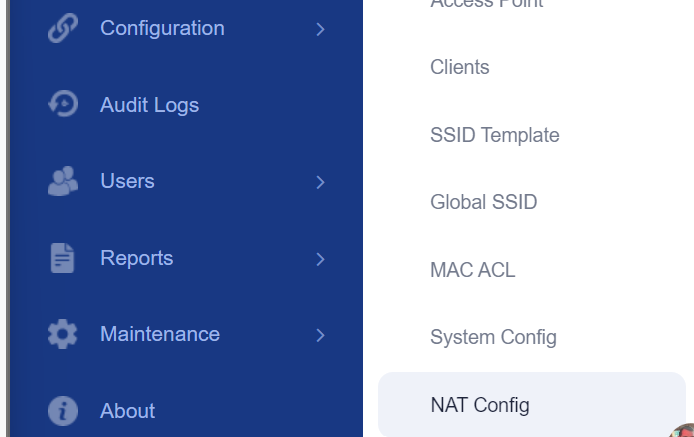
We will need to firstly create a NAT profile, click on Configuration > NAT Config
Once you have clicked this you then need to click "Add"
Step two:
Provide the details of what you would like the DHCP range to be and also the lease time
Step Three:
Now we need to apply the NAT config to the Access Point Group, click on Configuration > AP Group and select your AP Group.
On the "Advanced" tab ensure your profile is selected under the "NAT Profile" option anc click "Save"
Step Four:
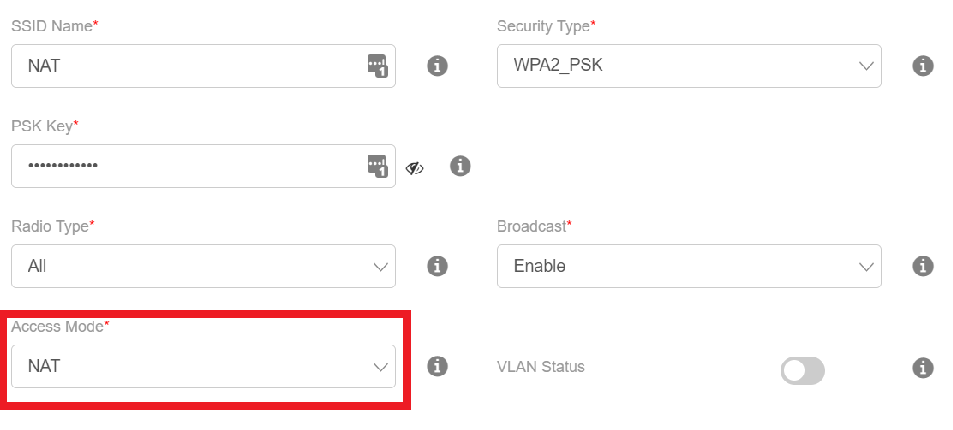
Now we can apply the NAT Profile to the SSID by clicking on the SSID tab and create an SSID as normal but ensure NAT is selected under the "Access Mode" and then click save.
Conclusion:
You have now configured an SSID with NAT.


