cnMaestro - Onboard E2E Controller
Manage E2E Controller in cnMaestro
Step 1:
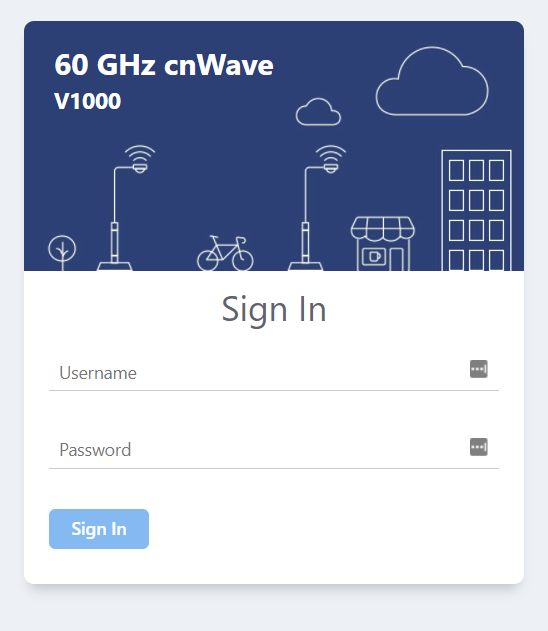
Login to the WebGUI
Enter the login credentials, default username and password :admin
Click the Sign In button to login to 60 GHz cnWave device GUI
Step 2:
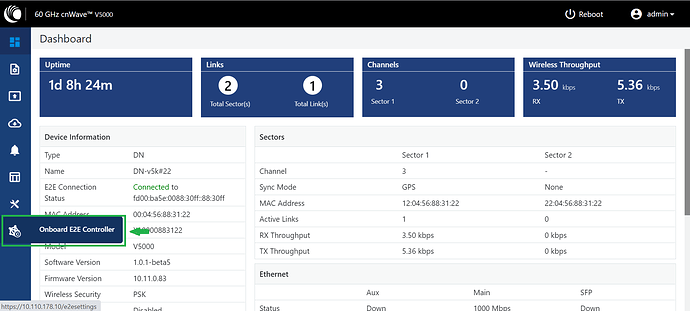
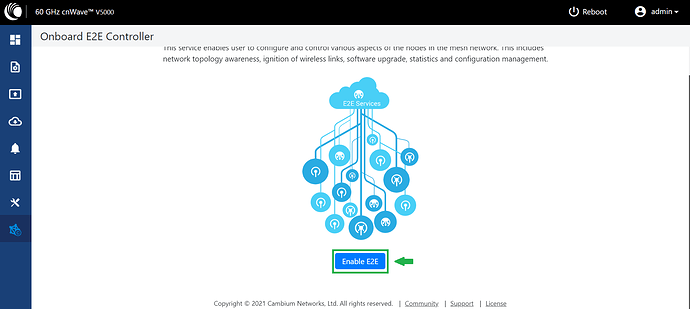
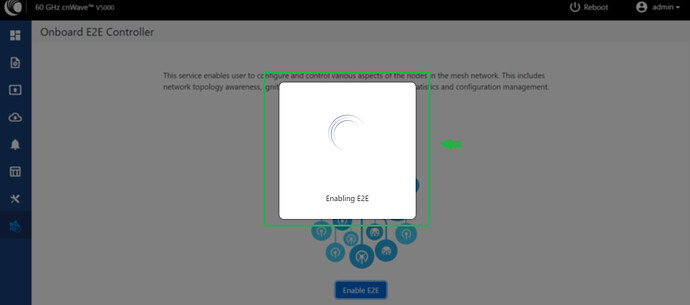
Navigate to Onboard E2E Controller and click on Enable E2E
Step 3:
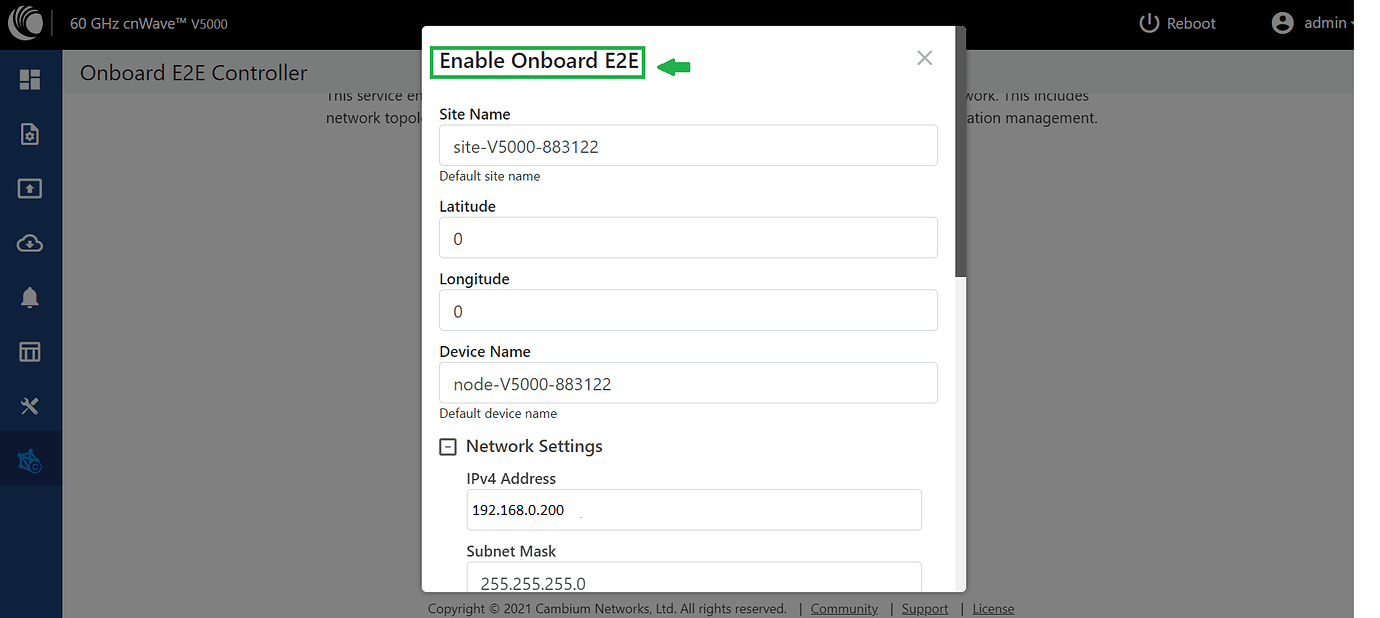
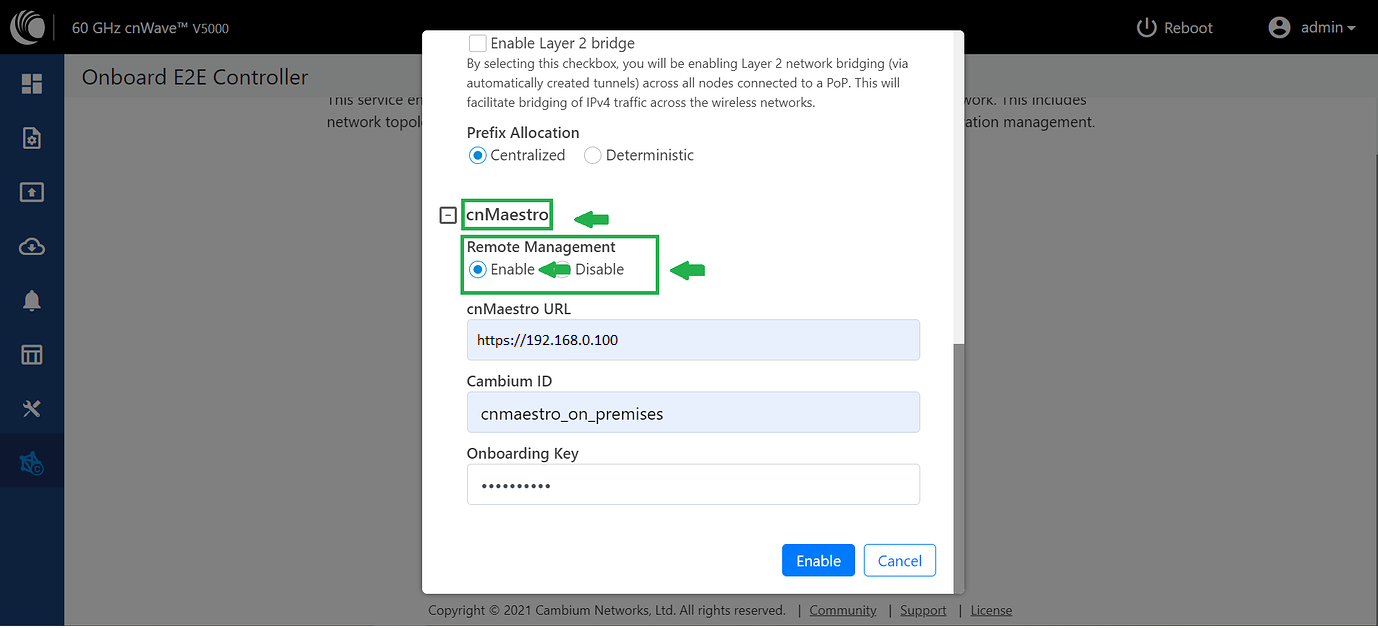
Once the Onboard E2E Controller is enabled, the Enable Onboard E2E window pops up to configure basic parameters (Site, Network and Controller details)
Scroll down to the cnMaestro > Remote Management Sections and select the Enable button
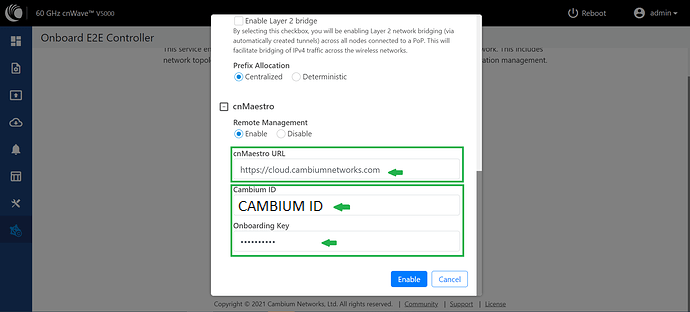
Enter the URL details for the cnMaestro Server (Cloud or on-Premises) and then enter the CAMBIUM ID and Onboarding Key. (How to create onboarding Key)
cnMaestro on-Premises
cnMaestro Cloud
Select Enable
Step 4:
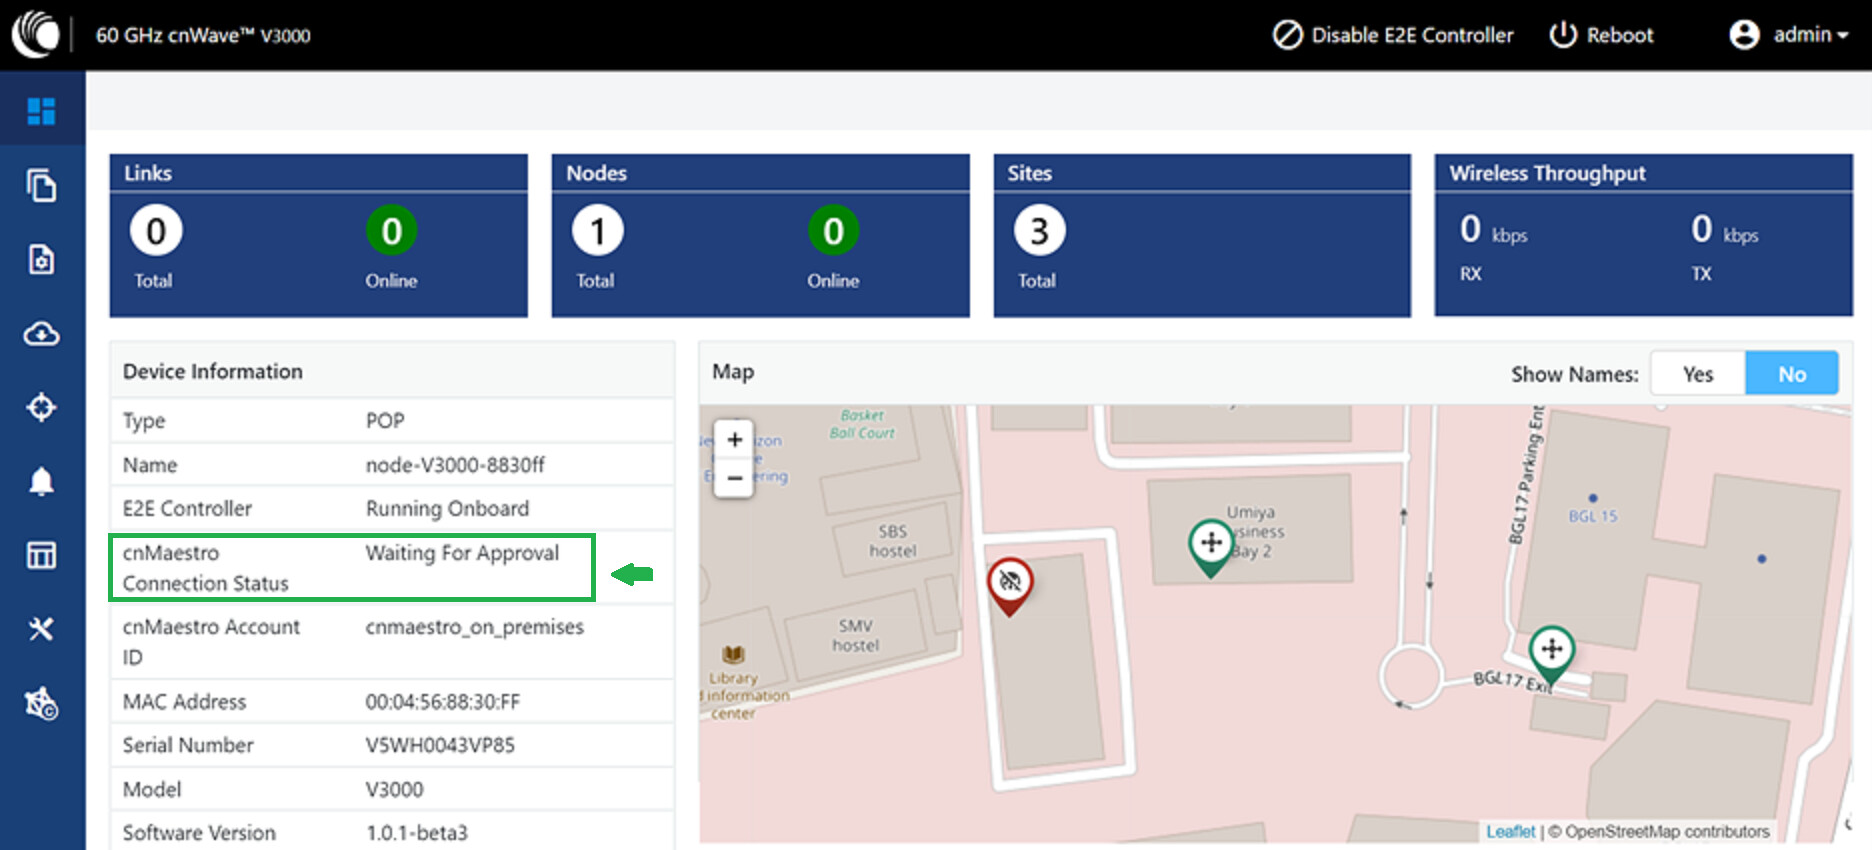
Once Onboard E2E Controller is enabled with cnMaestro Remote Management configuration, 60GHz cnWave device Dashboard shows " Waiting for Approval "under cnMaestro Connection Status
Step 6:
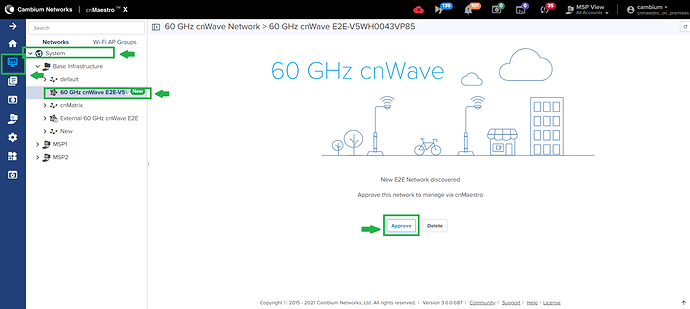
Now Login to cnMaestro and navigate to Monitor and Manage>System, the new 60 GHz cnWave Onboard E2E Controller network will be displayed. Click the Approve button
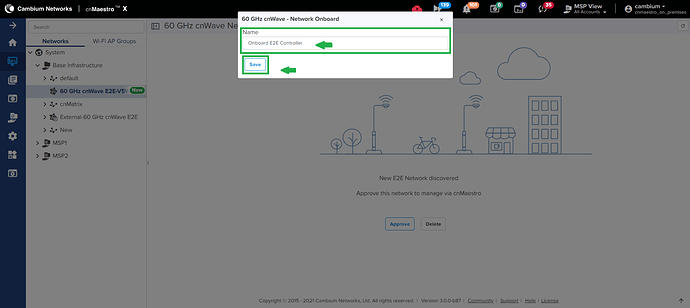
The Network Onboard window will pop up with default Onboard E2E Network Name. Enter the desired Network Name (optional) and click the Save button.
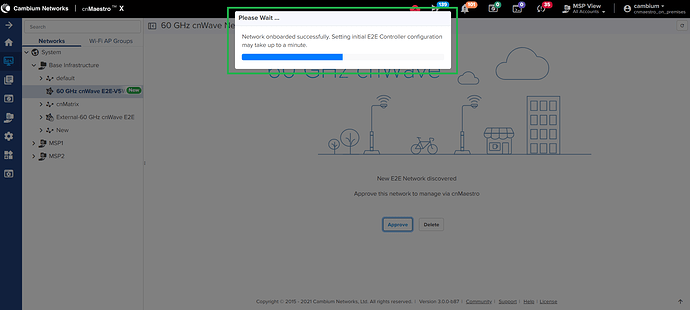
Wait until the E2E Controller is successfully onboarded.
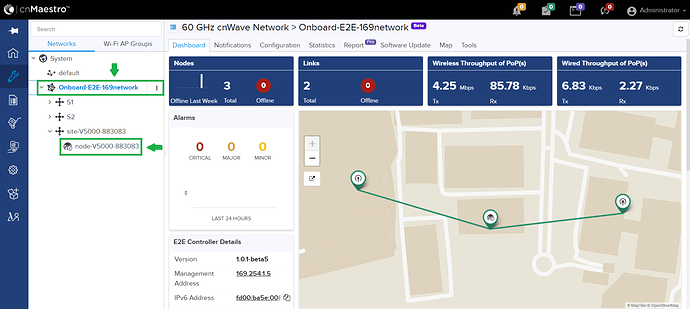
Once successfully onboarded, the Network shows the Dashboard of the network

