Cambium cnMaestro - How to export and convert virtual disks to work on Hyper-V
This guide shows you how to take the OVA file provided by Cambium for cnMaestro on-prem (V6.0.0) and export the VMDK files to convert them into VHDX, so they will work with Hyper-V. This guide shows how to convert the files on a Windows operation system.
Prerequisites
Download the latest version of cnMaestro On-Premises (6.0.0-r6) https://support.cambiumnetworks.com/files/cnmaestro/
Download and installed QEMU for converting the virtual disks. https://www.qemu.org/download/
Windows 11 can extract
.tarfiles natively via File Explorer. On Windows 10 or earlier, use a.tar-capable tool such as 7-Zip instead.
Converting the Virtual Disks
Step 1 - Export the VMDK files from the OVA File
When you download the OVA from the support portal it will download as a .tar zipped file. You will need to extract the contents of this folder to a non-compressed folder using either the built in extract function in Windows or an application like 7-zip.
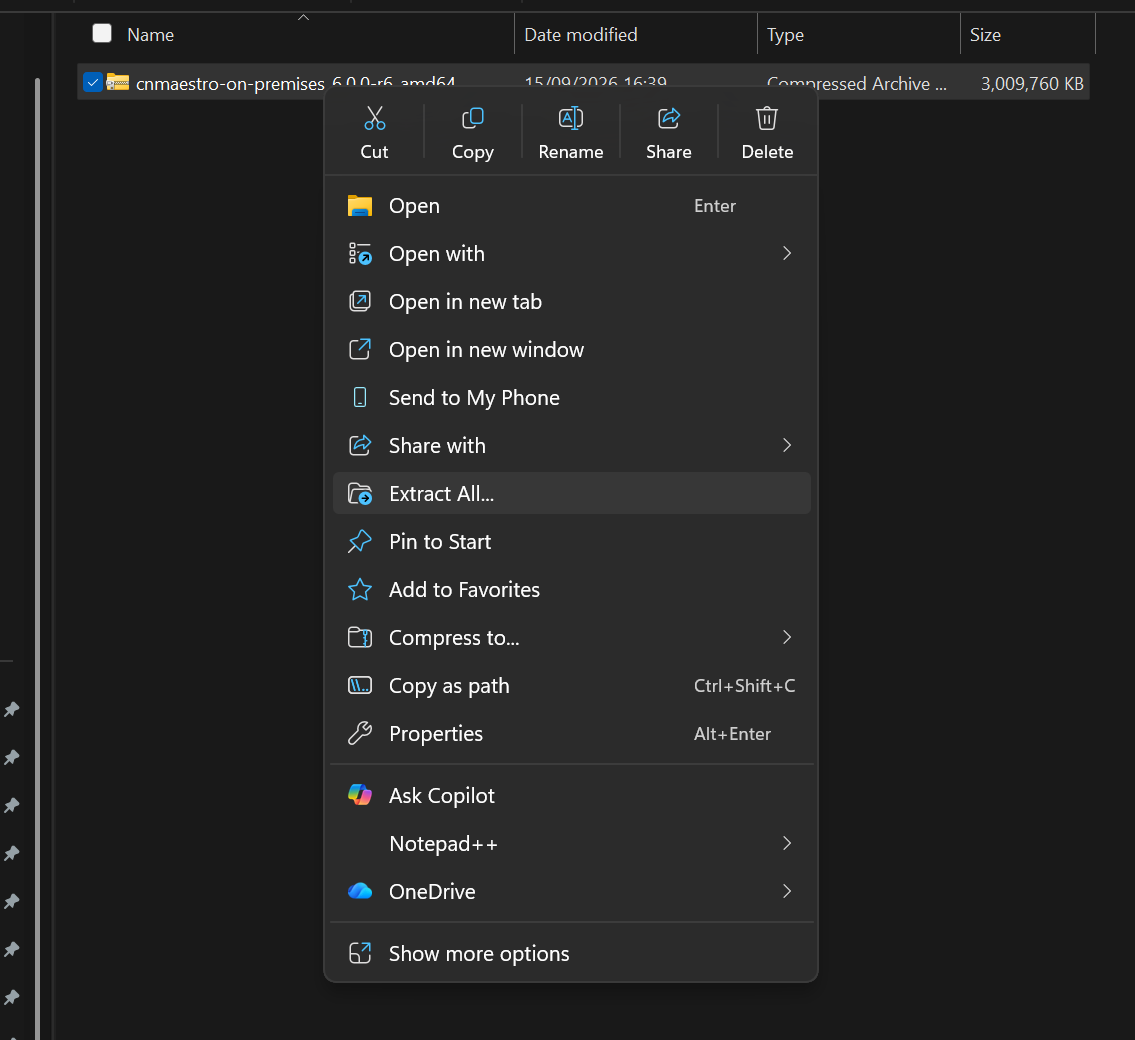
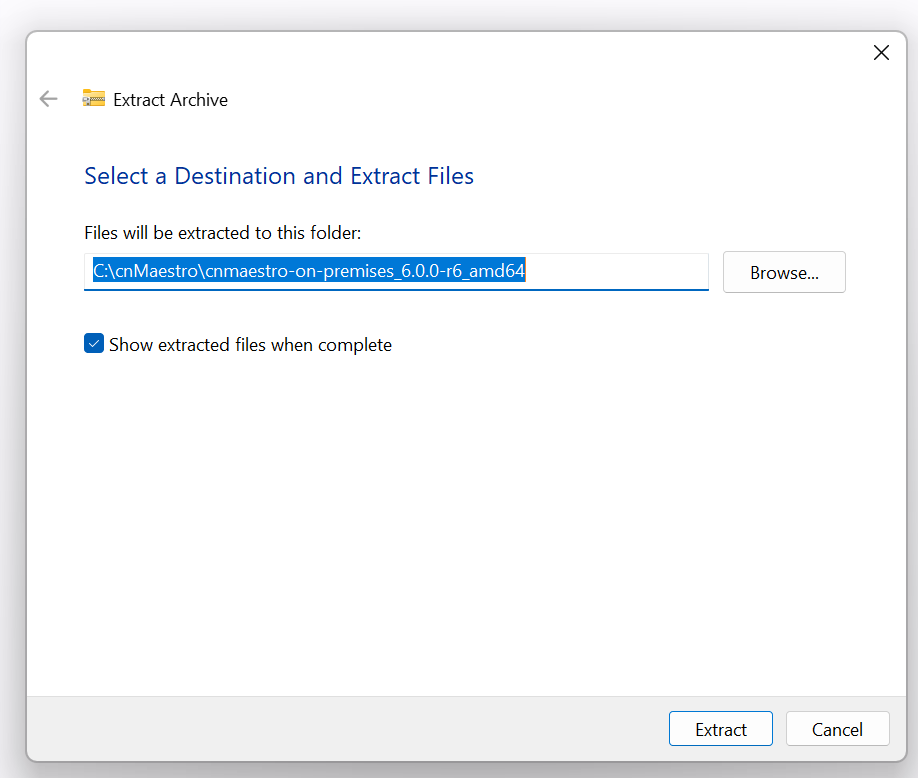
Once exported, inside the folder you will find 2 VMDK files, one named cnmaestro-on-premises_6.0.0-r6_amd64-disk1.vmdk and one named cnmaestro-on-premises_6.0.0-r6_amd64-disk2.vmdk
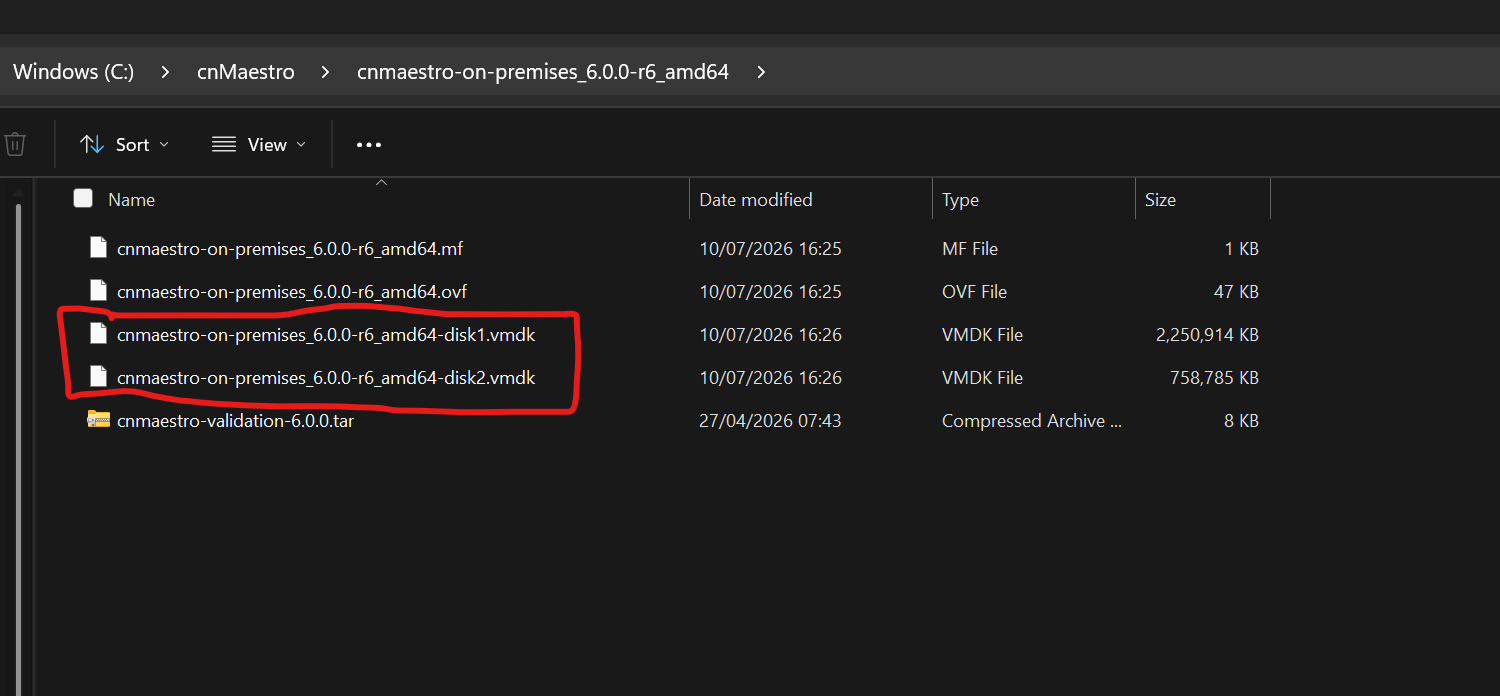
These are the 2 files that need converting from VMDK to VHDX.
Step 2 - Converting the VMDK files to VHDX files
To convert the files you will need to install QEMU on your Windows PC/Laptop using the Windows installer. Follow the installation wizard to install the software. Once installed you will need to reboot the PC.
Once the PC is rebooted, open Powershell as administrator.
You will then need to use the following commands to convert each of files from VMDK to VHDX.
Disk 1:
qemu-img.exe convert -f vmdk -O vhdx -o subformat=dynamic -p "C:\<REPLACE_ME_SOURCE_FOLDER>\cnmaestro-on-premises_6.0.0-r6_amd64-disk1.vmdk" C:\<REPLACE_ME_DESTINATION_FOLDER>\cnmaestro_disk1.vhdx Disk 2:
qemu-img.exe convert -f vmdk -O vhdx -o subformat=dynamic -p "C:\<REPLACE_ME_SOURCE_FOLDER>\cnmaestro-on-premises_6.0.0-r6_amd64-disk2.vmdk" C:\<REPLACE_ME_DESTINATION_FOLDER>\cnmaestro_disk2.vhdx When you run these there will be a status percentage appear. Once this has hit 100% the file will be converted.
Please note: the destination folder is not automatically created by the above command so it must already exist before running these commands.
Example Screenshots:
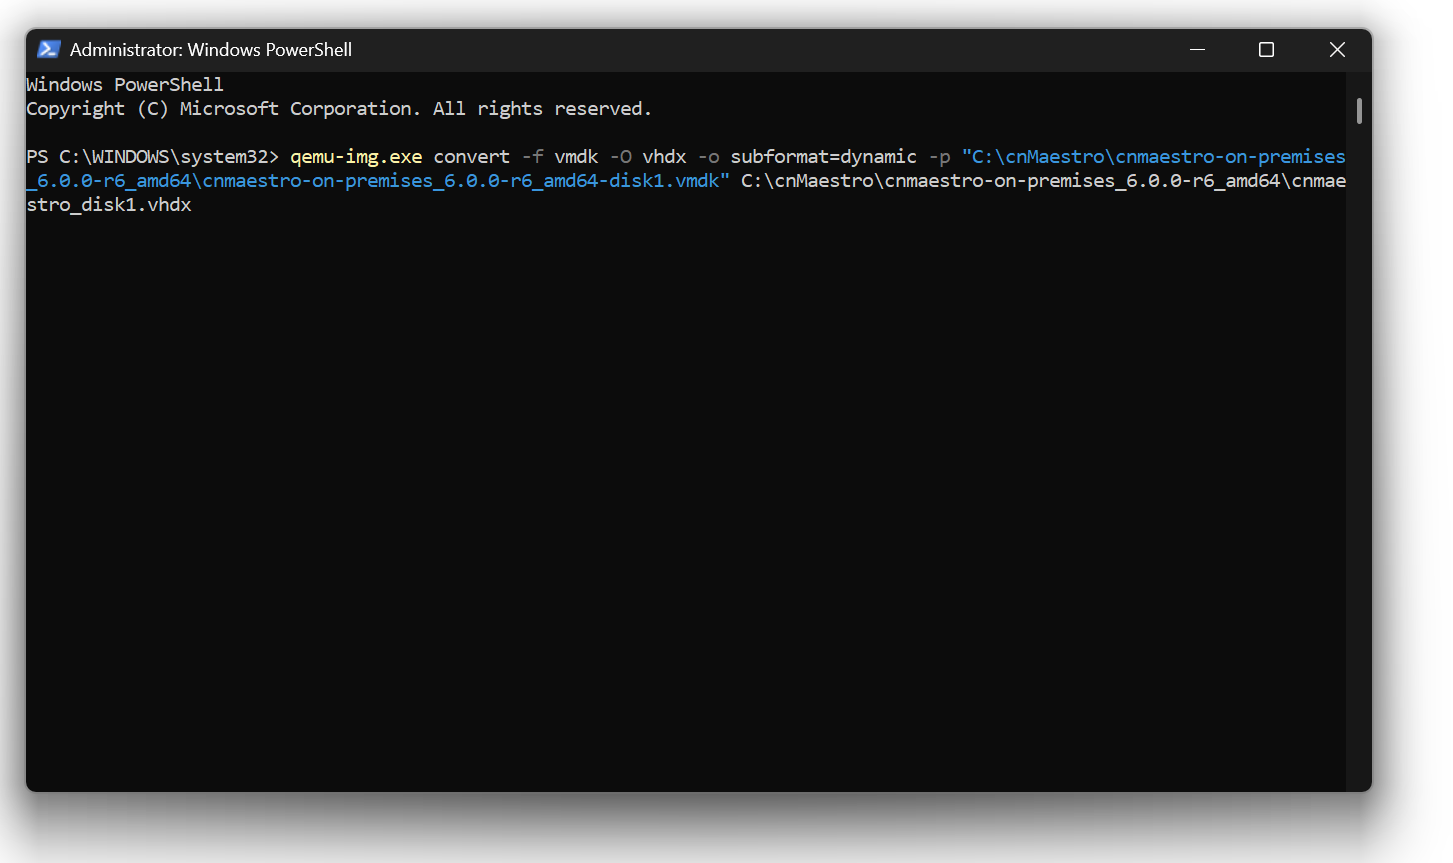
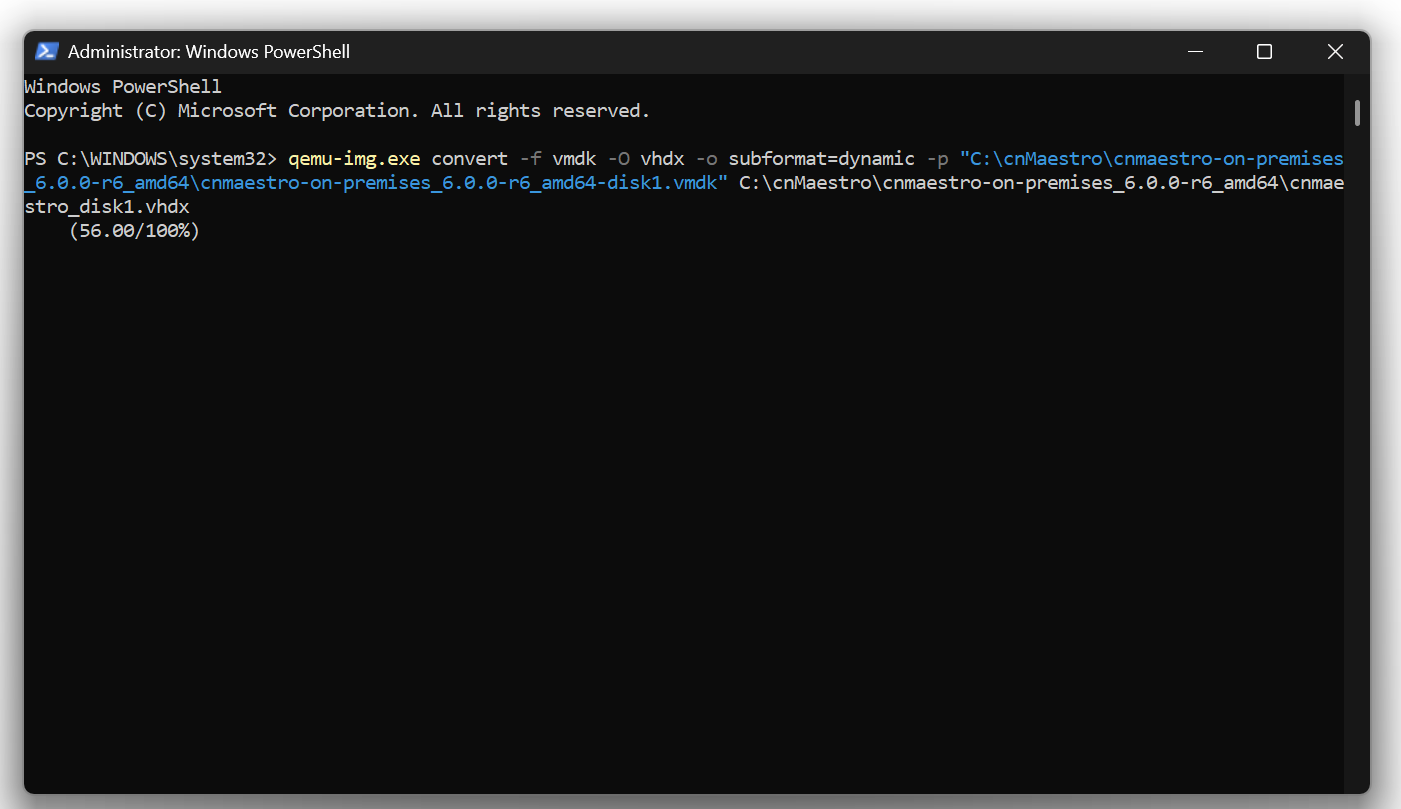
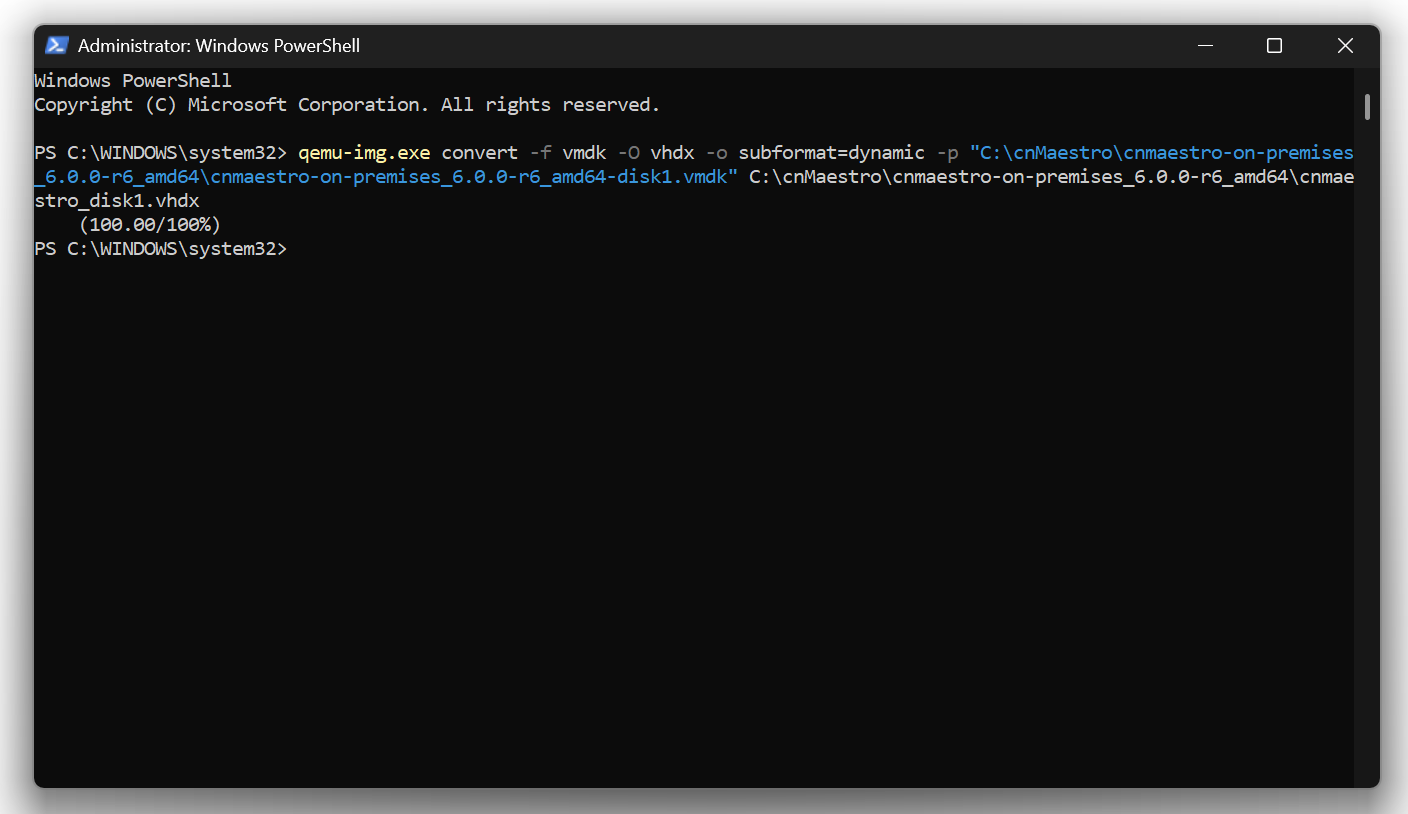
Once this is completed you will then see 2 new VHDX files in your folder. Disk 1 will usually be 7.88GB and Disk 2 will usually be 3.75GB, however this will depend on the source image.
The files are now ready to be used and will be understood by Hyper-V.
Step 3 - Deploy cnMaestro in Hyper-V
For next steps please follow our guide on how to deploy cnMaestro on-premises in Hyper-V. This can be found here: https://support.purdi.com/en/articles/10639490