
Cambium cnMaestro - Deploying cnMaestro On-Premises (Hyper-v)
This guide walks through deploying cnMaestro On-Premises using Hyper-V, from provisioning the VM through to completing first login.This guide was written using cnMaestro On-Premises version 6.0.0
You will need to have exported the VMDK files from the cnMaestro On-Premises OVA and converted them to VHDX files to work with Hyper-V. You can find the two VHDX files for version 6.0.0 in the following folder: https://drive.google.com/drive/folders/1GVUxA2gwWlI9btmh96wILBqoZX0ip6bn?usp=sharing
Alternatively you can follow this guide to export and convert the files yourself.
Default Credentials
Component | Default credentials |
|---|---|
cnMaestro web UI | admin / admin |
Virtual machine console | cambium / cnmaestro |
Change both default passwords the first time you log in.
Step 1: Deploy the VM
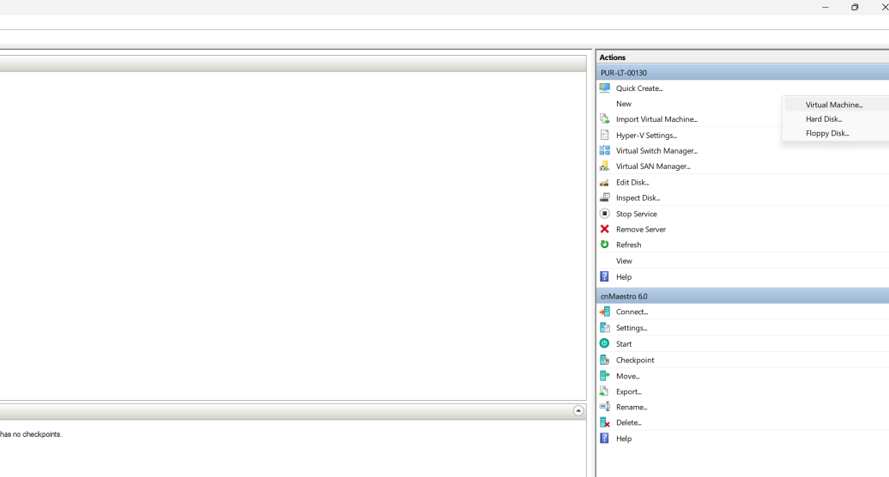
1. Open Hyper-V, click New, then Virtual Machine.
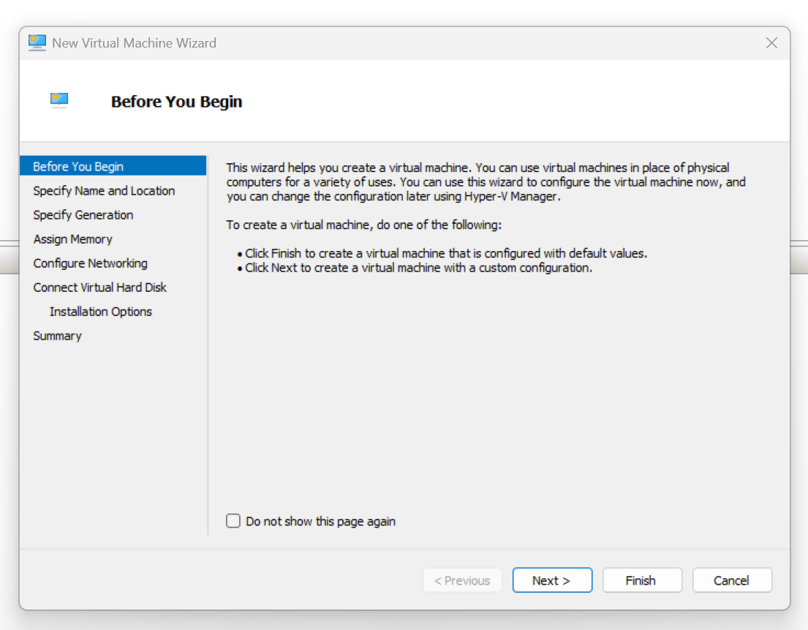
2. Click Next on the first window.
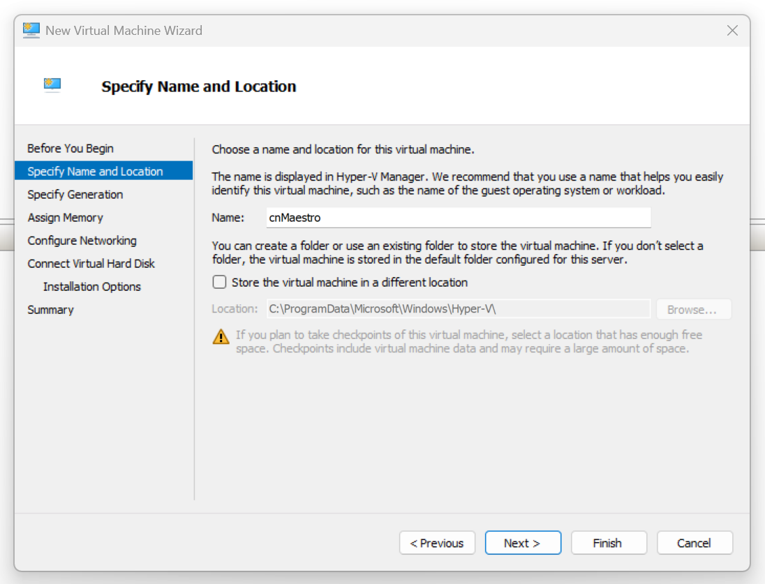
Name the virtual machine appropriately.
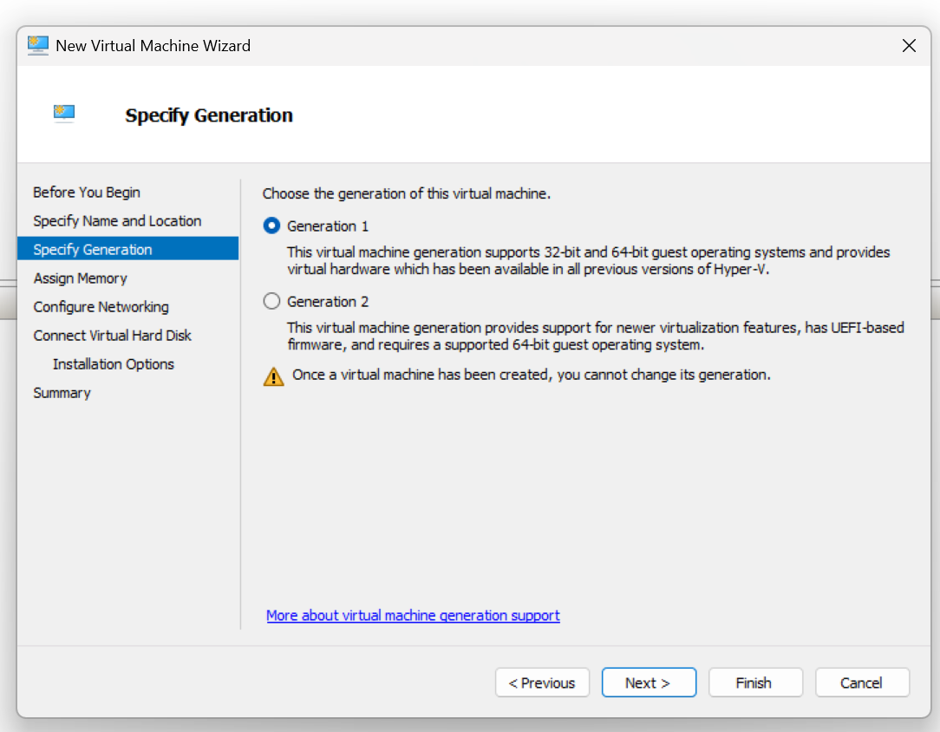
Set Generation to Generation 1 and click Next.
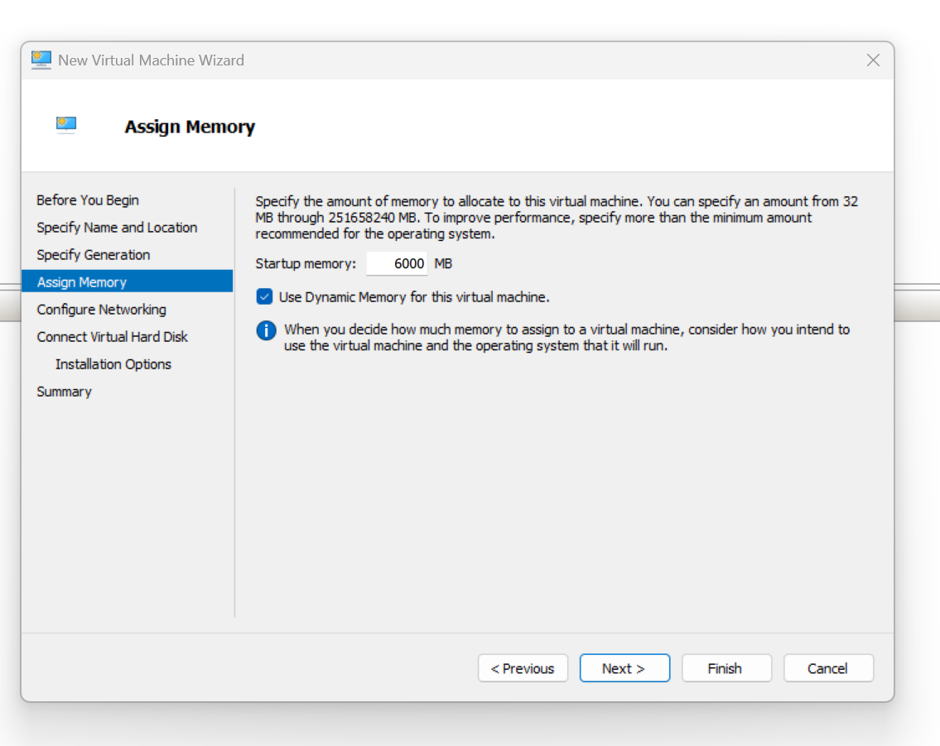
Assign the amount of memory to give the virtual machine. The RAM you assign affects the number of devices and wireless clients the VM can manage — see the sizing table in Appendix 1. Once specified, click Next.
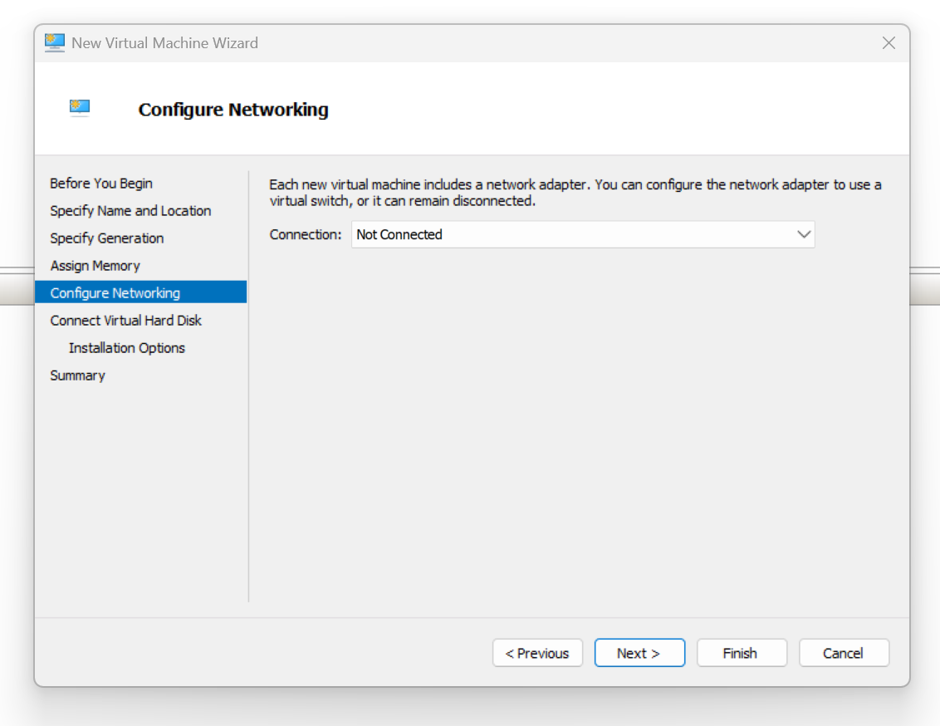
Configure the Network adapter for the VM then click Next.
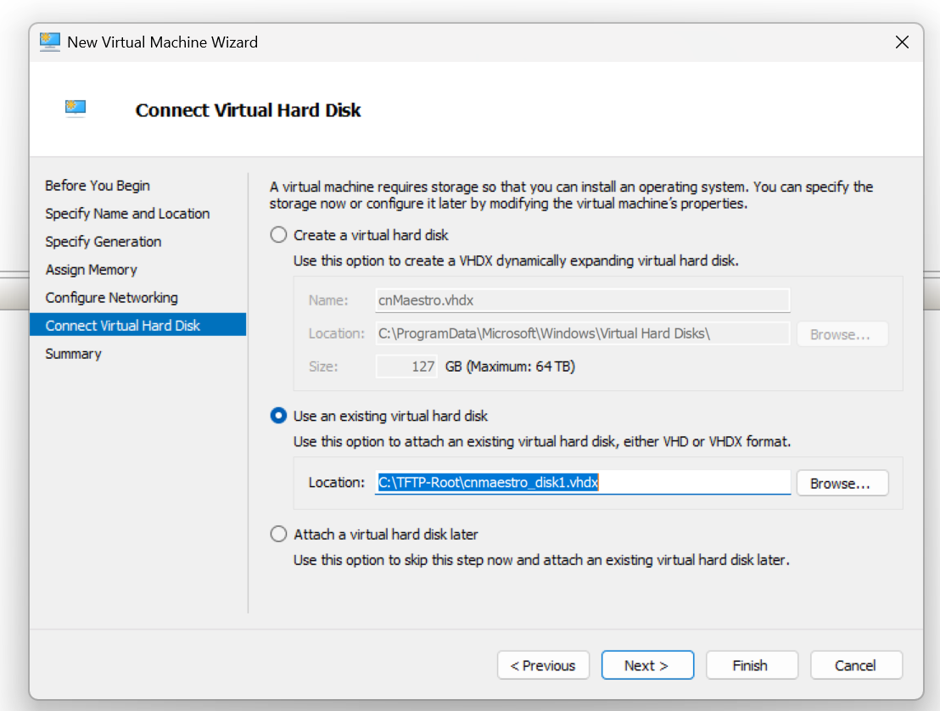
Under Connect Virtual Hard Disk, select Use an existing virtual hard disk, then browse to and select disk 1 of the two VHDX files.
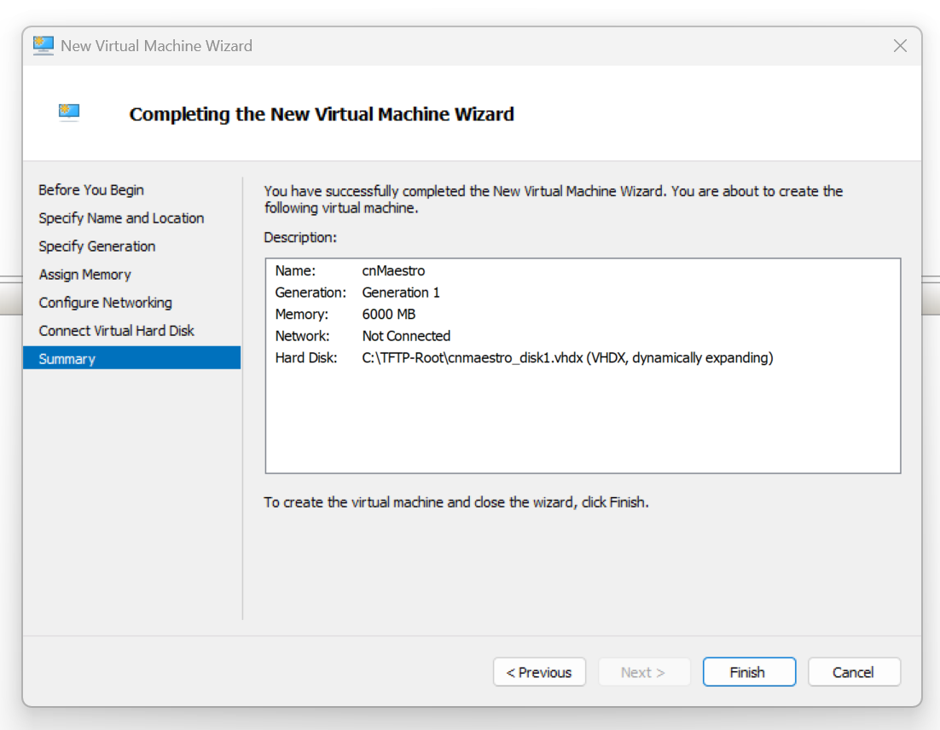
Click Finish on the review screen to complete the wizard.
Step 2: VM Settings and adding second Disk
Once the VM is deployed, select it and open Settings.
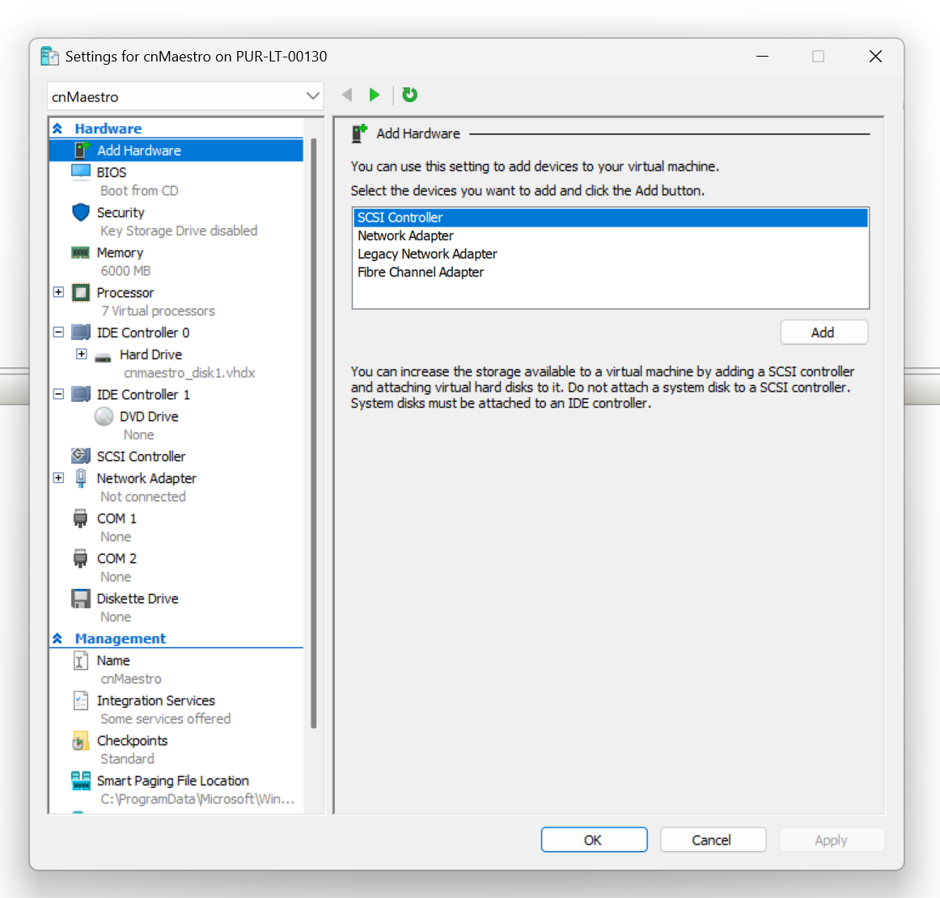
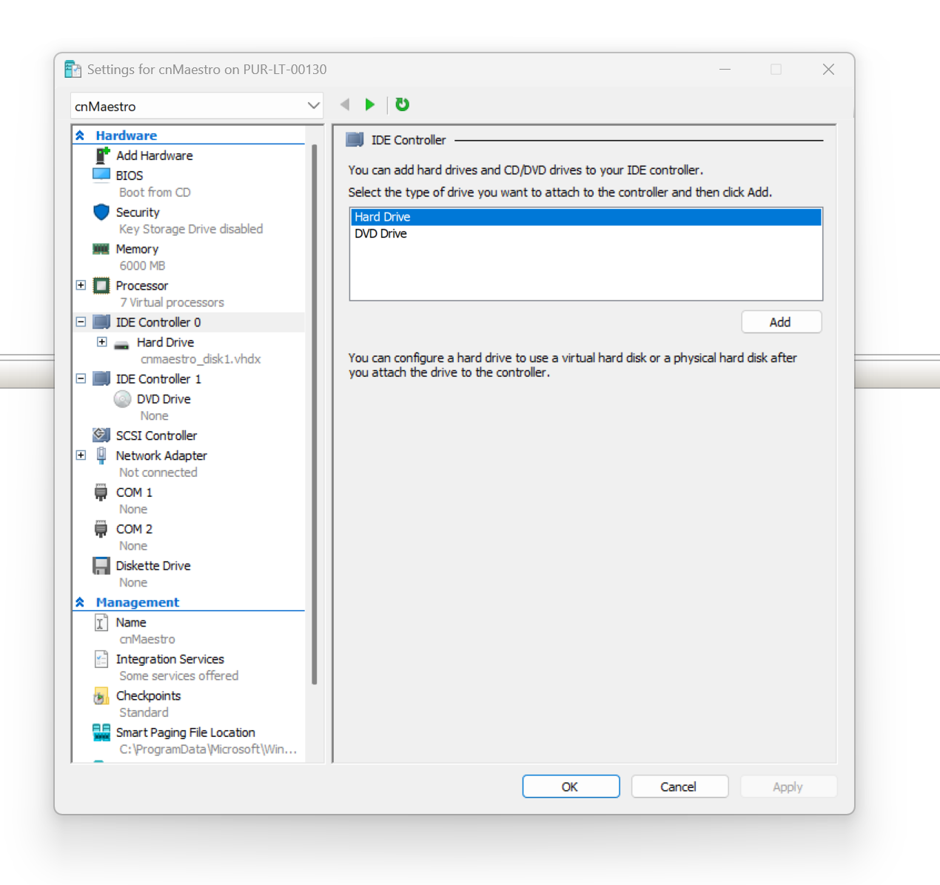
Select IDE Controller 0 on the left, choose Hard Disk, and click Add.
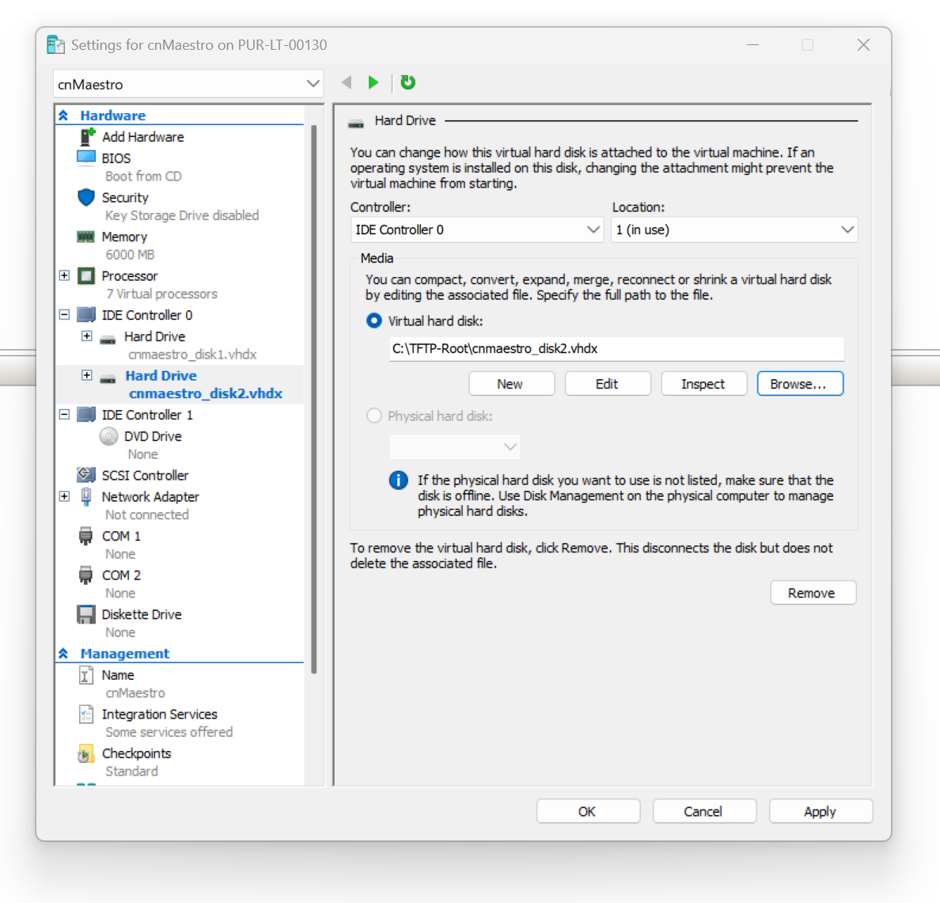
Under the media section, click Browse and select disk 2 of the two VHDX files.
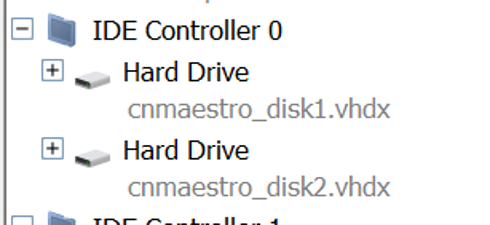
Click Apply — both hard disk files are now attached to the VM.
Step 3 - Starting the VM & Setting IP
Right-click the virtual machine and click Connect to open its console, then turn the machine on.
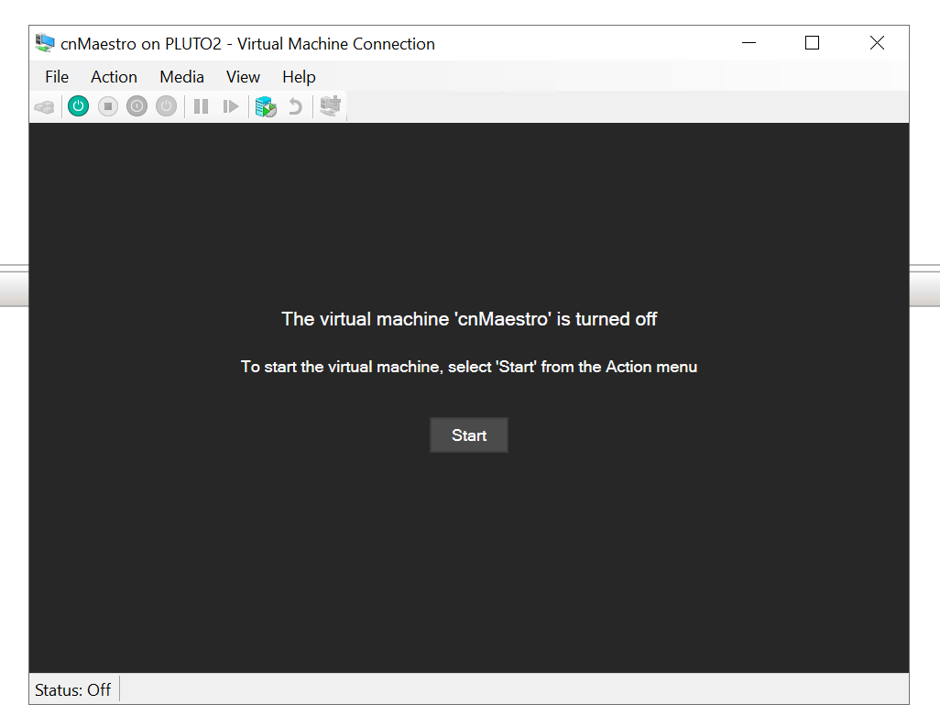
The VM will then boot and you will see a Linux booting screen. Give the VM a few minutes to boot up properly.
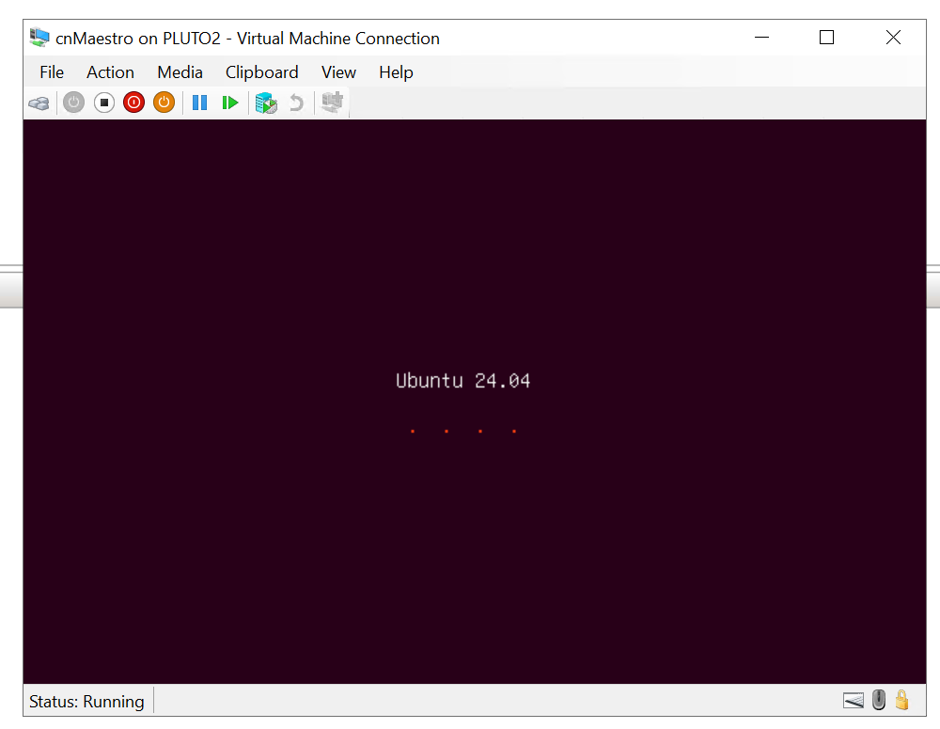
Once booted, you'll see a black screen with the cnMaestro login prompt.
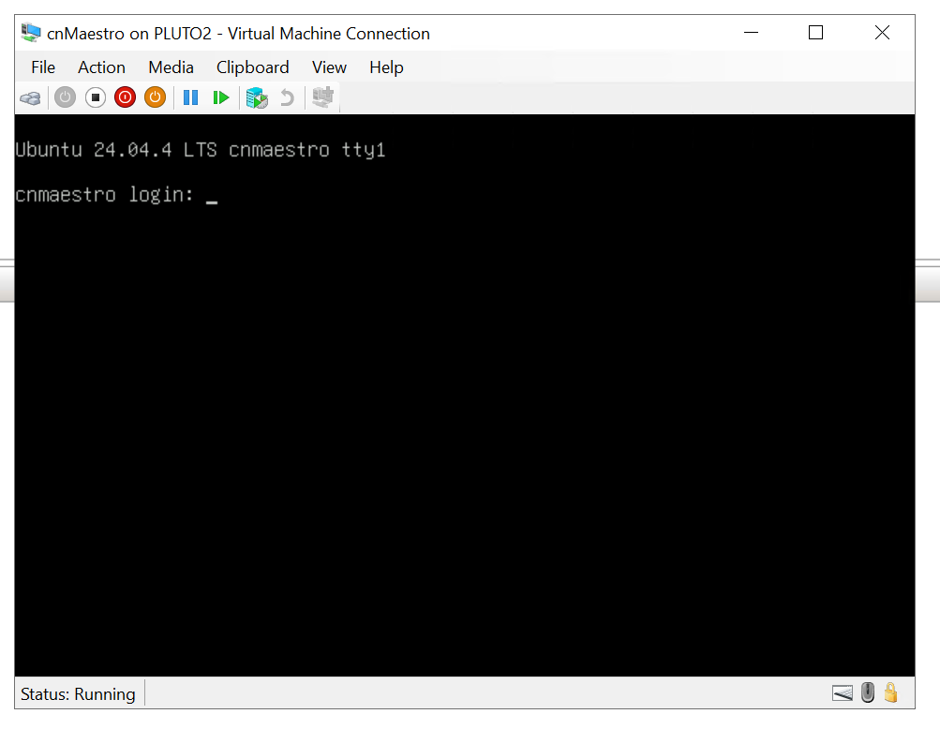
Log in using the virtual machine console credentials above (cambium / cnmaestro). You'll then see a blue screen showing details of your cnMaestro instance.
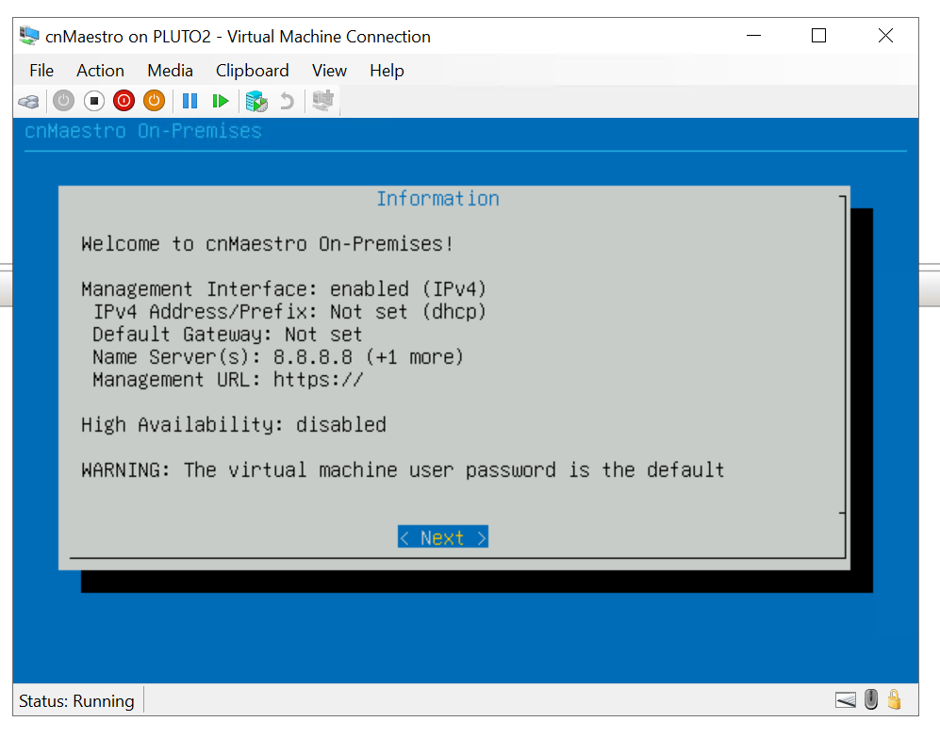
Press Enter to go to Next. You'll be shown a menu screen — go down to Networks and press Enter to set the IP details for cnMaestro.
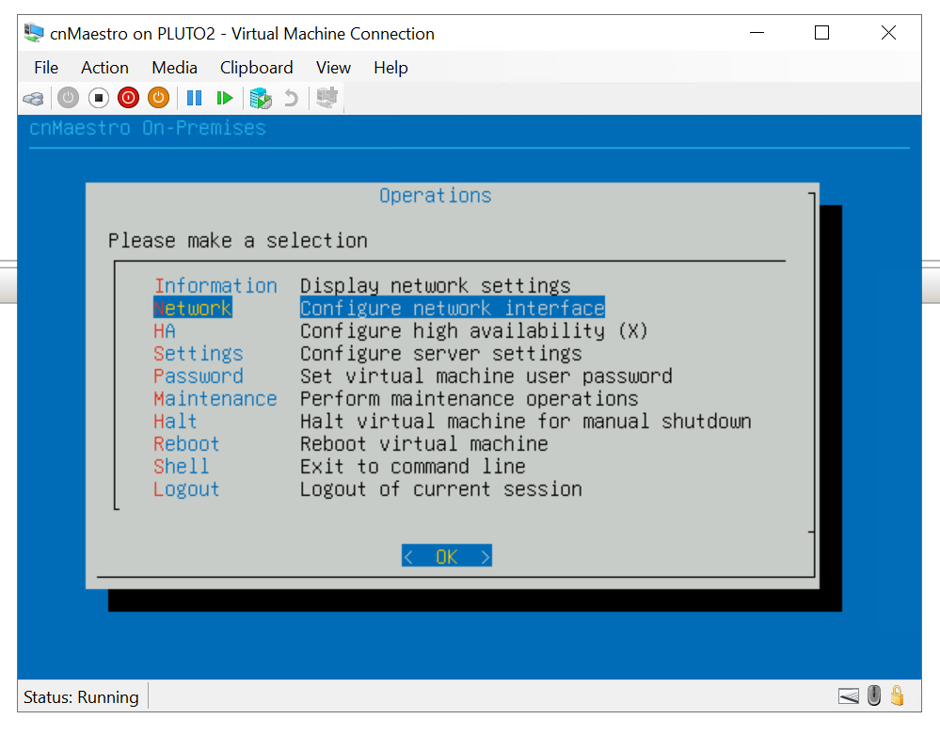
Select IPv4 and press Enter. You'll then be able to enter the static IP details for the machine.
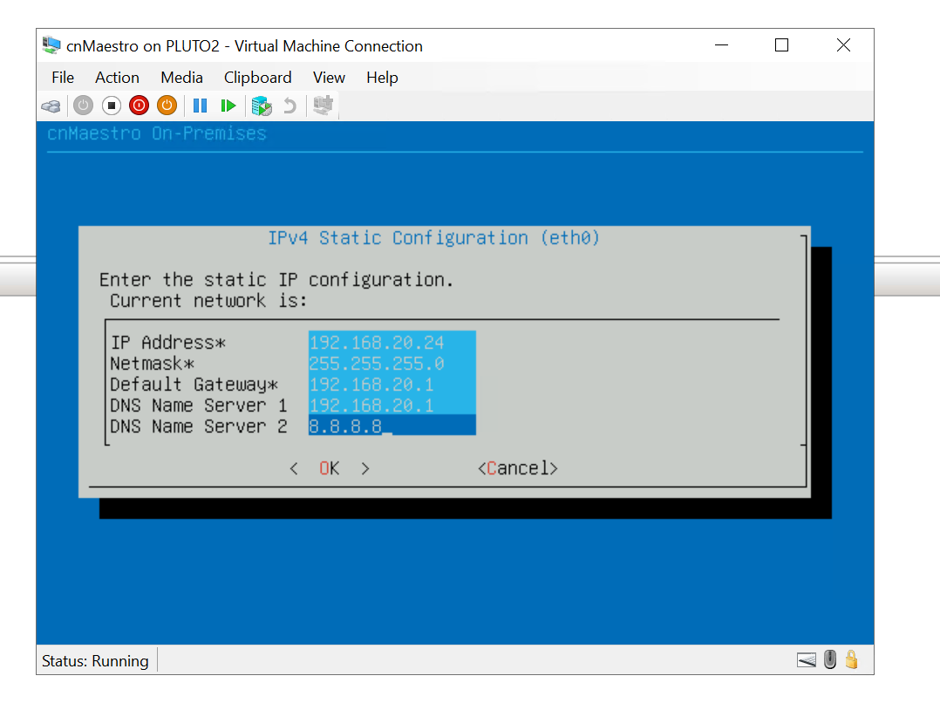
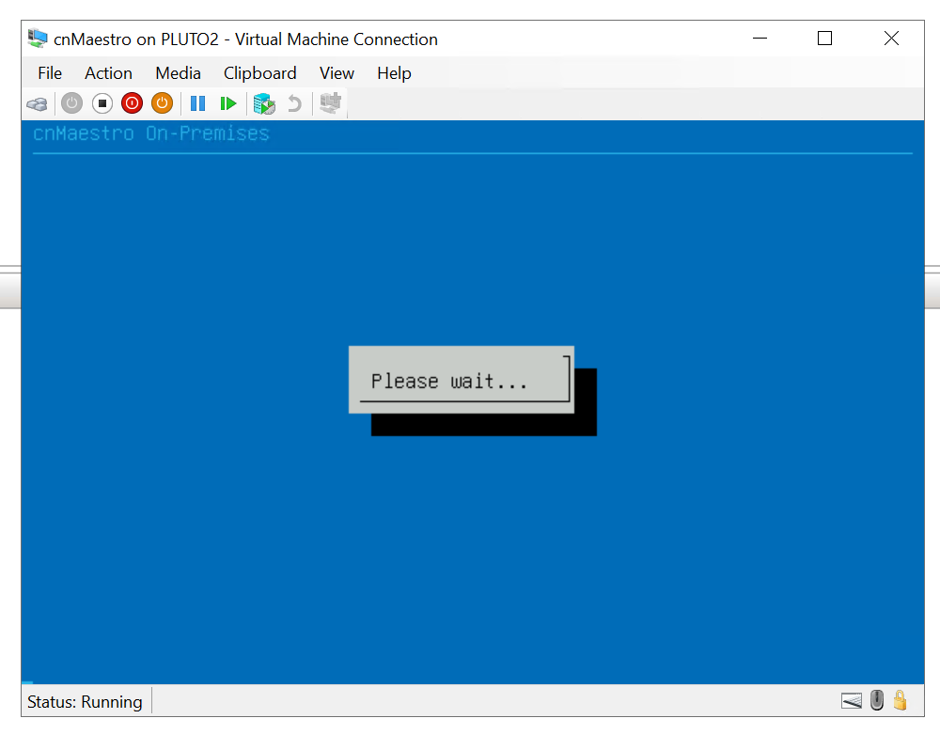
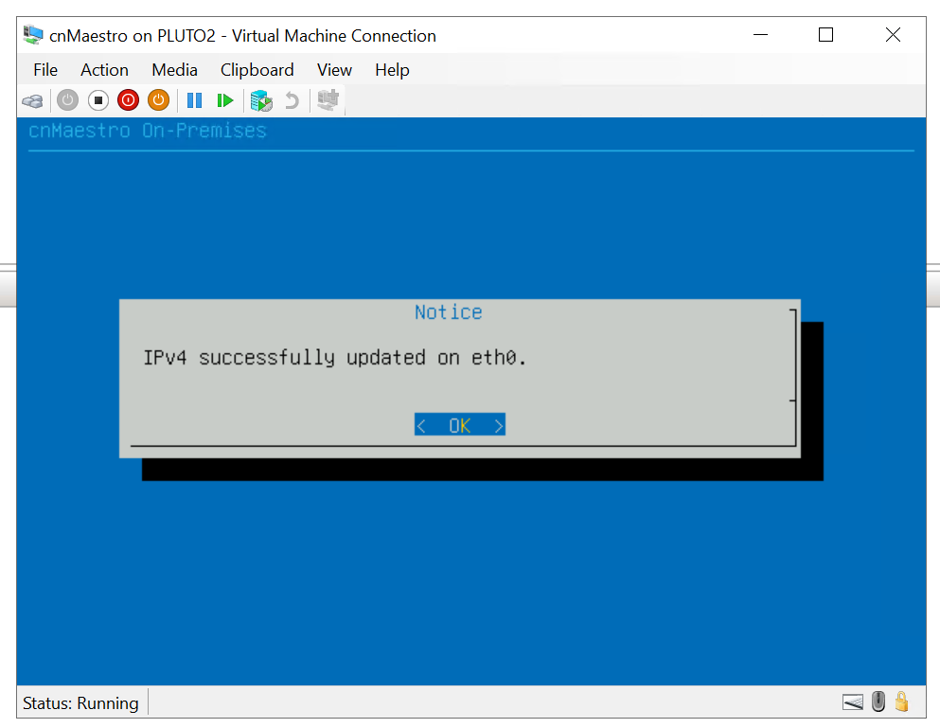
Once complete, press Enter to apply the IP details.
Step 4 - Web Interface
Once the IP address is set, browse to that IP in a web browser. You should see the cnMaestro web UI login page — log in using the web UI credentials above (admin / admin).
Your browser will show an untrusted-certificate warning at this point — this is expected, since cnMaestro ships with a self-signed certificate. You can upload your own Root CA and signed certificate later to remove this warning.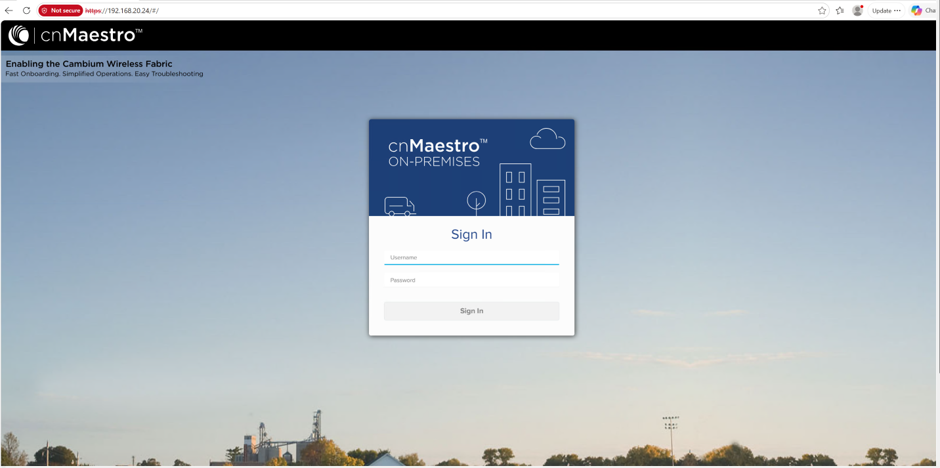
Log into the web interface and fill out the system name, country & time zone:
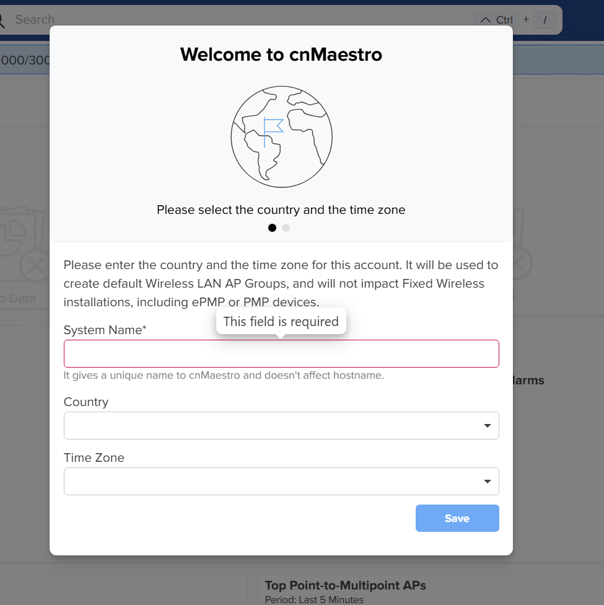
Create a new admin password
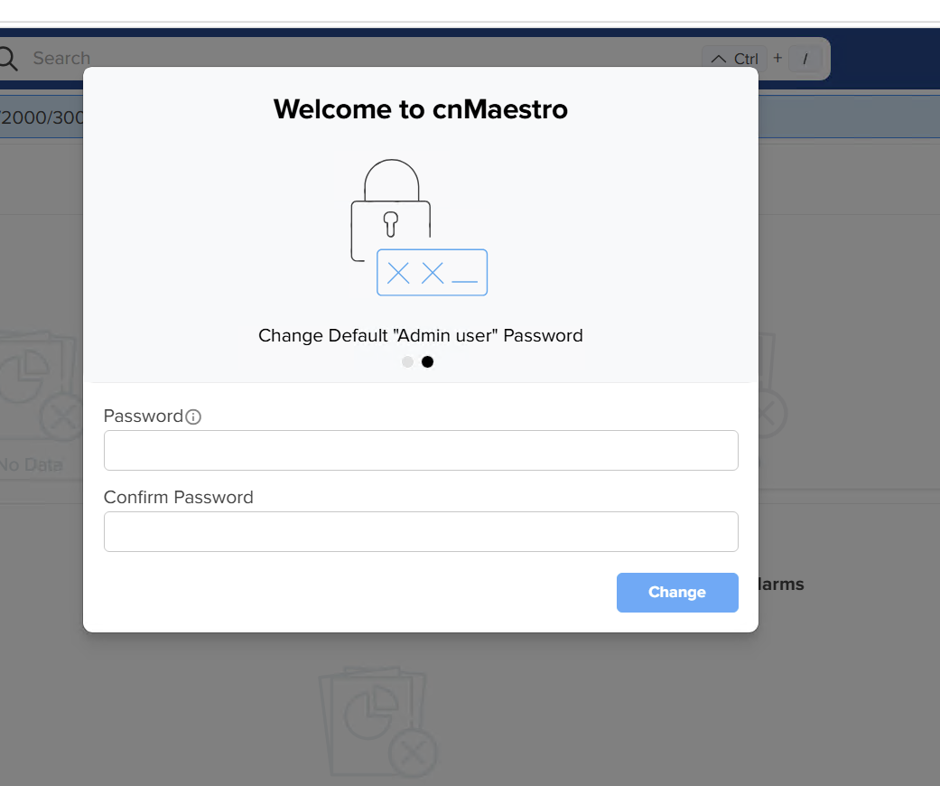
You'll be prompted to log in again using the username admin and the password you just set.
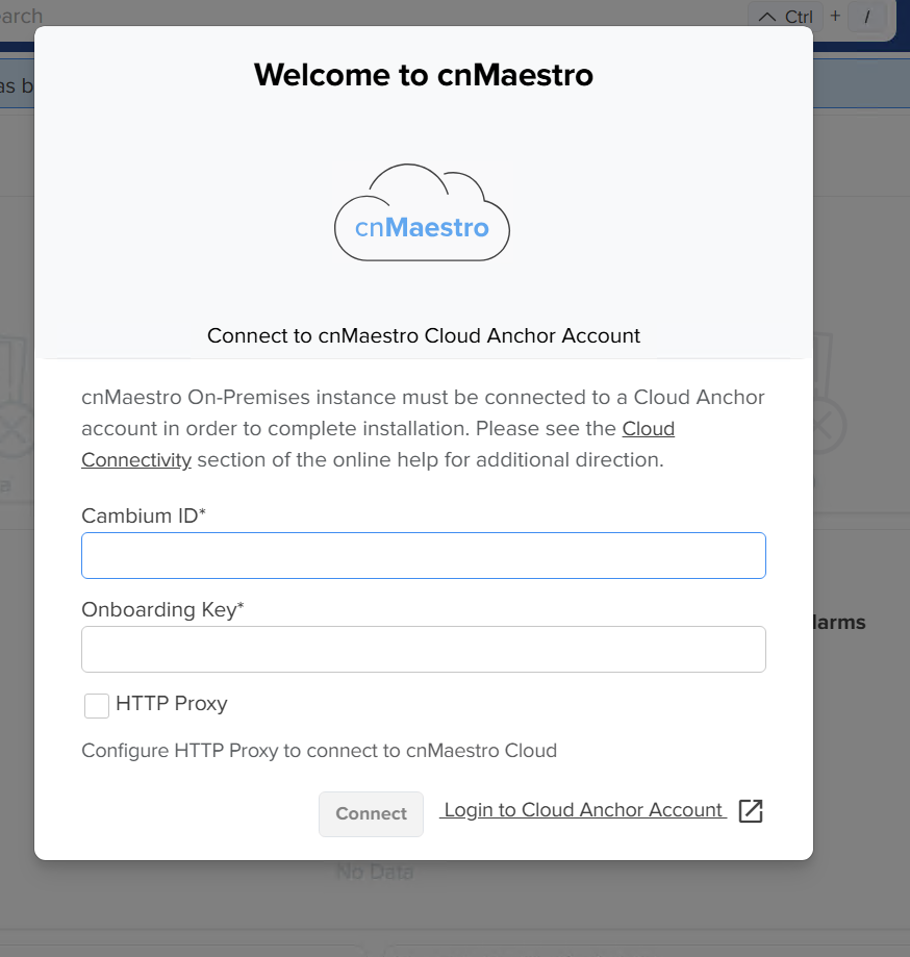
You'll then be asked to log in to your Cloud Anchor account.
You'll need a Cambium ID and Onboarding Key from a Cloud Anchor account to complete this step — create one at cloud.cambiumnetworks.com if you don't already have one, or see Deploying cnMaestro On-Premises and Disconnecting from the Cloud for the full Cloud Anchor account setup process.
Appendix 1
Below is the table showing the resources required for the VM depending on how many devices and Wireless Clients you intent to support.
Devices | Wireless clients | vCPUs | RAM (GB) | Disk (GB) |
|---|---|---|---|---|
1–100 | Up to 1,500 | 3 | 6 | 144 |
101–1,000 | Up to 15,000 | 5 | 10 | 144 |
1,001–5,000 | Up to 60,000 | 6 | 12 | 200 |
5,001–10,000 | Up to 150,000 | 12 | 24 | 350 |
10,001–20,000 | Up to 300,000 | 18 | 36 | 500 |
20,001–25,000 | Up to 375,000 | 24 | 48 | 650 |
Double these figures if you'll enable the RADIUS proxy, and use 1.5× if NBI APIs with heavy reporting, or cnMaestro X with enterprise devices (cnMatrix, Enterprise Wi-Fi), are in play.