Upgrading The Firmware On The Nomadix Gateway
Introduction:
In this guide, we will be taking you through the steps for upgrading the firmware on the Nomadix gateway.
Setup:
Step 1:
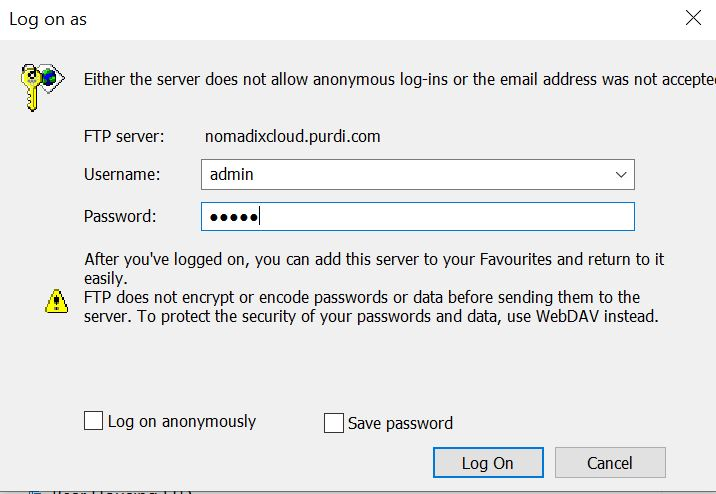
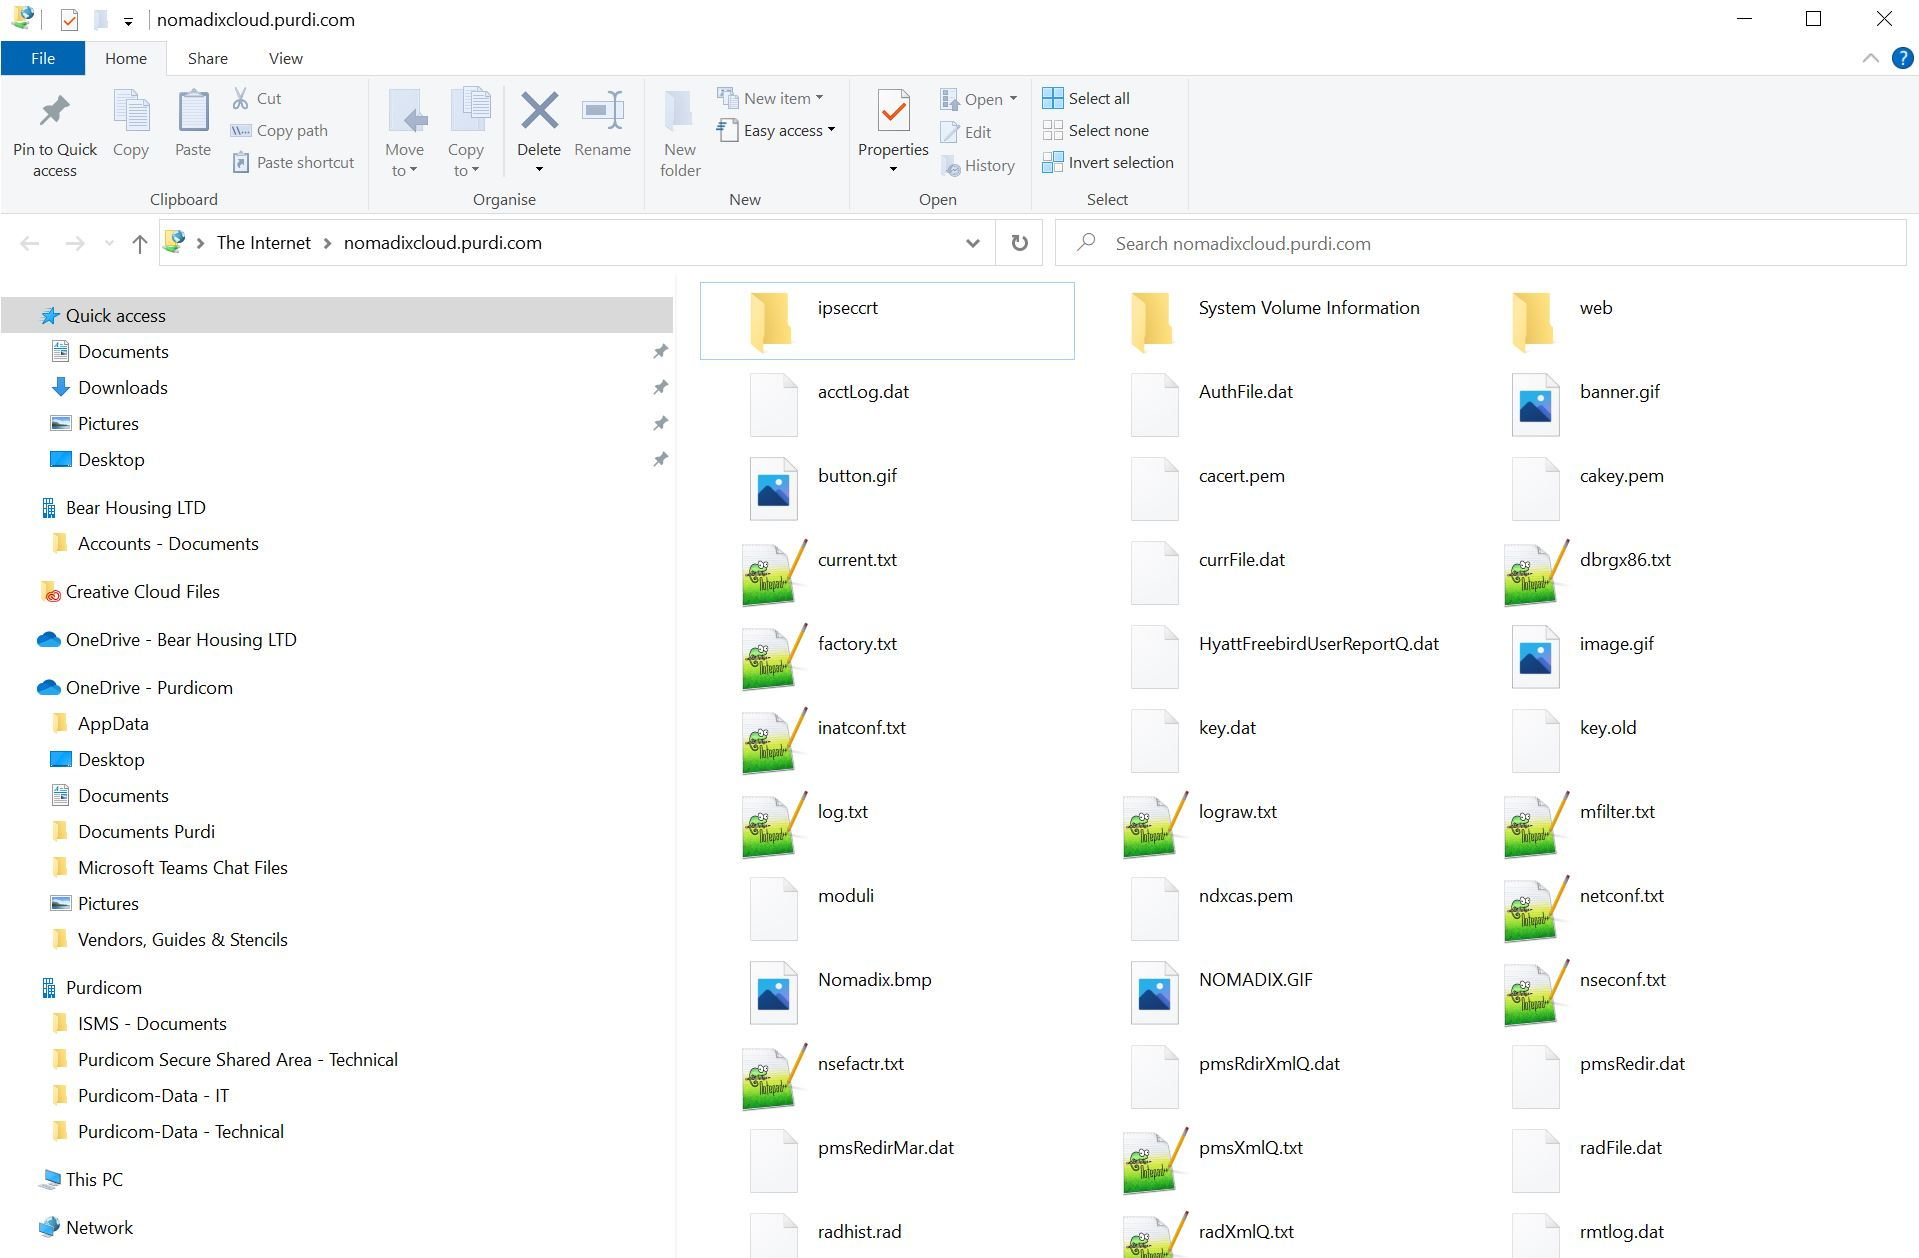
The first thing you will need to do is FTP to your Nomadix gateway using the gateway's IP address using Windows File Explorer
Step 2:
When step 1 has been completed you will need to log in using the credentials of the gateway.
Step 3:
The firmware zip folder will then need to be placed into the Nomadix folder.
Do not extract the zip file
Step 4:
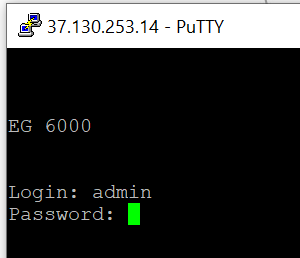
You will then need to telnet to your gateway and login with its credentials.
Step 5:
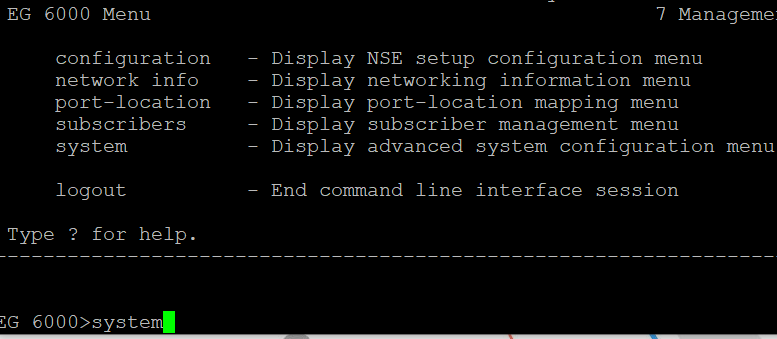
When logged into the device type system then enter.
Step 6:
Type firmware then enter.
Step 7:
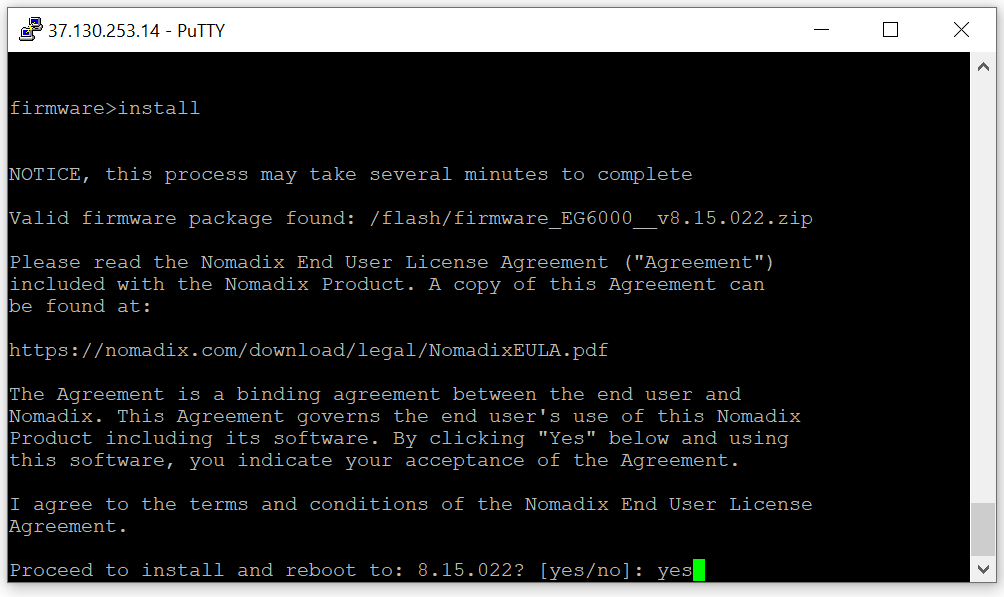
Type install and when complete you will be asked to install and reboot ype in yes.
Step 8:
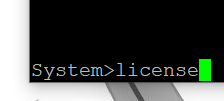
After the installation in the system prompt type in license and enter.
Step 9:
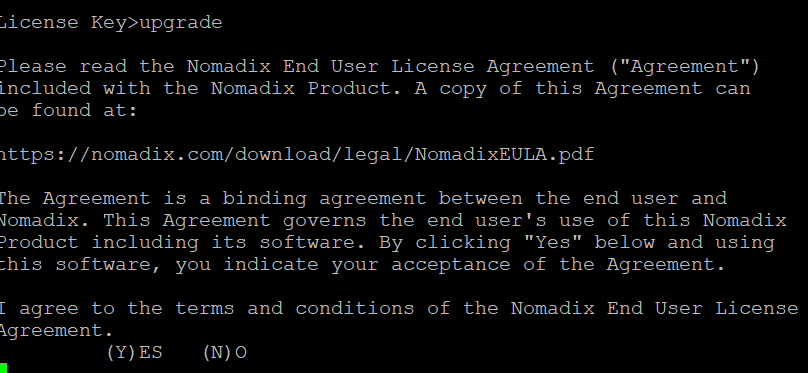
Type upgrade and enter.
Step 10:
After pressing enter after typing in upgrade select Y to agree with the terms and conditions.
Conclusion:
The firmware on the Nomadix gateway is now upgraded and the device is licensed.
To Roll Back
System-firmware-rollback


